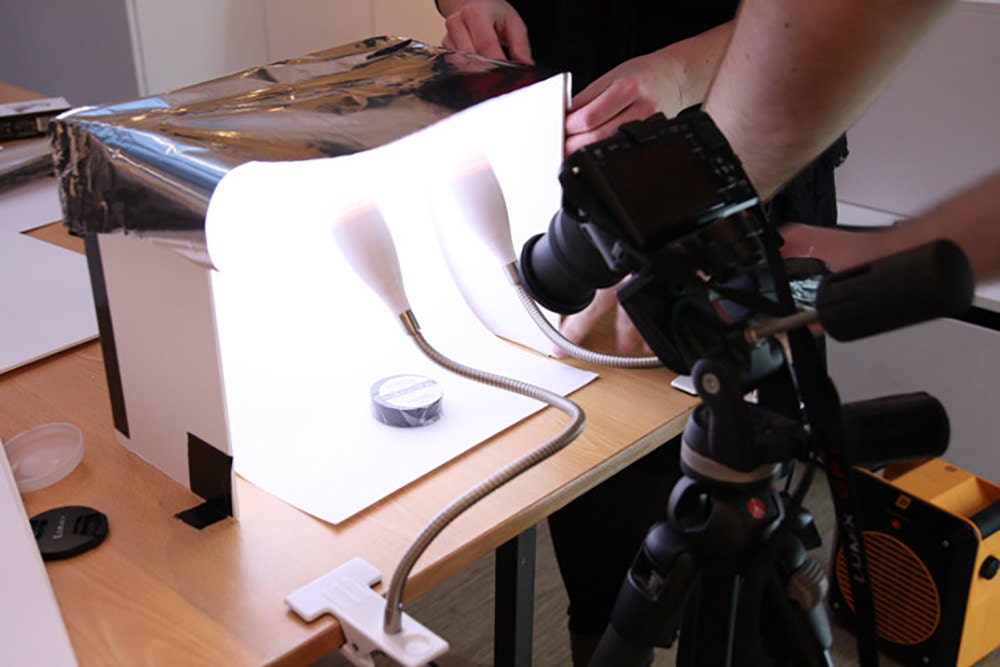
On a budget? This step-by-step guide illustrates how to make a handy, low-cost light box for photographing your products.
You will need:
- a large sheet of foam board (10 inches by 25 inches). (Modify this if you need a bigger light box.)
- a large sheet of paper (16 inches by 11 inches)
- a roll of gaffer tape
- a roll of aluminum foil
- two desk lamps with clips
- a craft knife
- a ruler
- a pencil
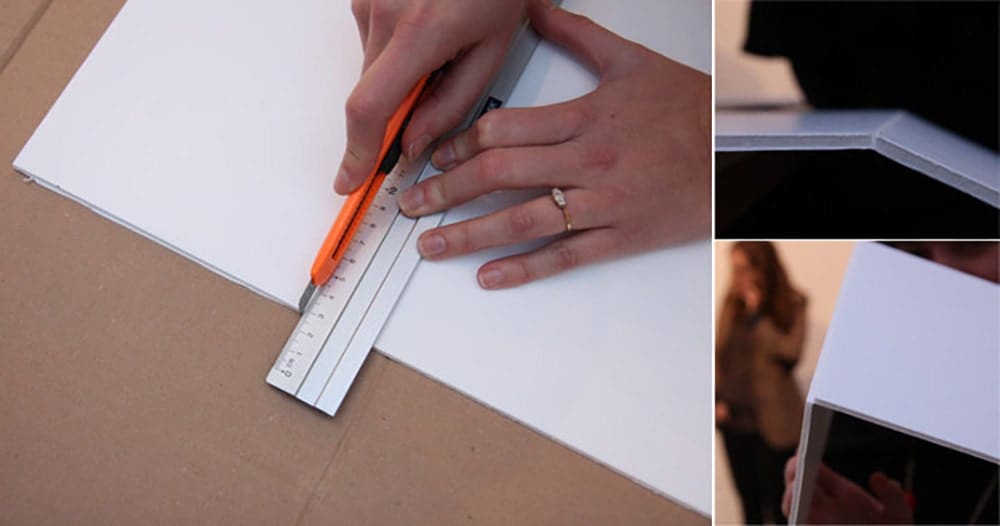
Step 1: Measure six inches from each edge of your foam board. With your pencil, draw a line along which to cut your sides. Use the craft knife to score the foam board along the line, being careful not to cut through the whole thickness of the board. A sheet of foam board is made of a layer of foam between the cardboard layers and you only need to cut enough to allow it to fold easily.
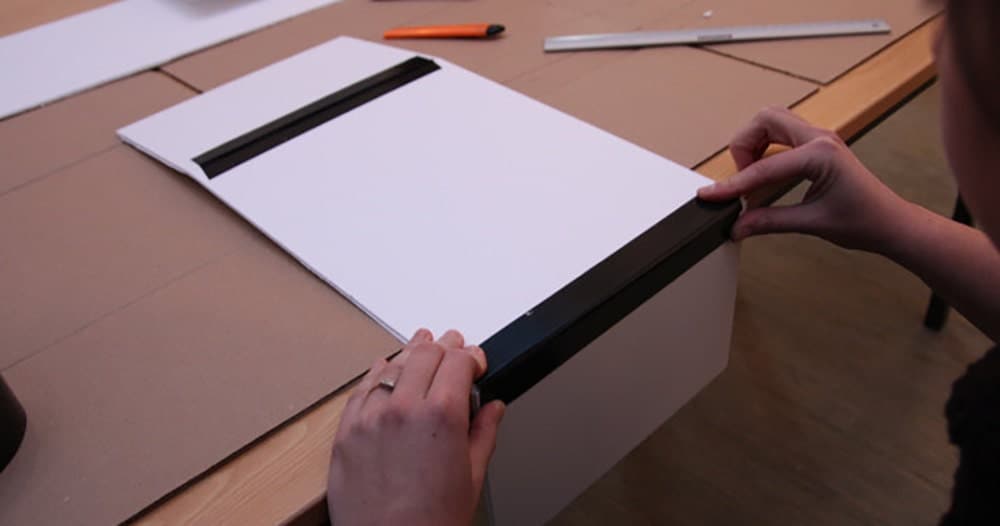
Step 2: Using a straight edge, such as the edge of a desk or table, fold your foam board. Then, tape along the fold to make it more rigid.
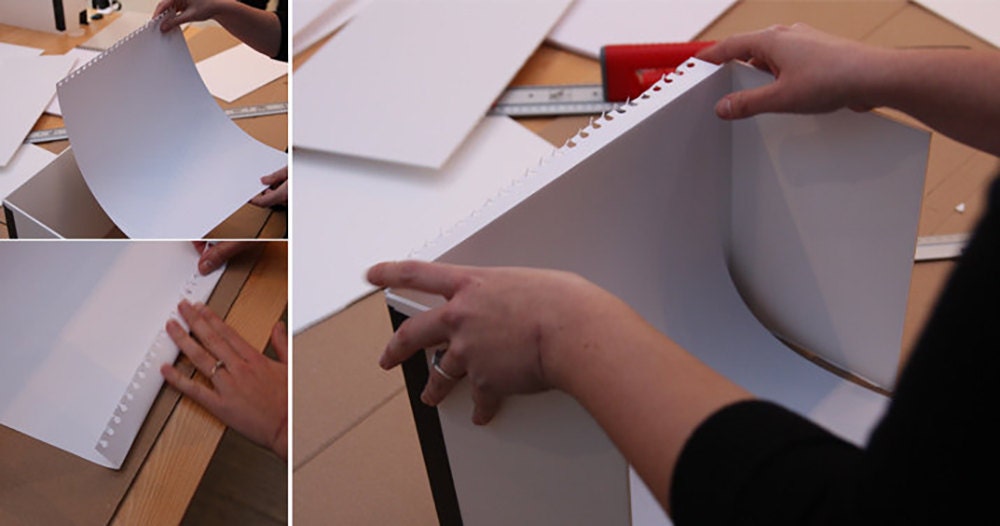
Step 3: Make a fold in the paper, about an inch or two from the edge. Hook the paper over the foam board to create a seamless backdrop.
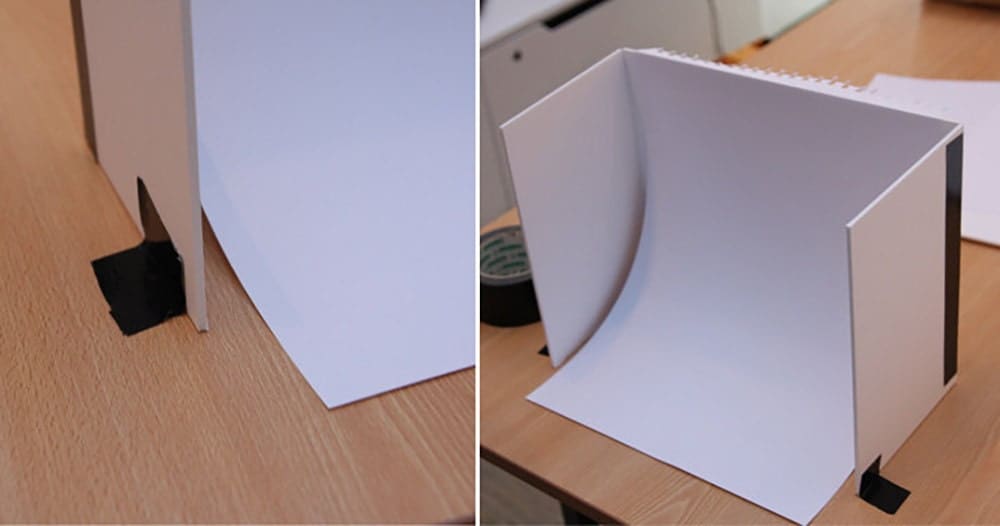
Step 4: Use a bit of gaffer tape to stick the foam board to the table.
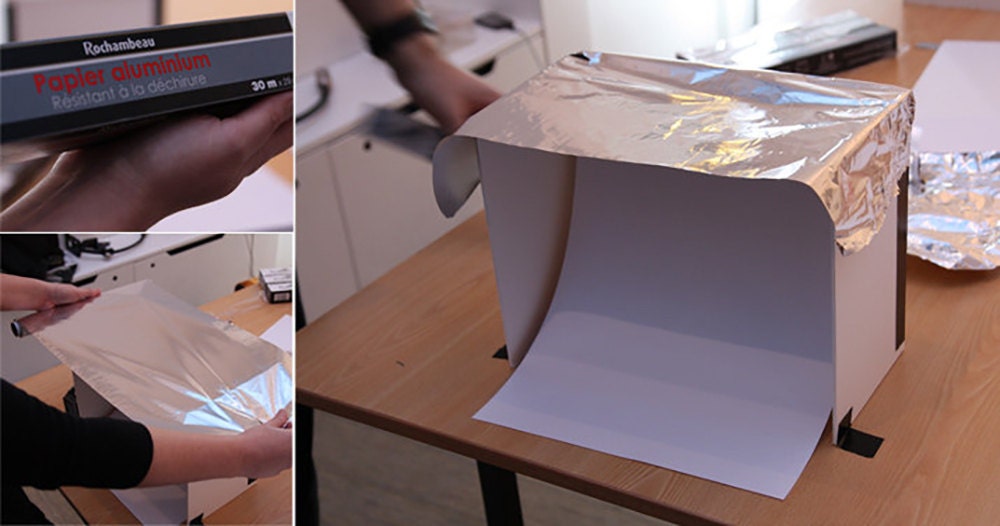
Step 5: Cut a piece of aluminum foil to use for the top.
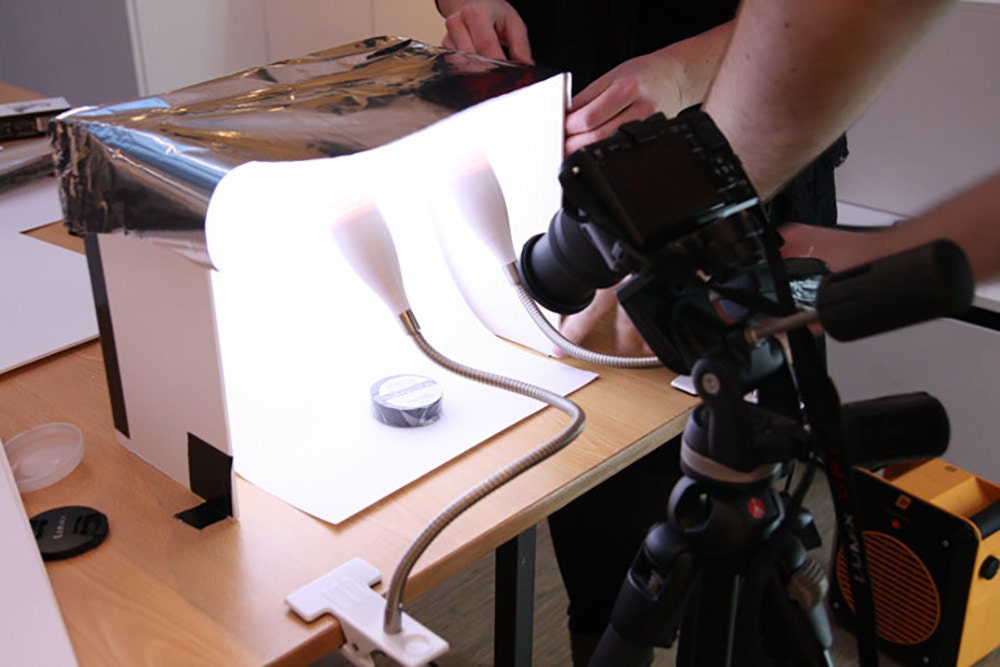
Step 6: Attach the lamps to the table and point them at the top (towards the aluminum foil). This diffuses the light and gives softer shadows than pointing the lamp directly at your products.
Step 7: Start photographing. Keep tweaking the position of the lights and angle of your camera until you’re happy with the results.
A light box for natural light
Do you prefer shooting with natural light? You can also make your own light box for sunlight. To make one, construct a three-sided box with backgrounds that suit your product. (Clipping a white sheet of paper or foam board on one or more sides of the box will help bounce more natural light onto your product.) Position your light box by the window, with bright light filtered through a sheer curtain, or take it outside and photograph on a cloudy day.
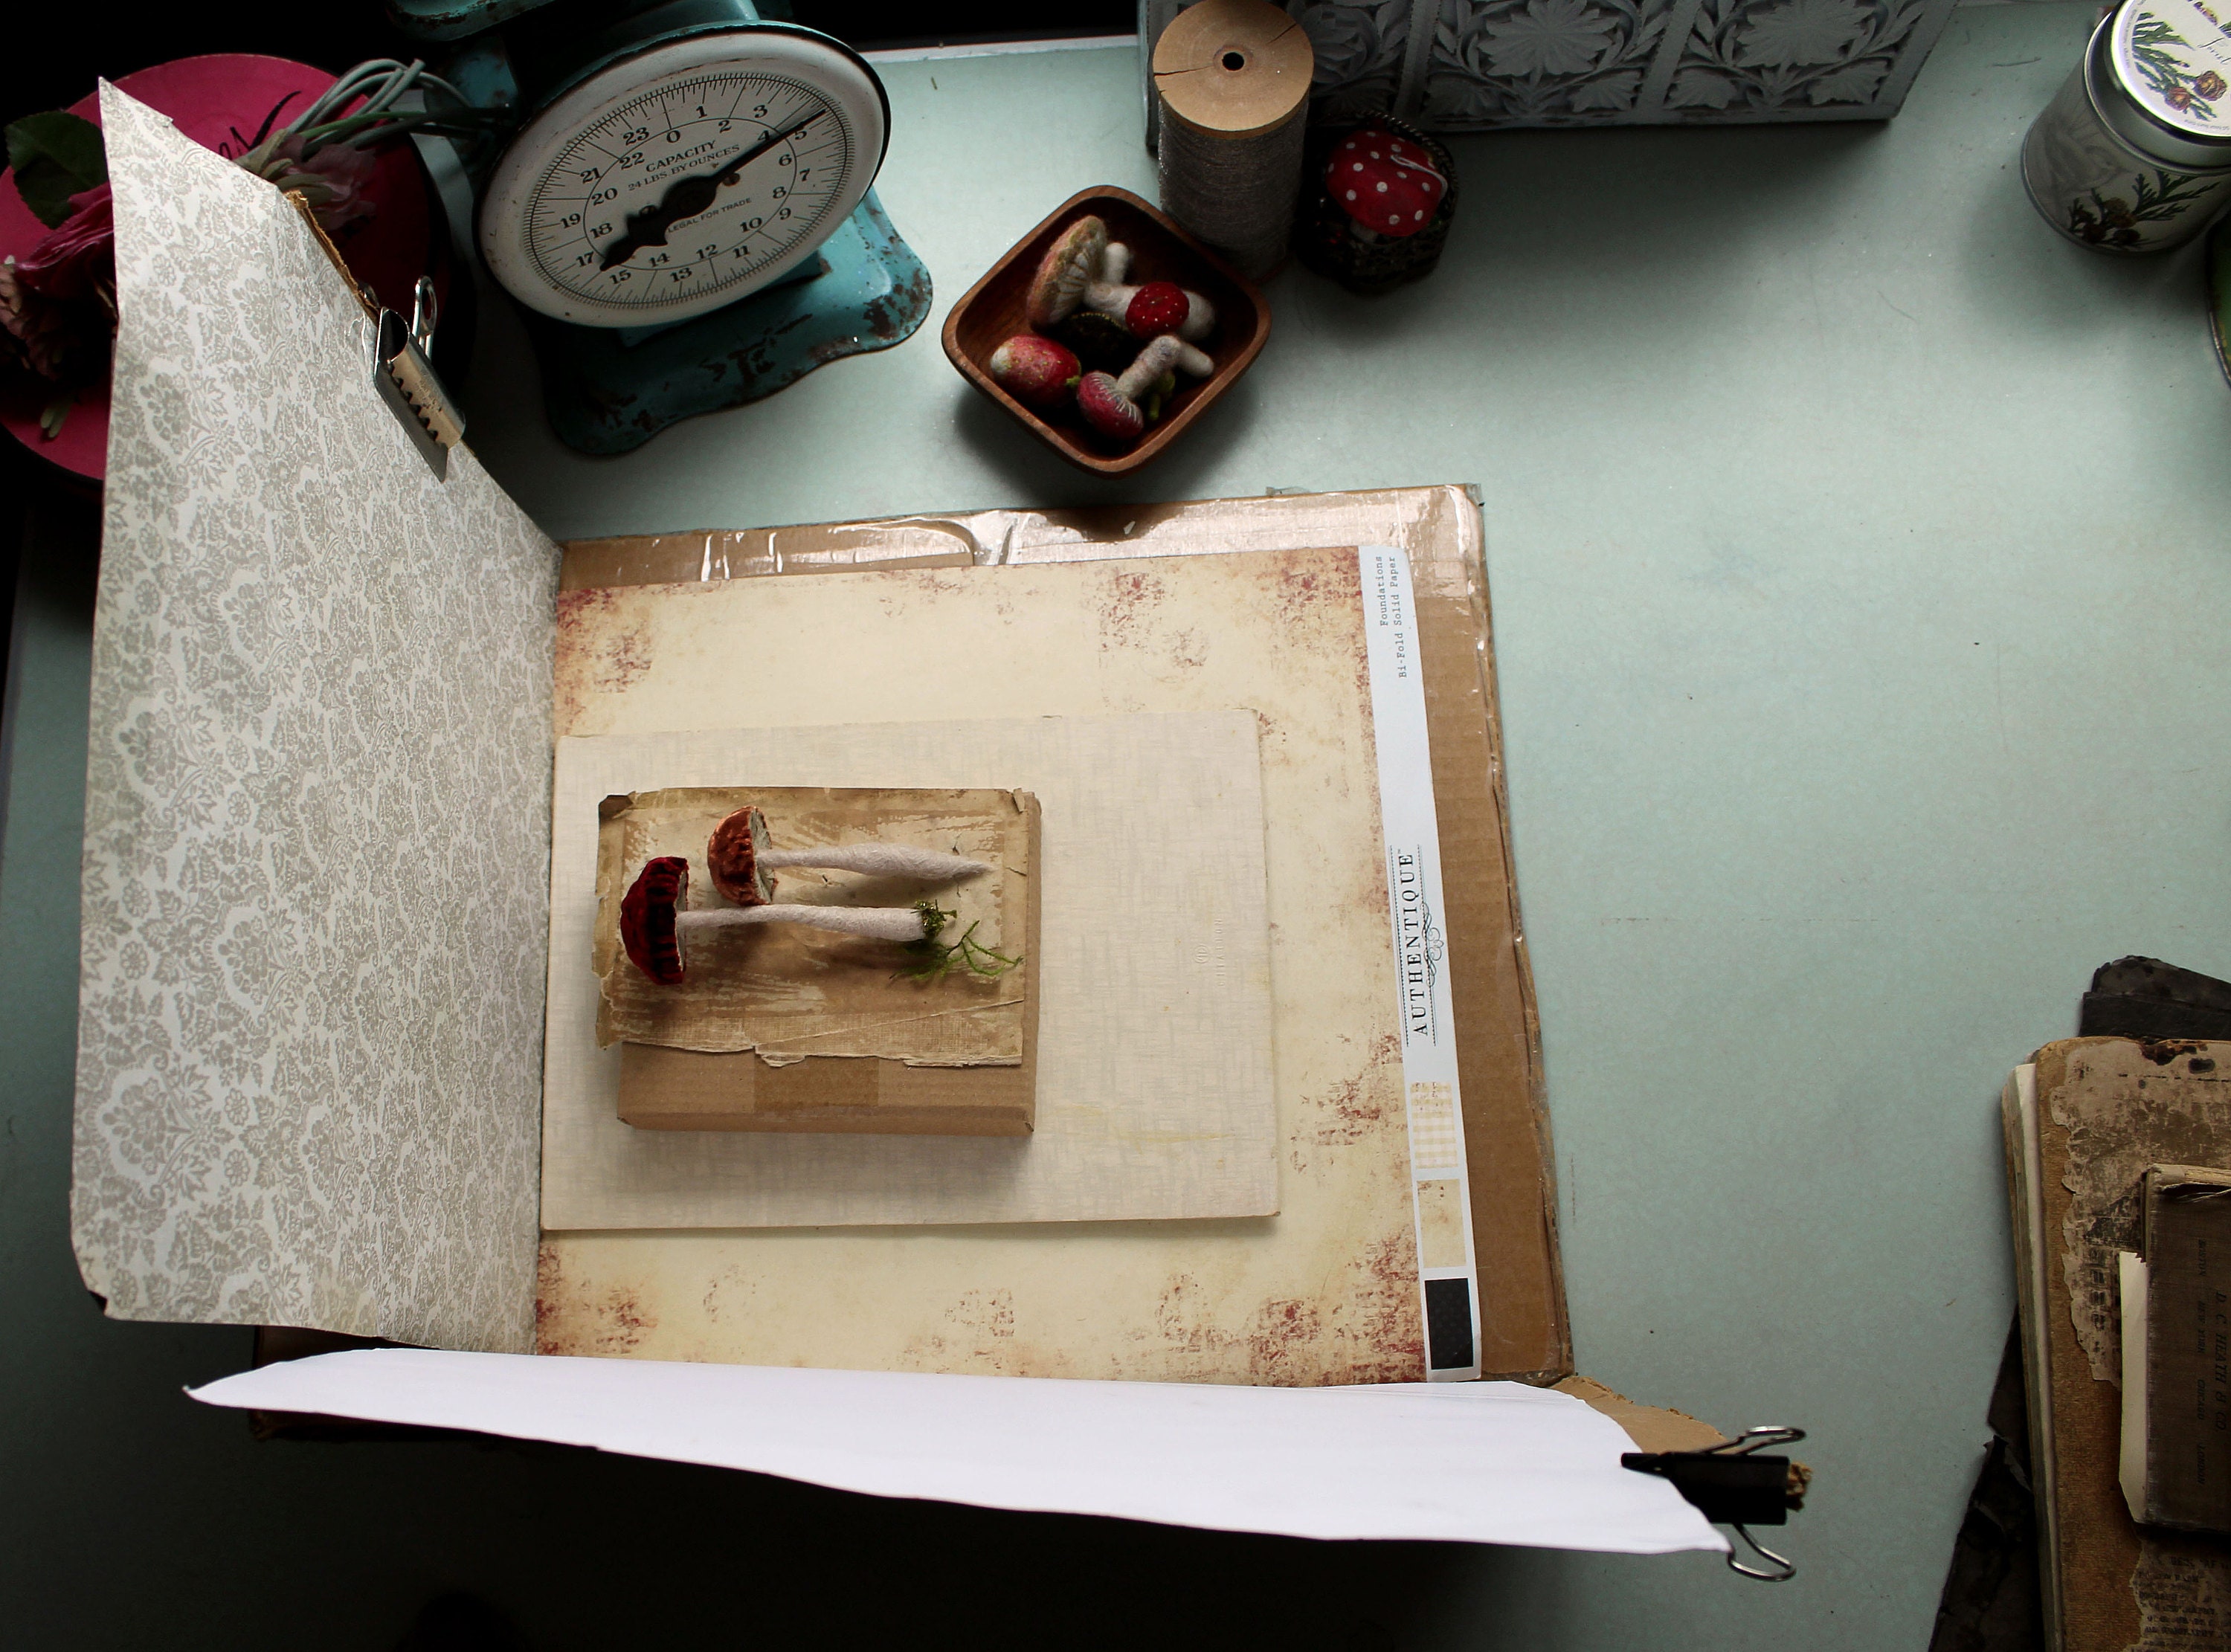
Continue reading > Chapter 5: Getting to Know Your Camera
Go back > The Ultimate Guide to Product Photography
 Words by Etsy Staff
