We took a page from the Master Craft Challenge on the series premiere of Making It to bring you sweet ideas for preserving special photos.
Every Tuesday evening from July 31–September 4, we’ll be hosting a quick recap of the latest episode of NBC’s competitive crafting show, Making It, and sharing original DIYs and shopping ideas tied to each week’s theme. So mark your calendars and don’t forget to tune in at 10/9c—or stream it whenever you need a dose of inspo—then meet us here to get inspired and get crafty. The wait is over! The first episode of Making It has finally aired. I’m so excited to see all the next-level creativity I got to soak up during the filming process as a judge on the show make its way out into the world—and to see the personalized projects it will inspire in the maker-minded audience following along at home. On this week’s show, the contestants put their imaginations to the test designing modern takes on photo albums and family heirlooms—and if you’re the type who can’t resist the sentimental, you’re probably already daydreaming your own twists on their genius creations. As for those of you who haven’t touched a photo print since 2007, well, you might be feeling about ready to get your head—and your favorite memories—out of The Cloud and into physical form, where you and your loved ones are more apt to pause and revisit them. Wherever you sit on the DIY spectrum, here are three brilliantly easy ideas to bring your most cherished photos to life (and put your favorite Instagram filter to shame)—each with an option to make and one to purchase from a seller on Etsy.
1. Elevate it with embroidery
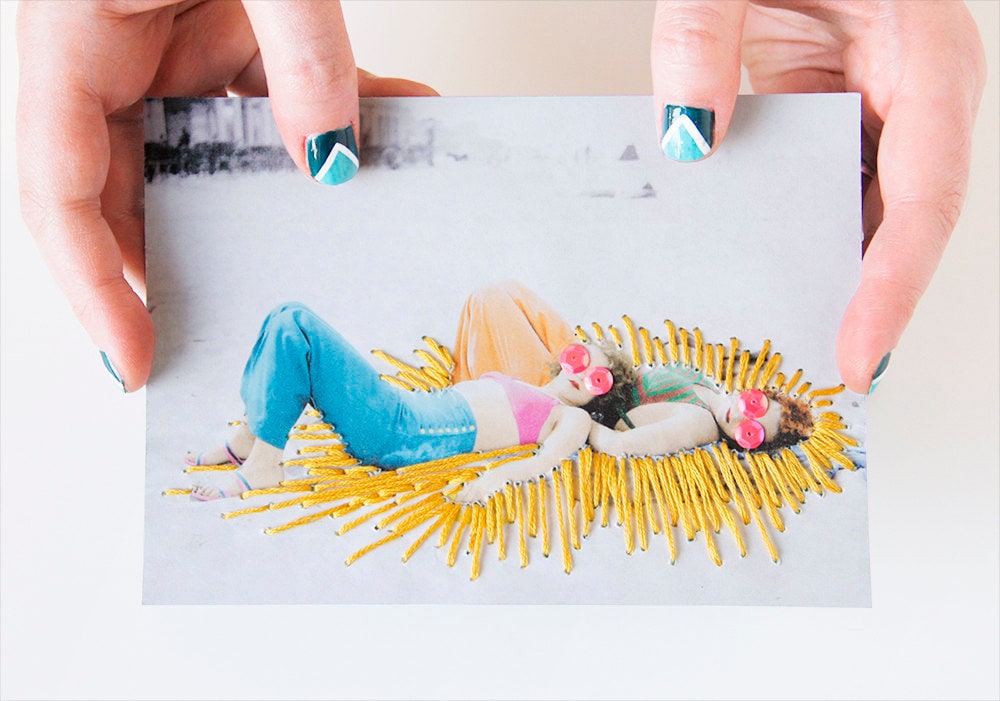
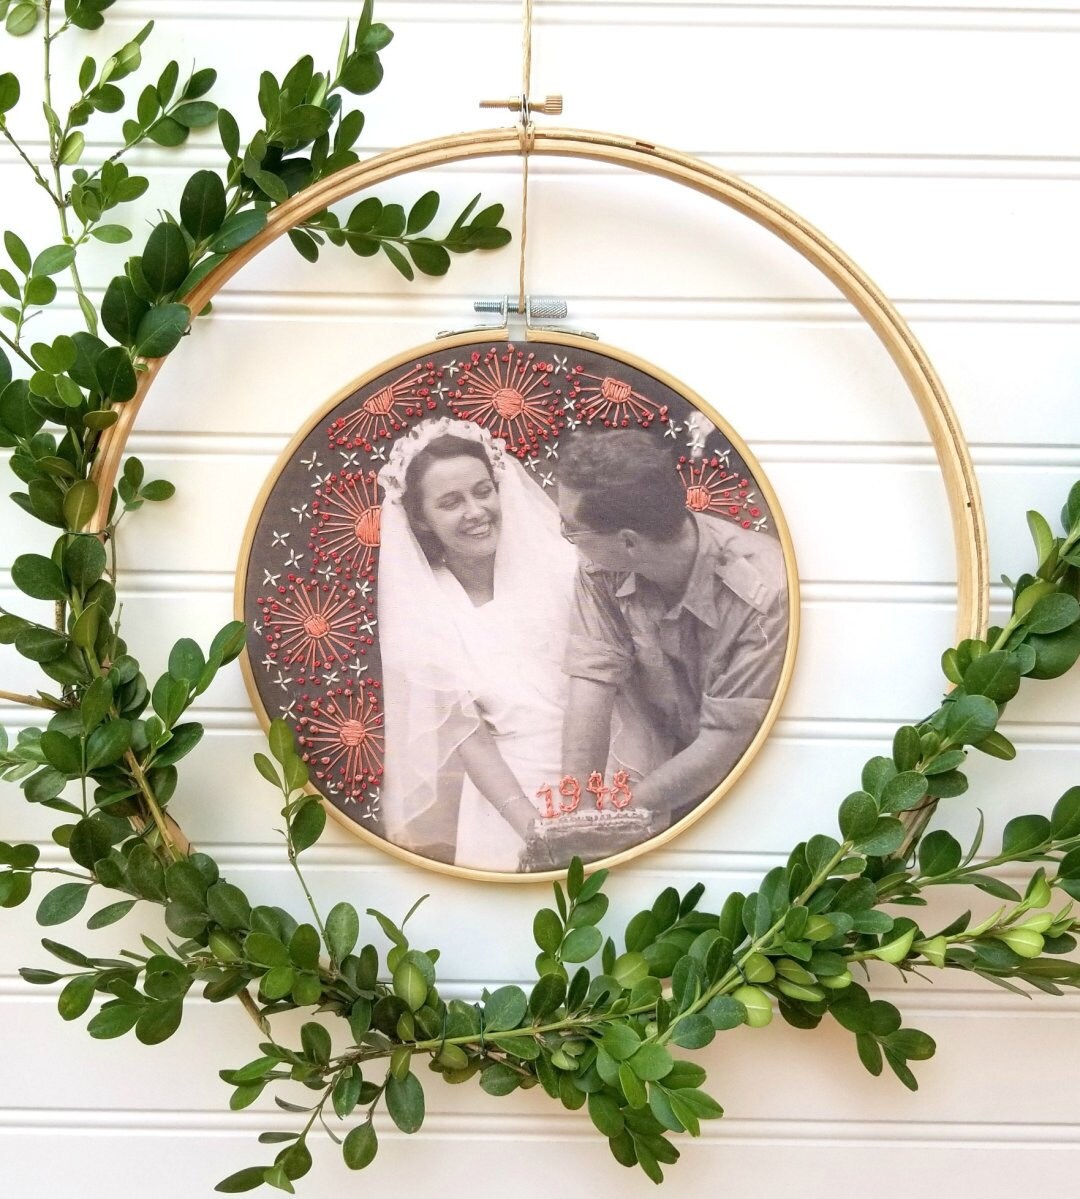
To DIY: Here’s a crazy-creative way to modernize and brighten up old black-and-white photos—or add a new dimension to any photo that you love. Even if you’re that super-digital person who’s never had much desire to get prints made, this is a cool and fresh way to incorporate them into your life. First, make a copy of the original, back it with tape to add some heft, then stitch on a design using colorful embroidery floss. You can even add sequins, buttons, small beads, or glitter for an extra-jazzy result. This is a project that will involve precision and patience, but it's not technically complicated—and it’s totally worth the effort if stitching is your thing. Go here for the full tutorial. Difficulty level: easy
 >
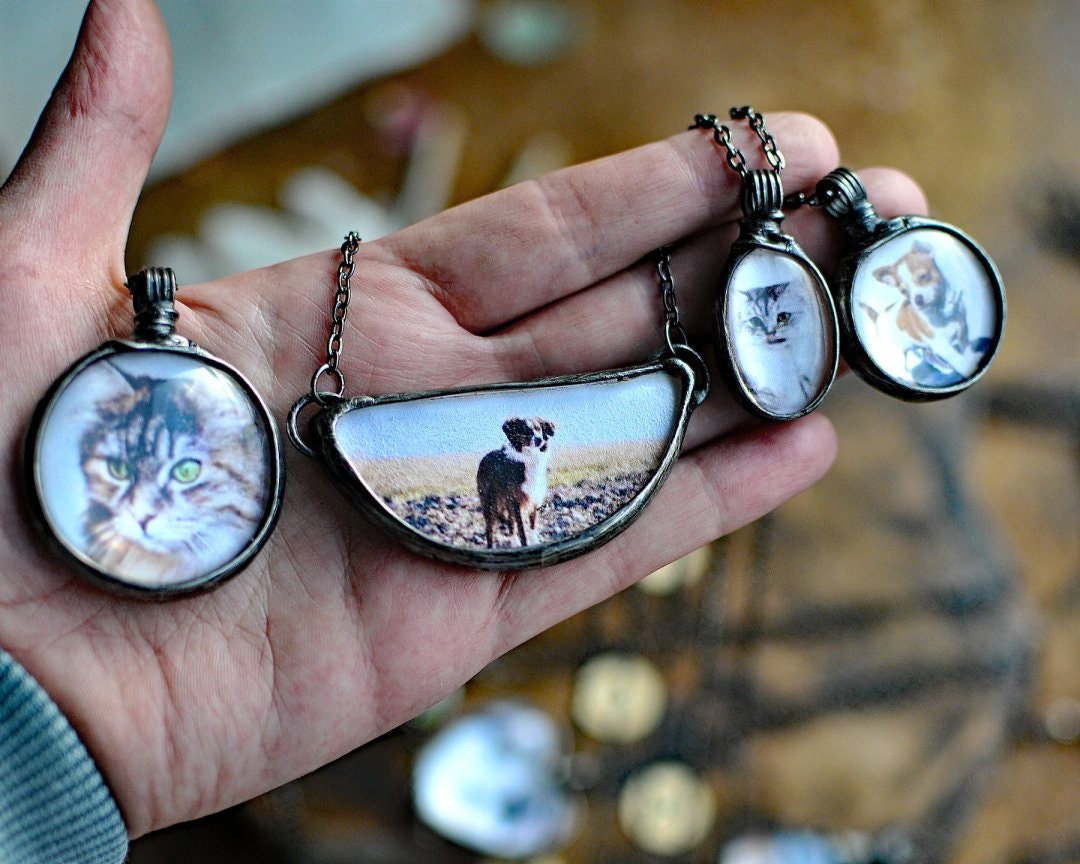
>2. Immortalize it in a piece of jewelry
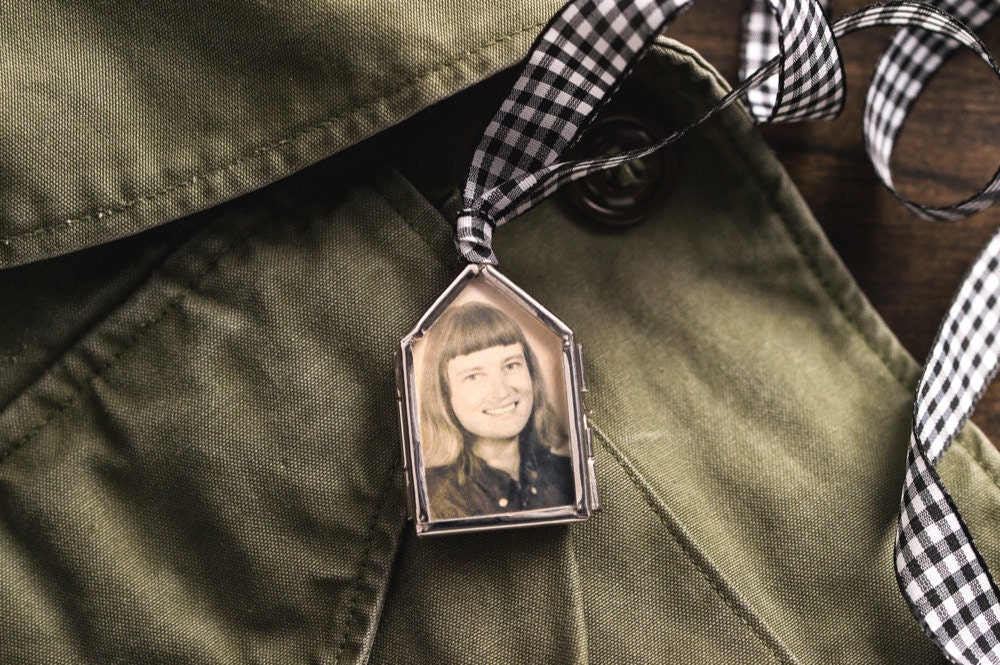
To DIY: Dropping a photo into a hinged glass locket is such a simple way to turn special images into cherished objects you can actually use. Just trim your photo to fit the locket you choose and add some ribbon, cord, or chain to create a necklace. If you’re working with an original photo you don’t want to trim, you can make a copy first (probably your best bet if we're talking about a family photo your relatives would miss). Or, if you got a great group shot on your last girls' trip, make one for every member of your squad, like a modern-day friendship necklace. You could even gift them to bridesmaids. Go here for more DIY locket ideas. Difficulty level: easy
 >
>3. Make it part of your everyday decor
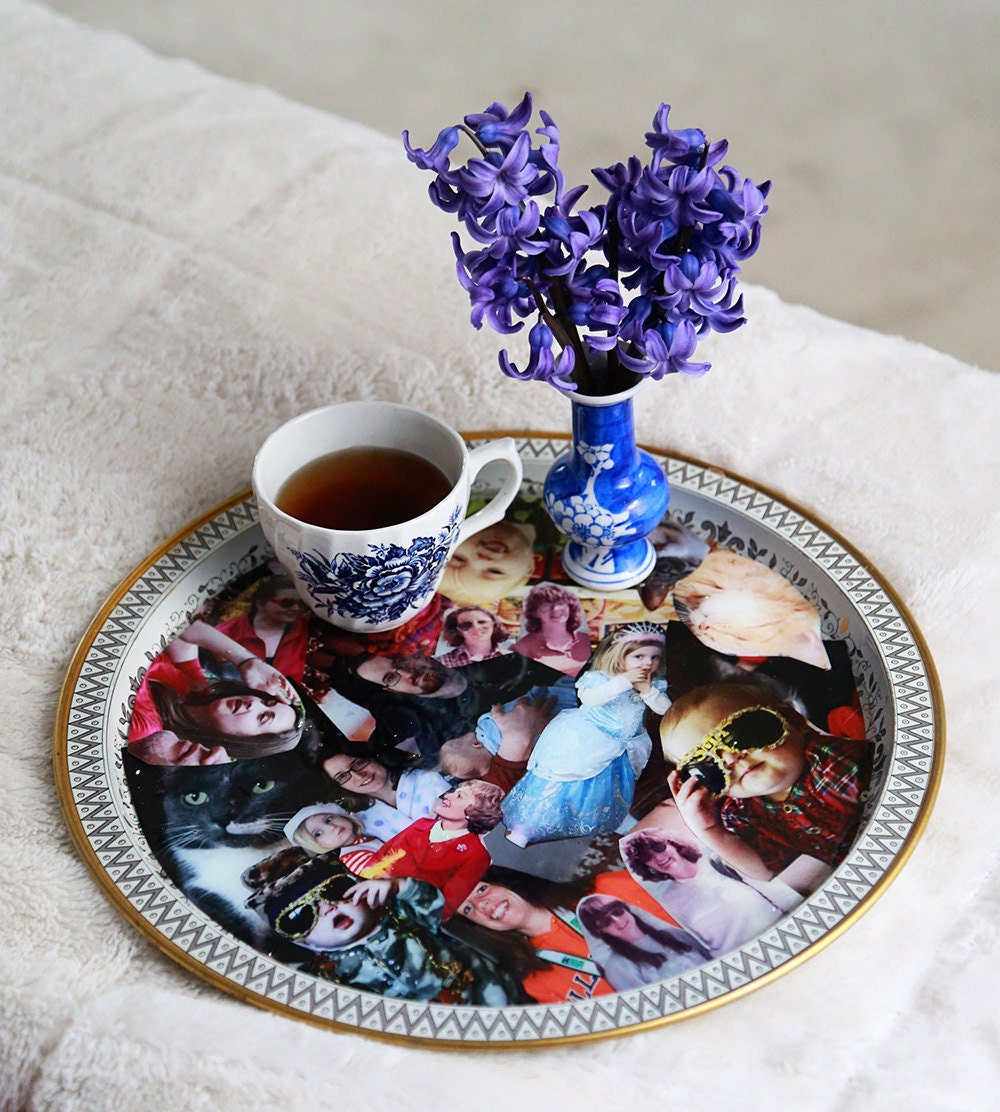
To DIY: This decoupage photo tray makes me think of my dad, who after every family barbecue says, “I don’t want you to text me those photos, I want to see the real thing.” And yet he and my mom have all these old-school photo albums that just gather dust on their shelves. This is a really nice way to bring those favorite family photos out so you can enjoy them in your home, or give them to family members as gifts. All you need is a rimmed tray—grab one at a yard sale or in the clearance section of a home store—and a resin kit. The project itself is so easy: You just cut and arrange photos to fit on the tray, mix the resin and hardener together, spread it on the surface, let it dry, and boom—you're done. Get the full instructions here. Difficulty level: moderate
 >
>


