Inspired by glittery Putz villages, this '60-inspired cookie house will add retro charm to your holiday table.

Inspired by miniature Putz villages, this retro cookie house project is a fun and colorful way to celebrate the season. Not familiar with Putz? Then you're in for a treat! The tradition of placing festive ceramic and wooden villages — known as Putz — under the Christmas tree dates to the 19th century. Glitter-covered paper Putz homes gained popularity in the early and mid-20th century and have endured as holiday decor to this day. Putz architecture is typically cottage- or Victorian-themed, so this kitschy mid-century ranch is a lighthearted departure from the norm. For this project, you'll need ready-made fondant and edible icing sheets, which can be found at your local craft store. Bottle brush trees and tiny pink flamingos can also be found where fairy house supplies are stocked.
To make the cookie house, you will need:
Putz house templates - 1 and 2 and 3 1/2 lb. unsalted butter 1 c. granulated sugar 1 egg 1 tsp. vanilla extract Neon pink food color 3 c. all-purpose flour Pinch of salt Parchment paper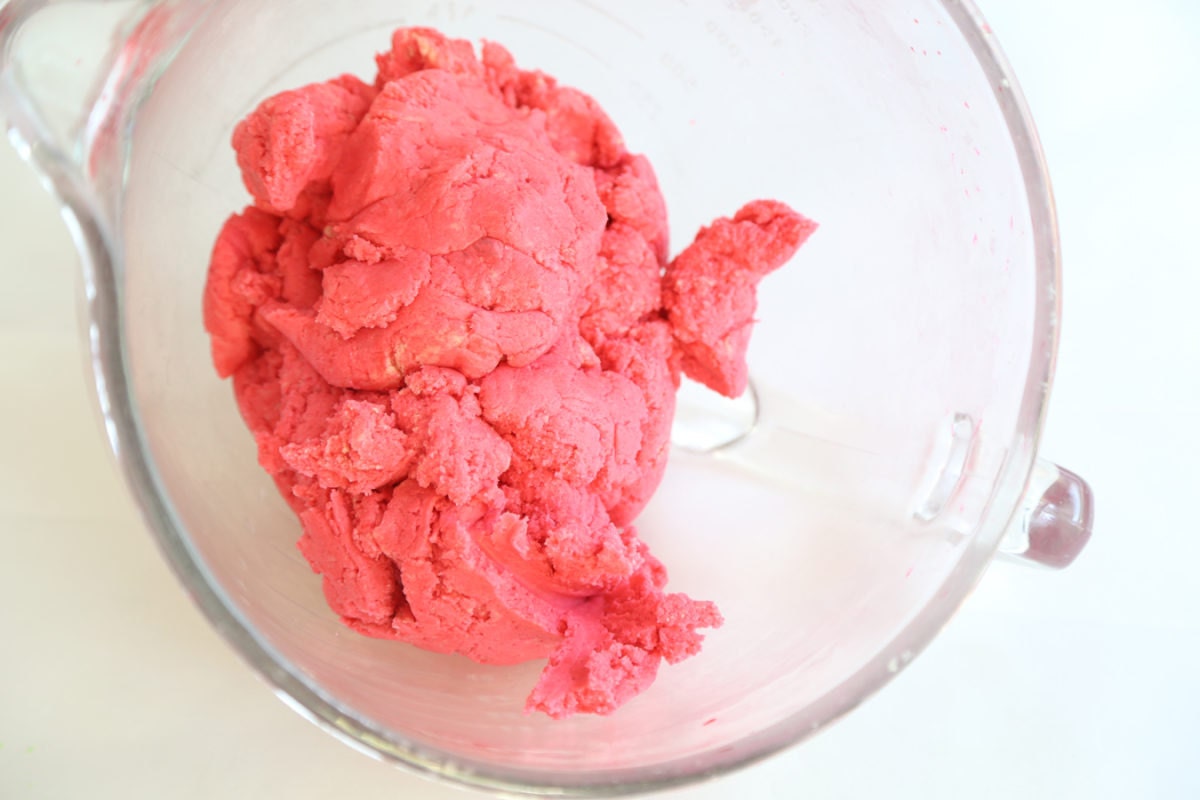
In an electric mixer fitted with the paddle attachment, mix the butter and sugar together until incorporated; don't over-mix at this stage, or the cookies may spread while baking. Once mixed to a rough consistency, add the egg and vanilla extract, then 4–6 drops of neon food coloring; mix until an intense color is achieved. Lower the mixer speed and scrape down the sides of the bowl intermittently as needed. Next, add flour and salt to the mixture; mix on low speed until a dough is formed and there are no longer any streaks of butter in the mixing bowl. Helpful hint: The dough will clump around the paddle attachment while being mixed. Rest assured, this is normal and is a sign that your dough is the correct consistency. If your mixture is crumbly, add ice water one tablespoon at a time until the dough clumps; if the dough is too sticky to handle, add additional flour one tablespoon at a time until it is no longer sticky.
 Next, roll the dough flat between sheets of parchment paper and chill for 30 minutes.
 Print out the house templates, then cut out each house piece and place them on top of the chilled dough. Use a small paring knife to cut out the pieces, being careful around areas of detail such as the eaves of the roof. Reserve the templates for later use.
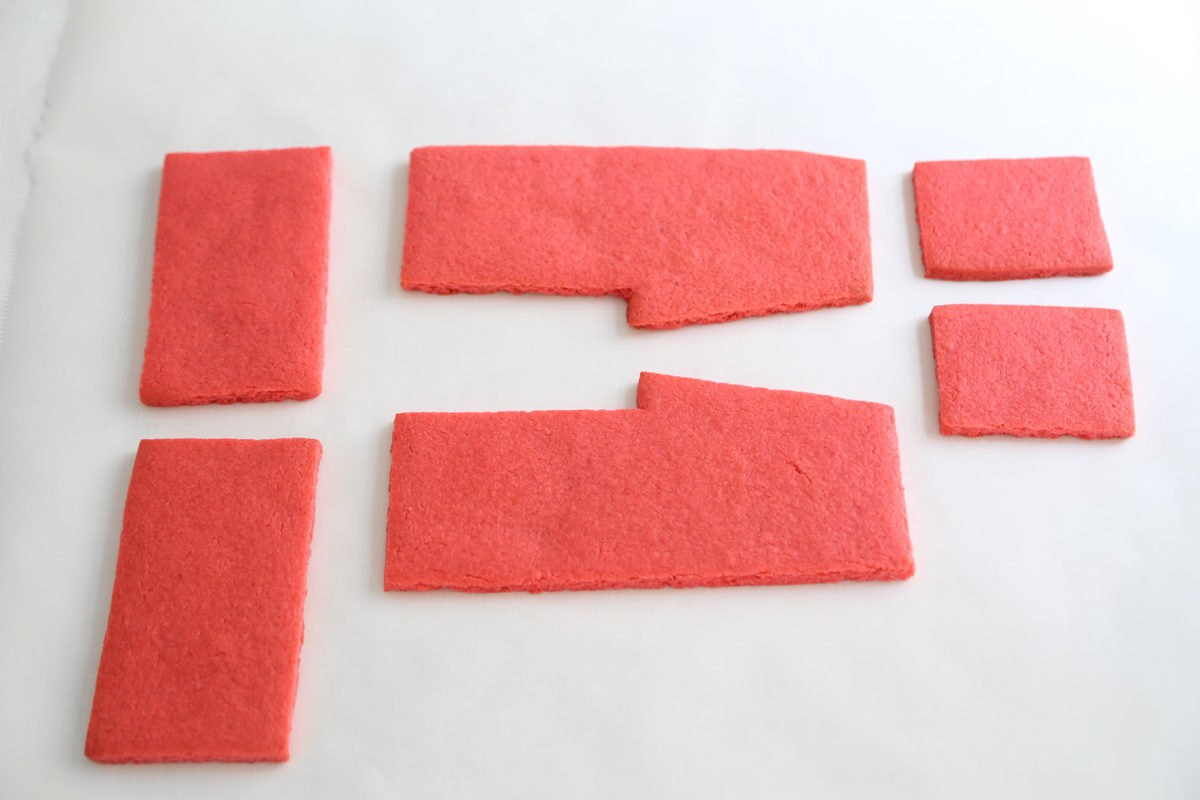 Carefully transfer the house pieces to parchment-lined cookie sheets, using a large spatula and your hand to support the cookies as you place them on the pan. Bake at 350°F for 15–20 minutes or until the cookies are fragrant and slightly puffed. While the cookies are still warm from the oven, use the templates to re-cut the cookie pieces to size using a small paring knife; be careful to avoid touching the hot baking sheet as you go.
To assemble and decorate the house, you will need:
Large platter or cake board 5 oz. almond bark or white melting candy discs Disposable piping bag or zip-top bag 1 Tbsp. light blue ready-made fondant 1 lb. white ready-made fondant Corn syrup and artist’s brush Clear edible glitter or crystal sugar X-acto knife Yellow icing sheet Black food color marker Kitchen scissors Metallic dragées Powdered sugar Mini bottle brush trees Mini pink flamingo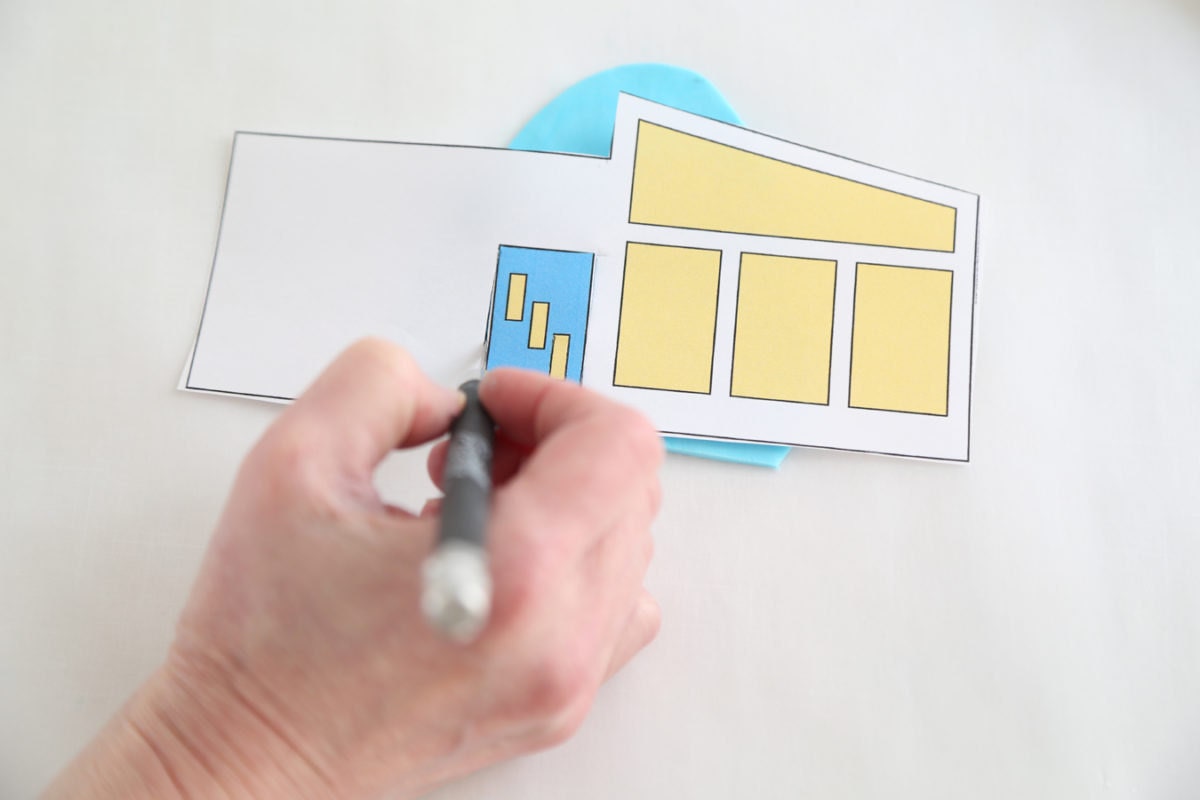 Knead the light blue fondant and roll it between two pieces of waxed paper until flat. Place the door and windows template on the fondant, cutting out the door shape with a kitchen-dedicated X-acto knife. Then, roll out about three ounces of white ready-made fondant until flat and cut out the window shapes using the X-acto knife.
 Remove the yellow icing sheet from the package and peel off the clear acetate backing. Use kitchen scissors to cut out shapes for the vertical door windows.

 Attach the door windows to the blue door using dots of corn syrup. Then, attach the door and other house windows to the front of the cookie house by brushing the pieces with corn syrup and gently pressing.
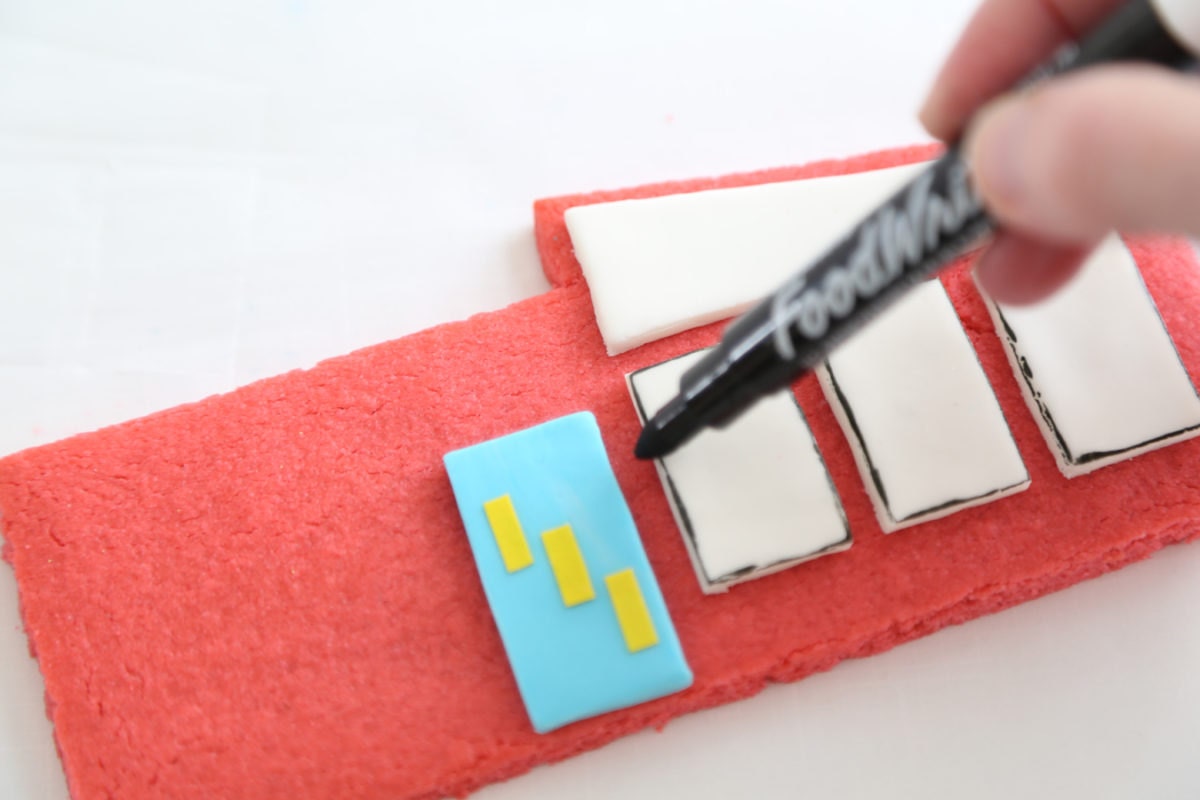
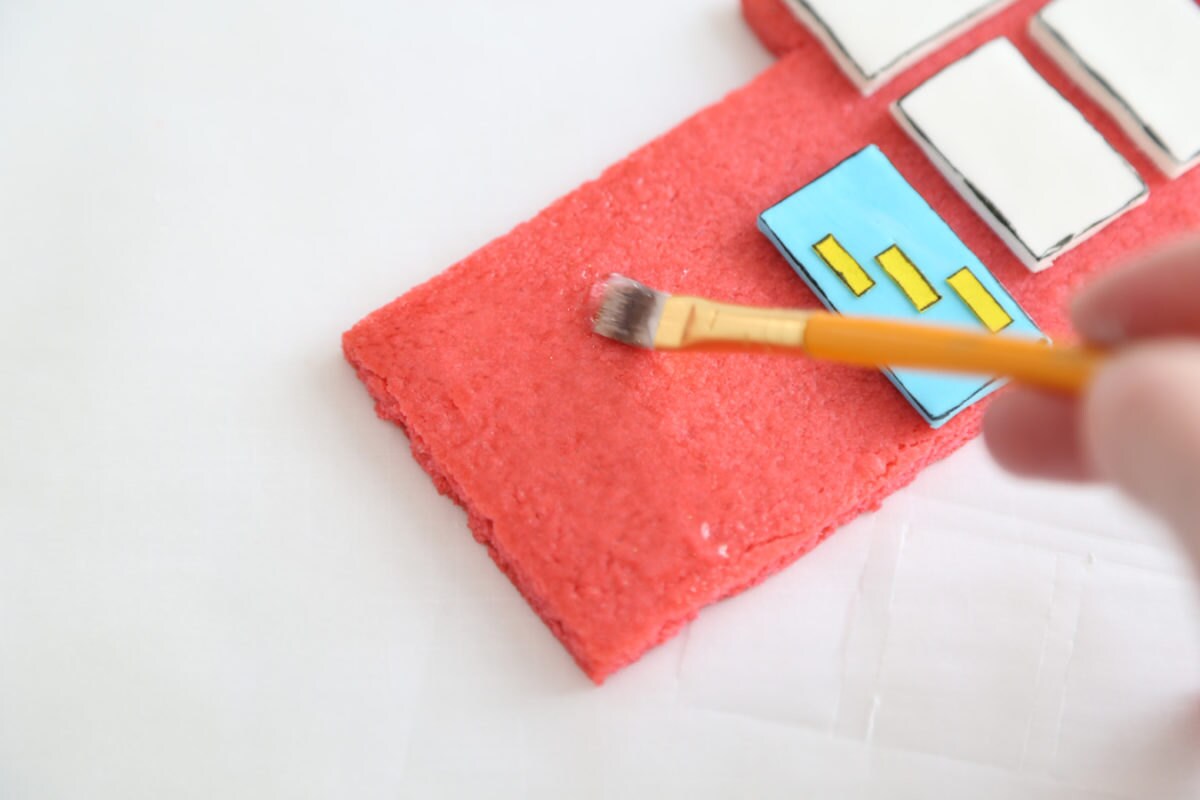
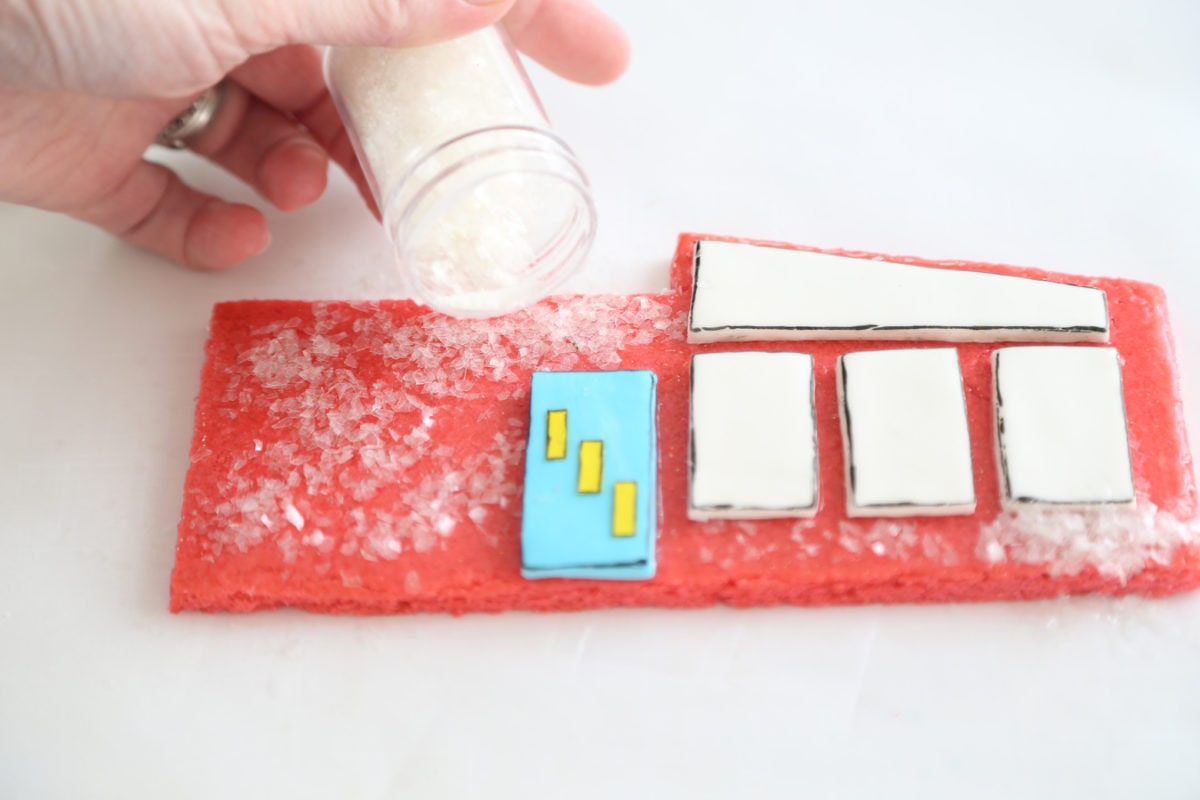 To add dimension, lightly outline the windows and doors using a black food color marker. Next, brush the front of the cookie house with corn syrup on the cookie portion only, then sprinkle with edible glitter or crystal sugar. Set aside to dry.
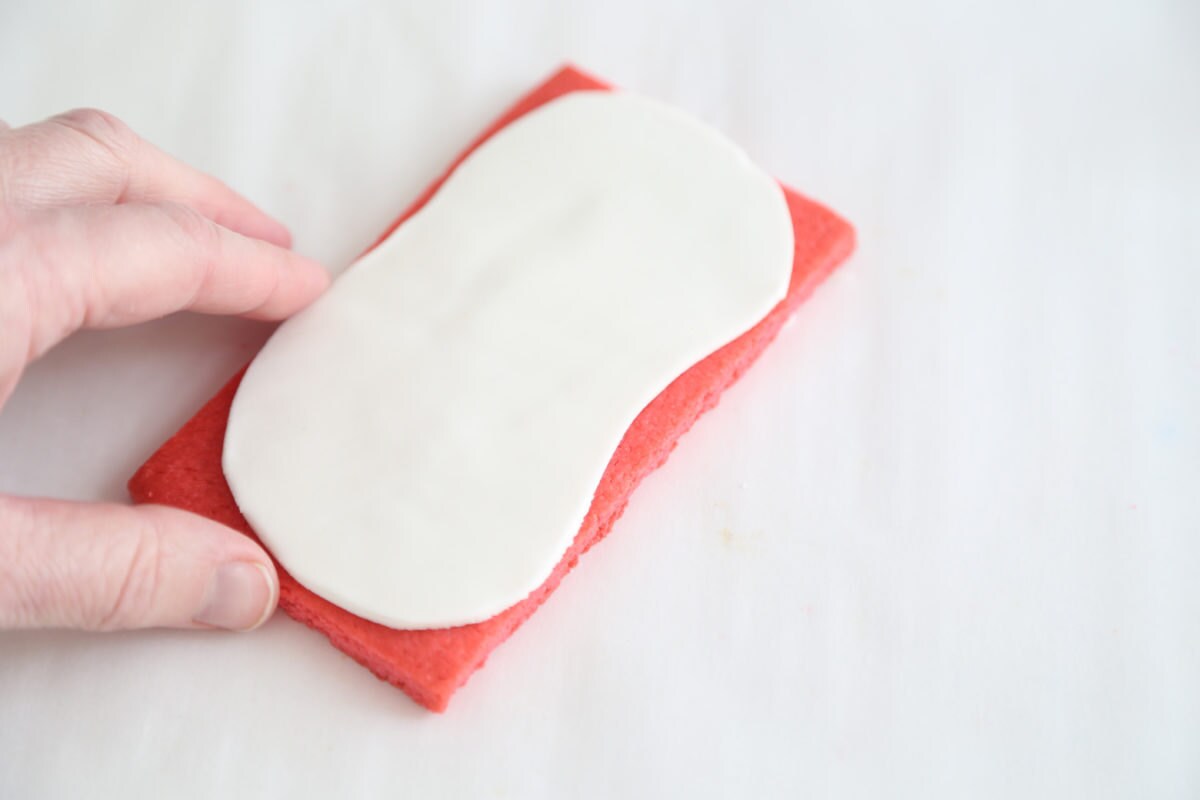
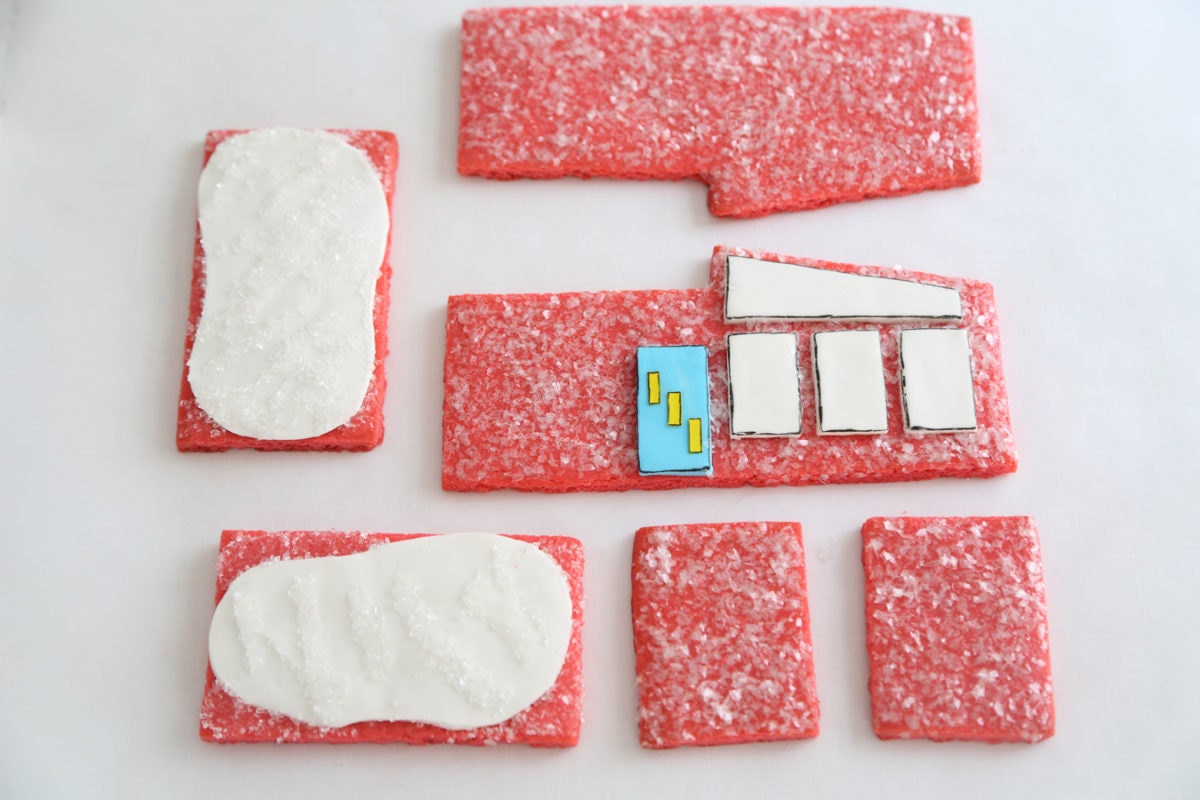 Next, roll out a five-ounce piece of fondant and cut two kidney-shaped snowdrifts to fit on top of each roof piece, attaching the fondant with corn syrup. Brush the surfaces of the remaining cookies with corn syrup and cover with edible glitter, then set aside to dry for 30 minutes.
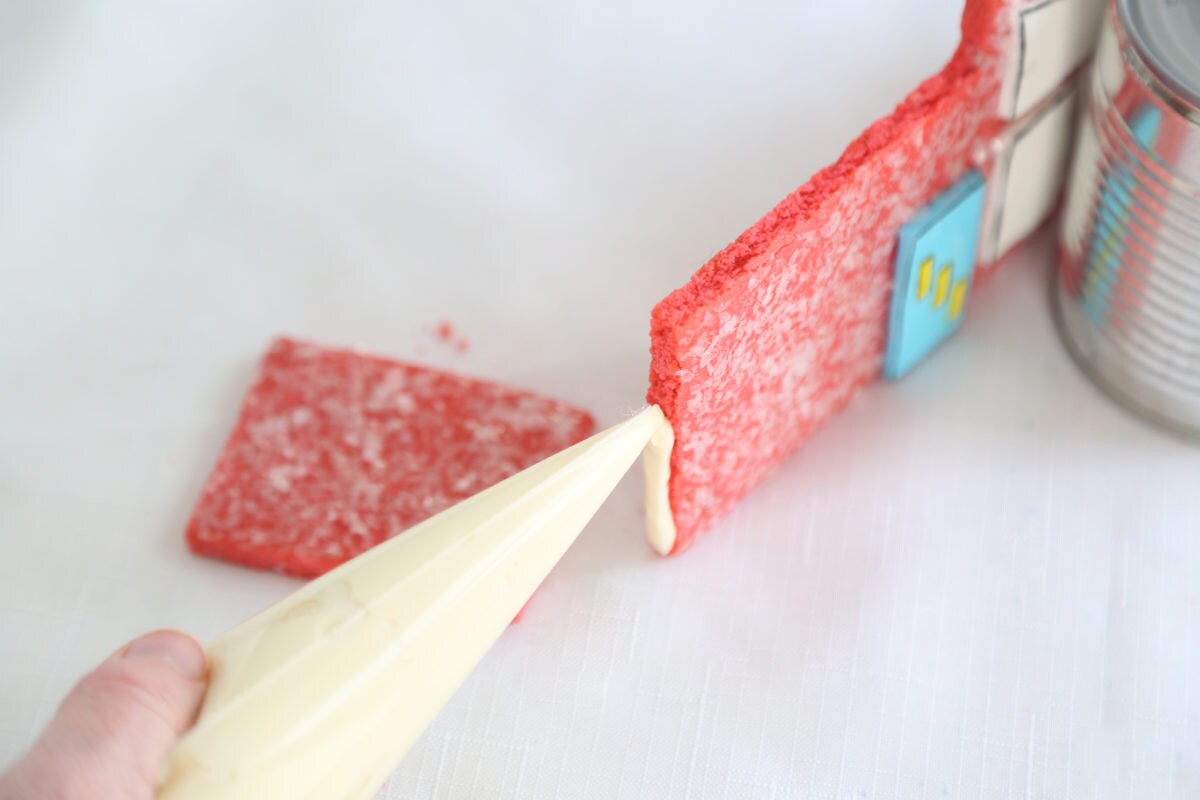 Melt the almond bark in the microwave at 100% power at 30 second intervals and stir until smooth; next, transfer to a disposable piping bag or zip-top bag with the corner snipped. Attach the front of the house to the side using the melted almond bark.
Helpful hint: Use a support to help the pieces stand upright; I used a 14-ounce food can, but you could use a heavy mug or tumbler. Then allow the pieces to dry for 30 minutes.
Once dry, attach the remaining pieces to the house using the melted almond bark, reheating the melted candy if necessary. Be sure to move the supporting object so that it supports the newly added intersecting pieces. Allow the pieces to dry completely. Next, pipe the melted almond bark around the top edges of the house and place the roof pieces flat on top. Allow candy to stand until hardened.
Melt the almond bark in the microwave at 100% power at 30 second intervals and stir until smooth; next, transfer to a disposable piping bag or zip-top bag with the corner snipped. Attach the front of the house to the side using the melted almond bark.
Helpful hint: Use a support to help the pieces stand upright; I used a 14-ounce food can, but you could use a heavy mug or tumbler. Then allow the pieces to dry for 30 minutes.
Once dry, attach the remaining pieces to the house using the melted almond bark, reheating the melted candy if necessary. Be sure to move the supporting object so that it supports the newly added intersecting pieces. Allow the pieces to dry completely. Next, pipe the melted almond bark around the top edges of the house and place the roof pieces flat on top. Allow candy to stand until hardened.
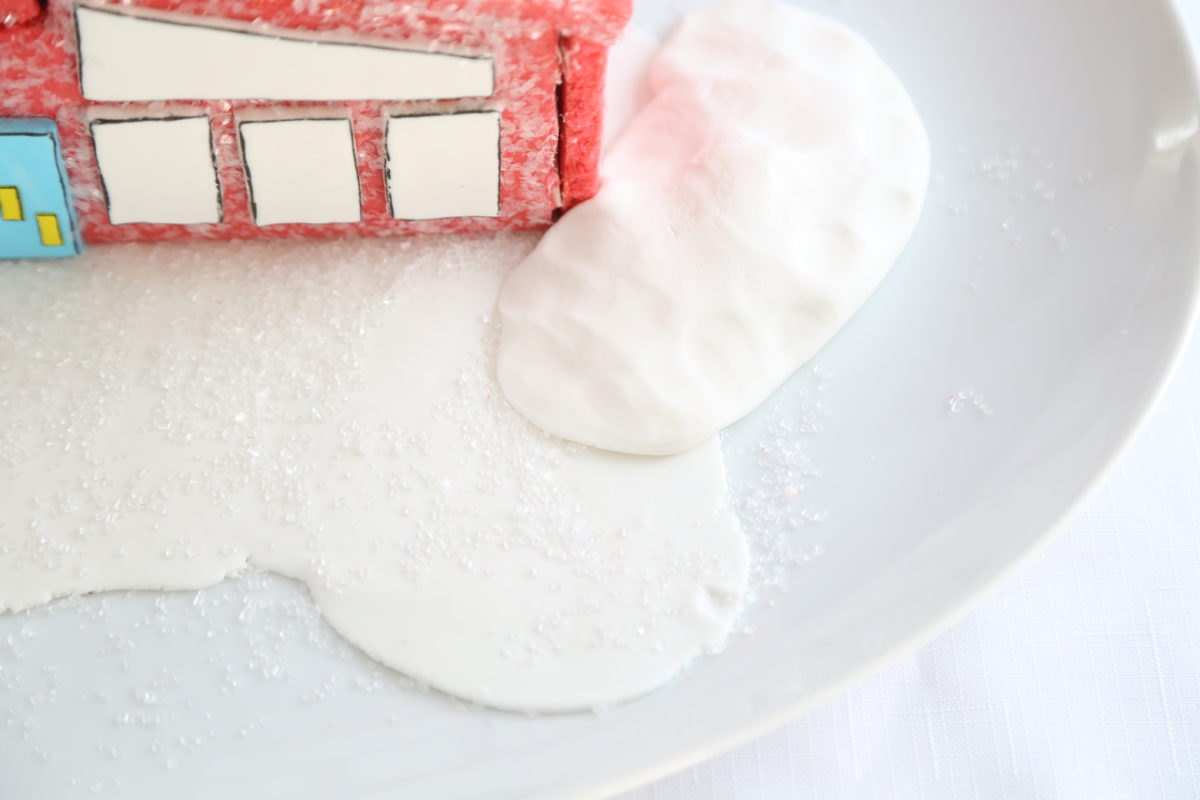 Carefully transfer the structure to a platter or cake board. Use leftover white fondant to create snowdrifts around the house.
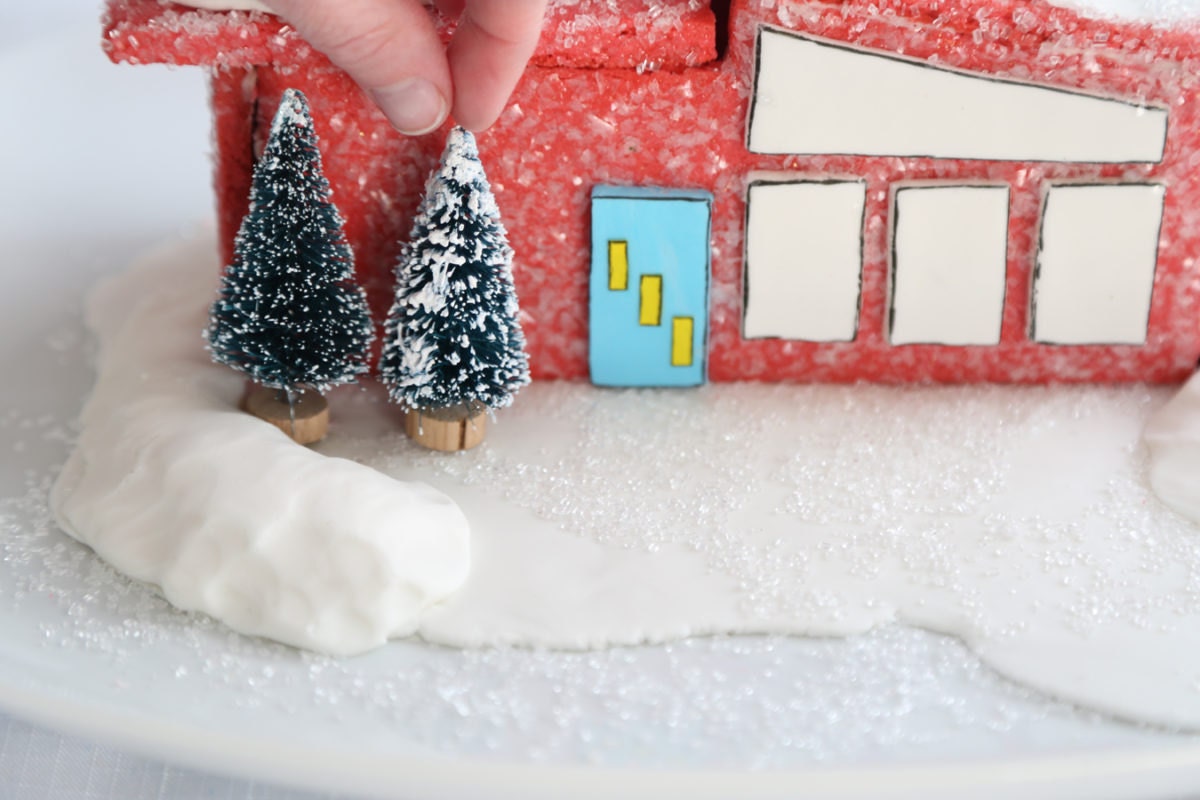
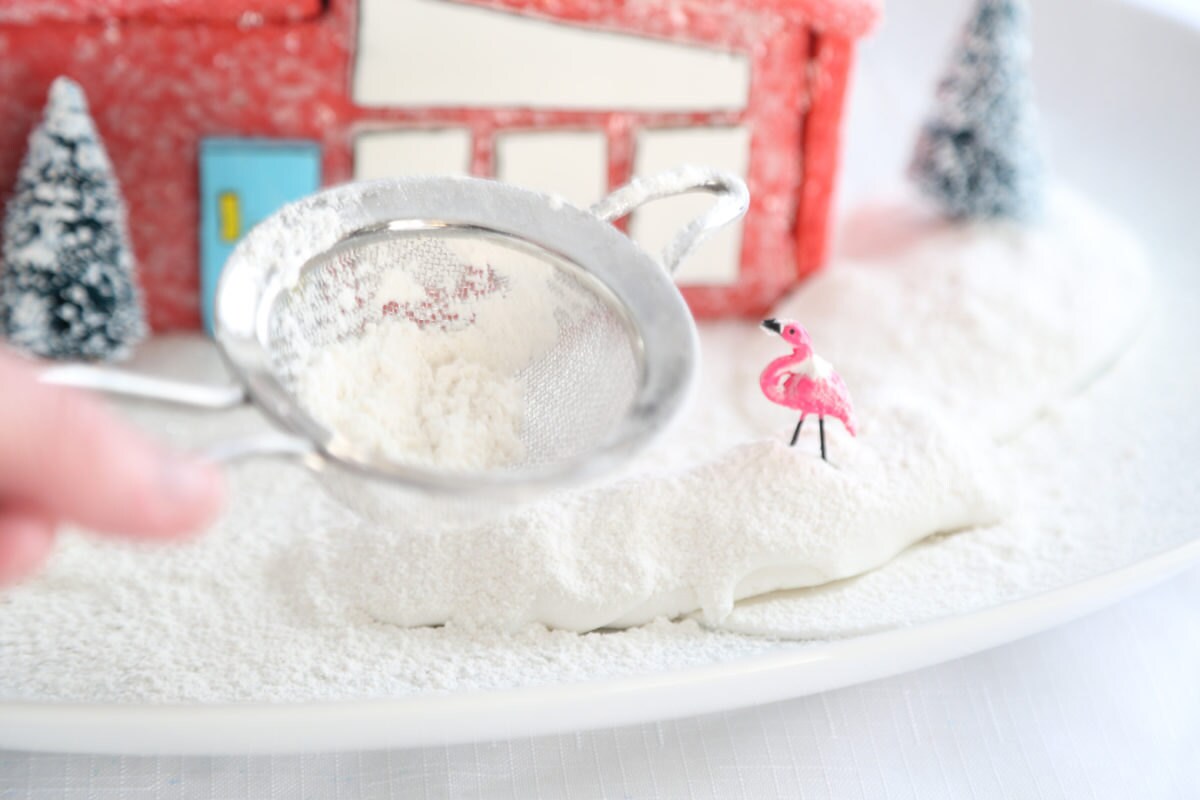 Decorate the yard using mini bottle brush trees and a tiny pink flamingo, then generously dust the scene with powdered sugar "snow."
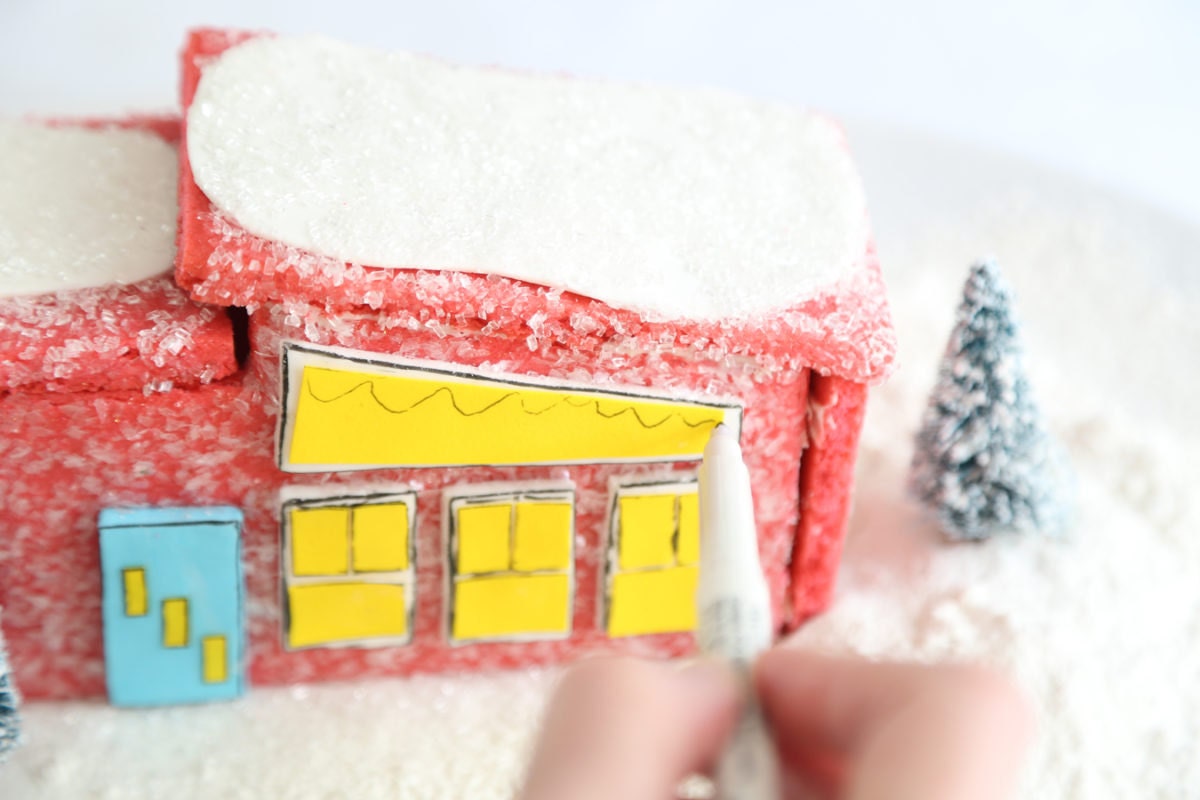 Next, attach the frosting sheets to the windows, using the food color marker to outline. To mimic the appearance of a string of holiday lights, draw a squiggly line across the top horizontal window and attach dragées using dots of corn syrup.
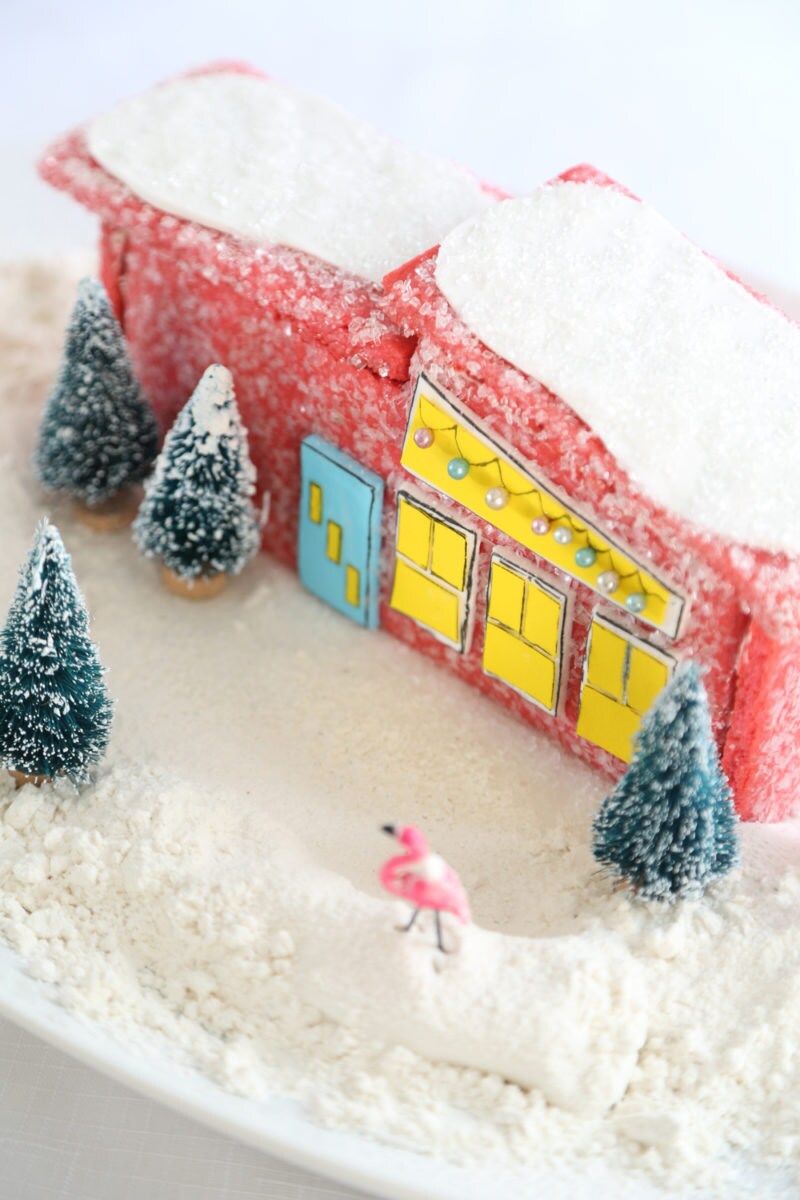
Now, sit back, display and enjoy! (And be sure to take a bite.) Images by Heather Baird.


