Candy jewels and chocolate coins fill this DIY edible treasure chest.
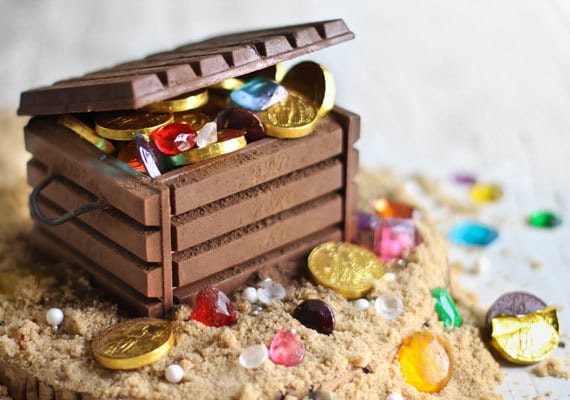
"X" marks the spot on treasure maps, but you won’t have to search far for this trove. Enjoy your own stash of riches by making a candy treasure chest! Crisp wafer candy bars are used to build this entirely edible crate, then it’s filled with all kinds of sweet treasures, like gold chocolate coins, sugar pearls and candy gemstones. It makes a cute centerpiece for a beach-themed party, or it can be used as a cake topper for pirate-themed birthdays. If you can’t find the crispy wafer bars used in this recipe, you may use other break-apart candy bars or chocolate tablets trimmed to 4 x 4 1/2 inches. Chocolate coins can be found at bulk candy shops and online, and several Etsy shops carry edible jewels. You will need: 10-inch round cake board, plate or other display Small artists’ brush Small soft-bristled pastry brush Non-stick paper (parchment or wax) 1 1/2-2 cups light brown sugar 6 (1.5 oz each) crisp wafer chocolate bars (I used KitKat Crisp Wafers) 3 oz chocolate, melted 2 tablespoons unsweetened cocoa powder 1 black licorice lace 2 wooden ice pop sticks or skewers Gold foil-wrapped chocolate coins Sugar pearls Hard candy jewels Metallic dragées Your choice of candy
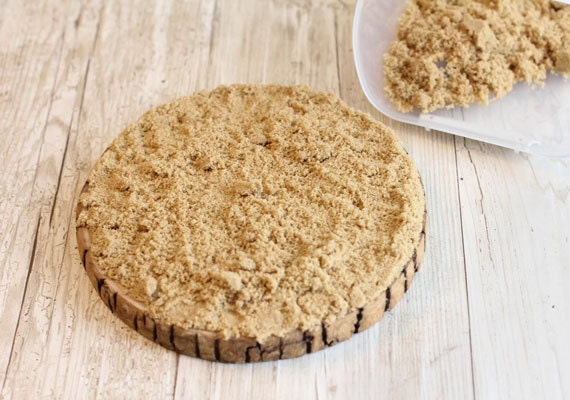
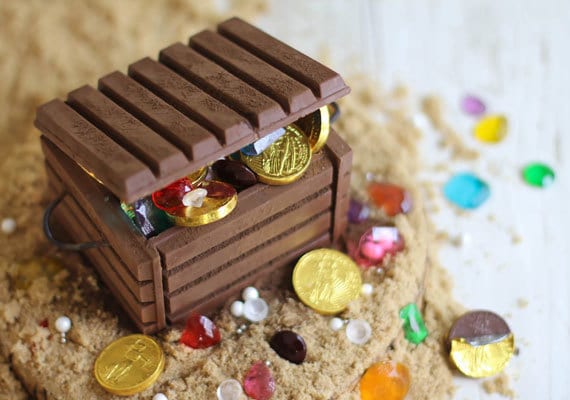
Cover the 10-inch display with 1 cup of light brown sugar. This will be the “sand” on which the treasure box sits. Reserve the rest for later use. Tip: Make sure the brown sugar you use is fresh. It should be soft and pack easily. You can test it by squeezing a handful tight in your fist. It should hold its shape after opening your hand.
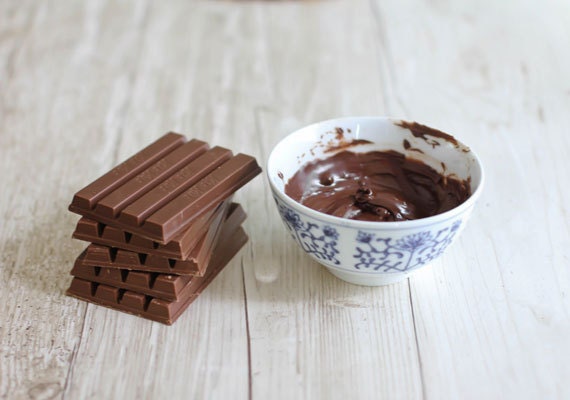
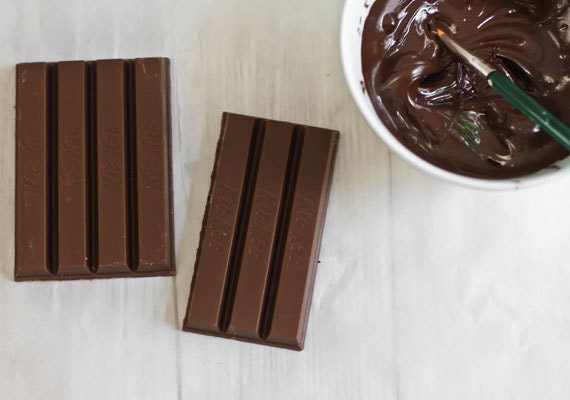
Unwrap the candy bars and set aside. Melt the 3 oz of chocolate at 30 second intervals in the microwave until it can be stirred smooth. You can also warm the chocolate over low heat in a small saucepan.
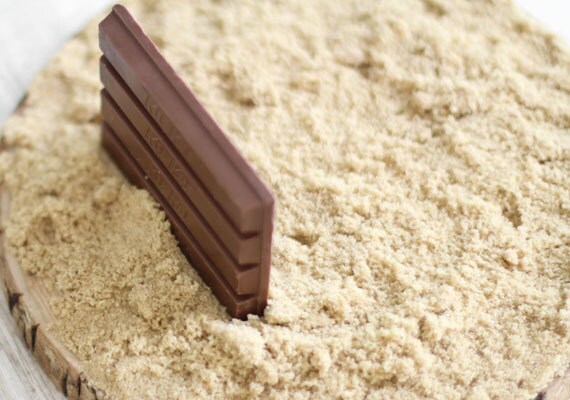
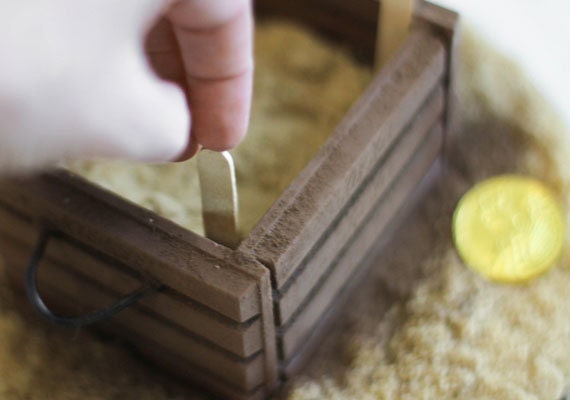
Press a candy bar turned horizontal and standing upright into the brown sugar to one side of the display board. Press the sugar around the bottom of the candy bar so that it is secure and can stand on its own.

Paint chocolate on the short ends of another chocolate bar using the artists’ brush.

Place the short end of the wafer bar brushed with chocolate against the short end of the standing chocolate bar. Press down into the sugar. Apply a third candy bar onto the other end of the wafer bar brushed with chocolate, forming three quarters of the box. Repeat with a fourth chocolate wafer bar and fit it between the two open short ends to close the box.
To make the lid, use one whole candy bar and 3/4 of another bar, broken at a perforation. Lay the bars on a piece of non-stick paper and brush the broken end of the 3/4 bar with melted chocolate.
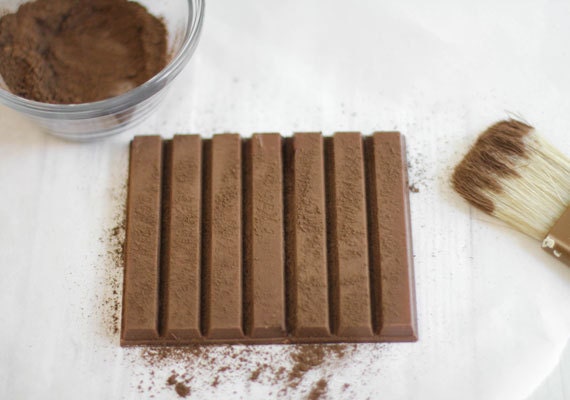
Press the two bars together so they line up evenly on all sides. Place the unsweetened cocoa in a small cup. Load a dry pastry brush with the cocoa powder and brush over the surface of the box top. Transfer the box top on the non-stick paper to the refrigerator and chill until firm.
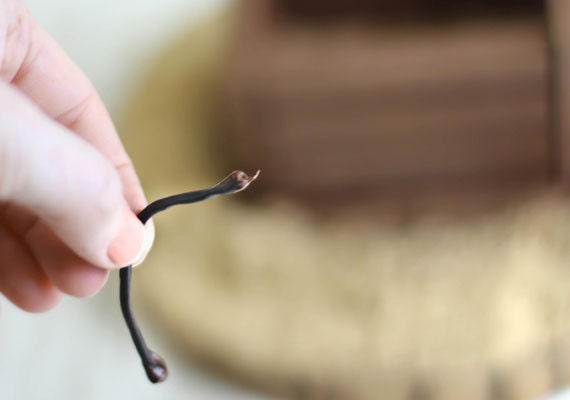
For the box handles, cut the licorice lace into two 4-inch pieces. Shape the pieces into a slight curve by bending them with your fingers to make the ends touch. Dip each end of the licorice piece into the chocolate.
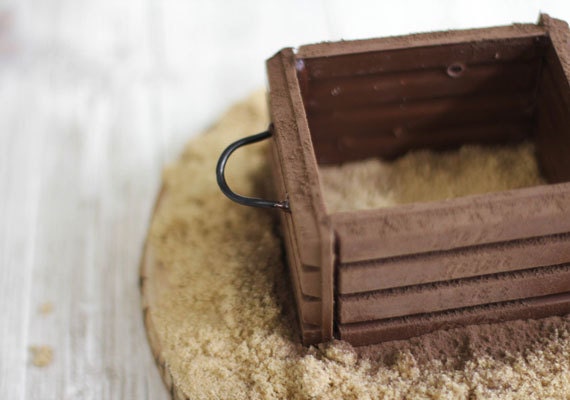
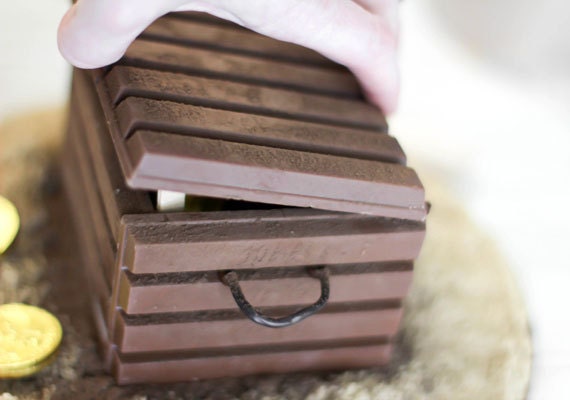
Press the ends of a licorice piece into a break-apart perforation (at a short end of the box) and hold until the chocolate adheres. Repeat process on the other side of the box with the remaining licorice piece. Dust the box with the cocoa using the pastry brush as before. This gives the box a dusty, aged look and also obscures any branding that may be pressed into the surface of the chocolate bar.
Use some or all of the remaining brown sugar to fill the box, depending on the amount of candy you are using. Place two ice pop sticks at the front corners inside the box. Press them down into the sugar.
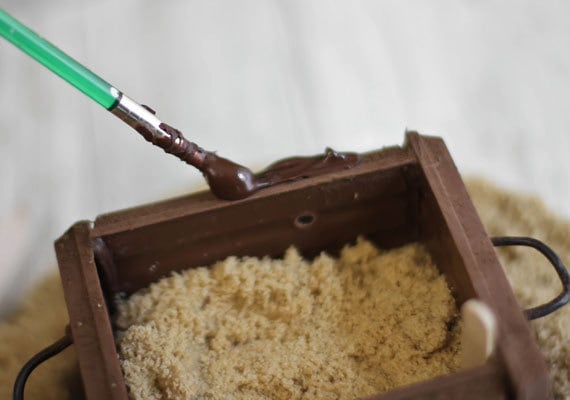
Paint the top back edge of the box with melted chocolate (reheating the chocolate may be necessary if your chocolate starts to set).
Remove the box top from the refrigerator and peel it away from the non-stick paper. Press a long end of the box top onto the melted chocolate so the box edges meet up evenly. Allow the front of the box top to rest on the ice pop sticks, so that the treasure box lid is slightly open.
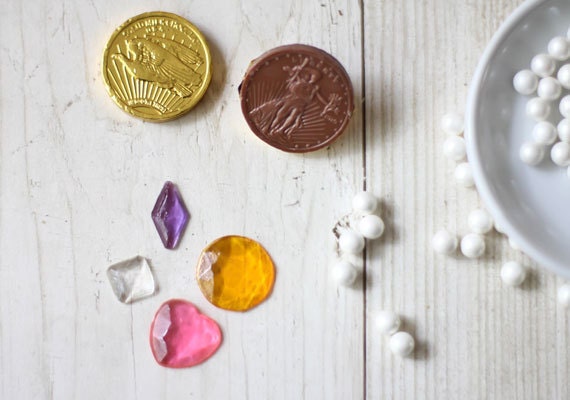
Choose your treasure! I used foil-wrapped chocolate coins, sugar pearls, edible jewels and dragees in this box, but you could also use colorful rock sugar, candy necklaces and other foil-wrapped candies.
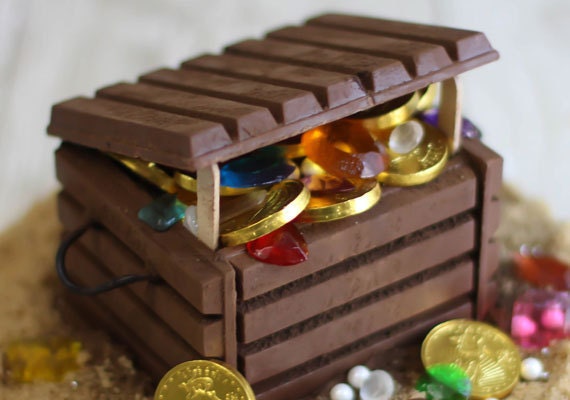
Place the treasure into the chocolate box, filling it full so that it will partially support the box lid.
When the chocolate on the box top has set, gently tilt the ice pop sticks backward and remove them. The box lid will stand open on its own. Inspiration for this project was found in the Dessert Designer book by Dana Meachen Rau. All photographs by Heather Baird.


