Looking for an at-home activity to satisfy your creative itch and sweet tooth? Meet the tastiest terrariums in town, made from cupcakes and candy.
Editor’s note, April 2020: We’ll confess we’ve been so busy working on our embroidery kits and reorganizing our pajama drawers that we’ve worked up something of an appetite—which sent us in search of some of our favorite food crafts from the archives. One forever-favorite? This edible terrarium from Heather Baird of SprinkleBakes:
Terrariums are an easy, adorable way to add greenery to your space. Simply add your favorite plants to a few layers of rocks and charcoal—with the requisite cute miniatures, of course—and you’ve created a verdant paradise that grows on your windowsill.
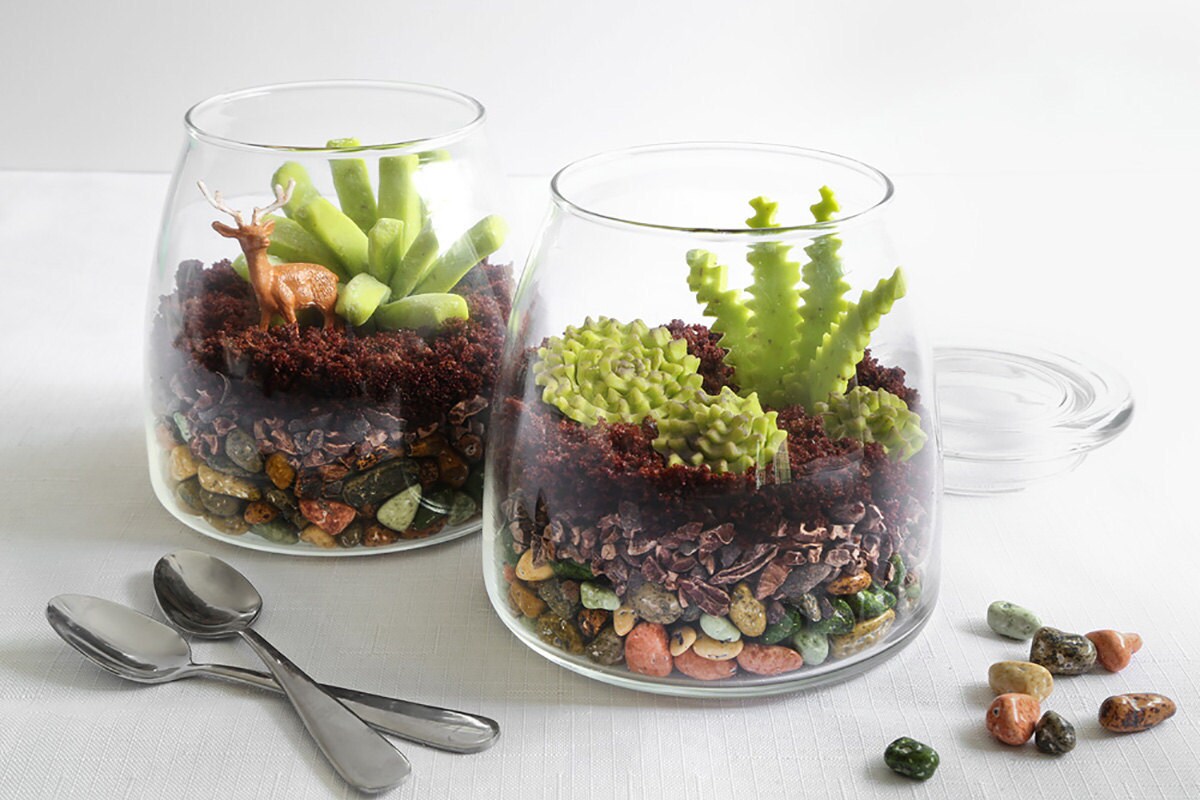
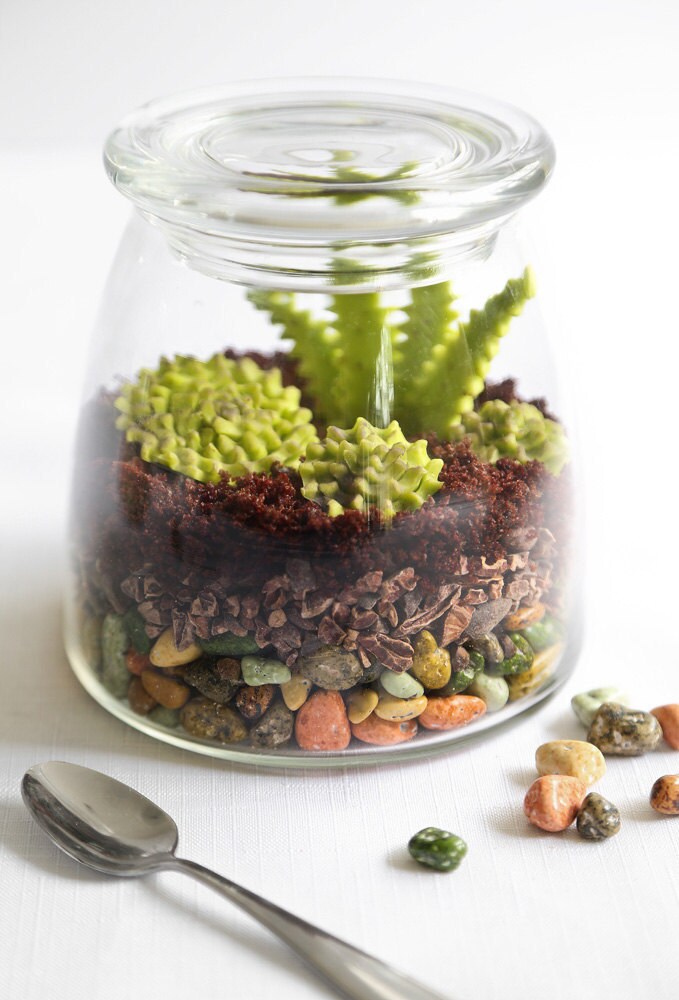
So, how do you make a terrarium even better? By making it out of chocolate and candy, of course! Inspired by all things terrarium, this edible faux-terrarium begins with a foundation of candy-coated chocolate rocks, and cacao nibs are a tasty stand-in for the typical charcoal layer. Mini-chocolate cupcakes are baked and crumbled on top to mimic potting soil, and candy succulents are planted on top.
Edible Terrariums
For the chocolate cupcakes, you will need:
Yields 8 mini cupcakes
- 3 tablespoons all-purpose flour
- 2 tablespoons granulated sugar
- 1 tablespoon unsweetened cocoa powder
- 1/4 teaspoon baking soda
- 1/8 teaspoon salt
- 3 tablespoons buttermilk (or whole milk)
- 1 tablespoon vegetable oil
- Mini cupcake tin and 8 liners
For the candy clay, you will need:
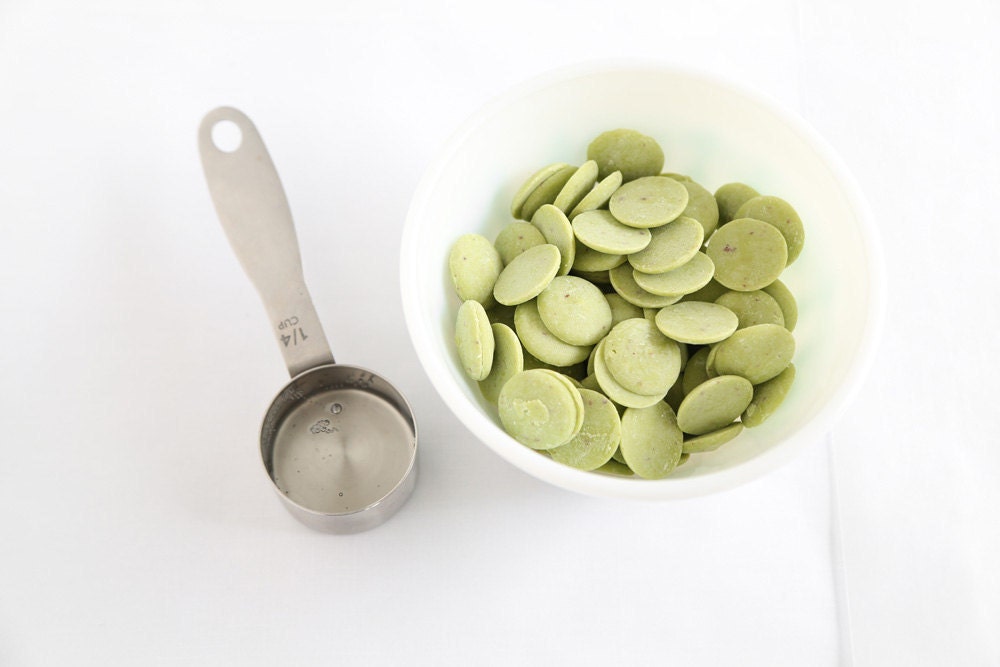
- 12 ounces green candy melting wafers
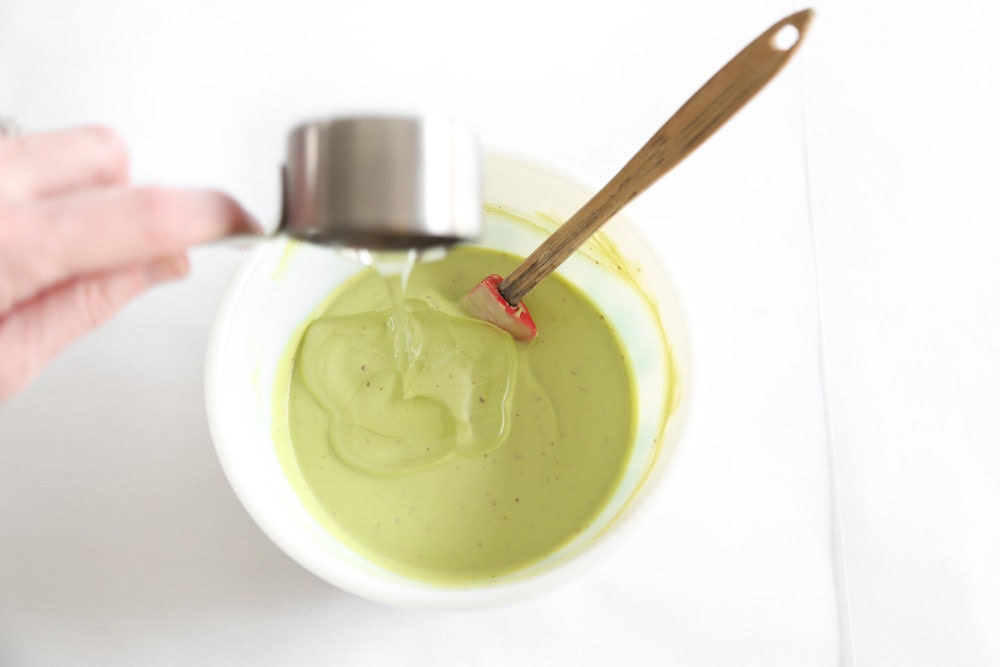
- 1/4 cup light corn syrup
- Fluted pastry wheel or fluted cookie cutter
- Edible purple color dust (optional)
- Powdered sugar (optional)
You may also substitute ready-made fondant or marzipan.
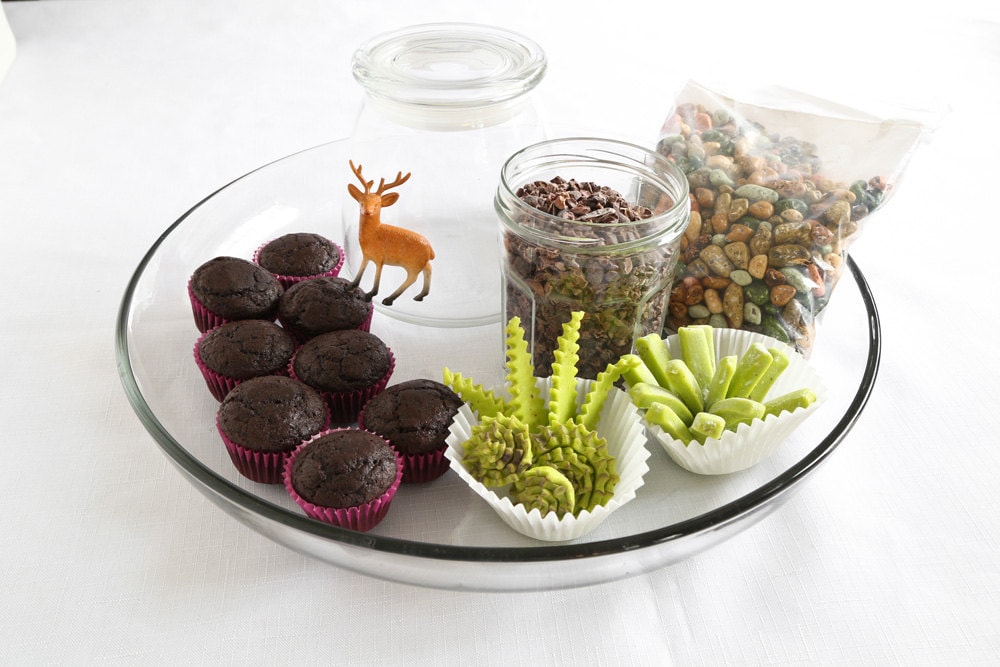
For the terrarium, you will need:
- 42 ounce food-safe jar with tight-fitting lid
- 2/3 cup candy chocolate rocks
- 2/3 cup cacao nibs
- Miniature plastic terrarium decor (optional)
Step 1: Make mini chocolate cupcakes.
Preheat oven to 350°F and line 8 cups of a mini cupcake tin with paper liners.
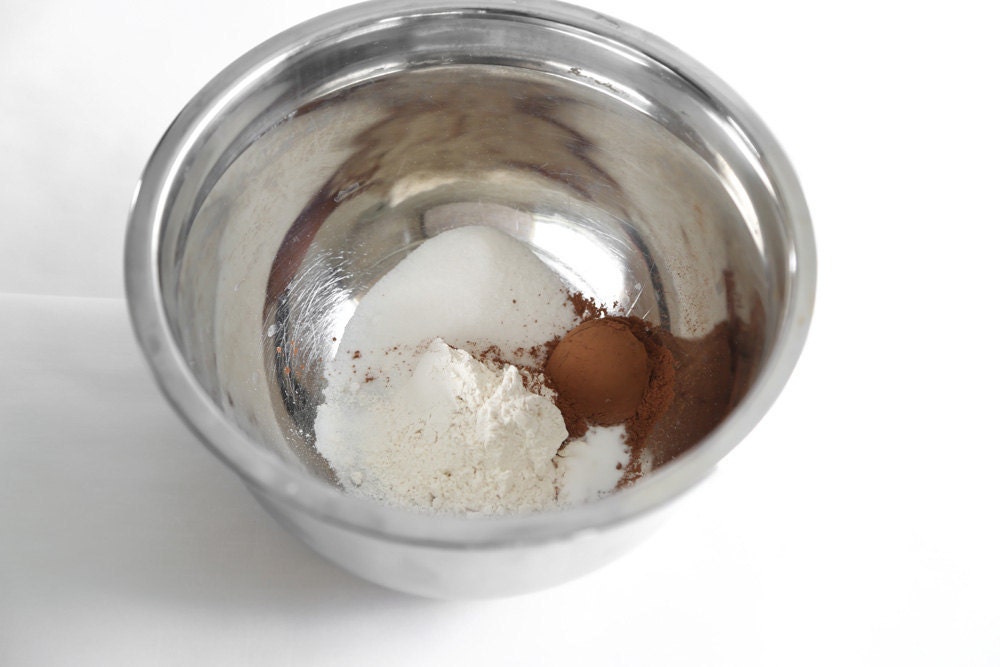
In a medium bowl, whisk together flour, sugar, cocoa powder, baking soda, and salt. Whisk in milk and oil until just combined. Divide the batter evenly between the cupcake papers.
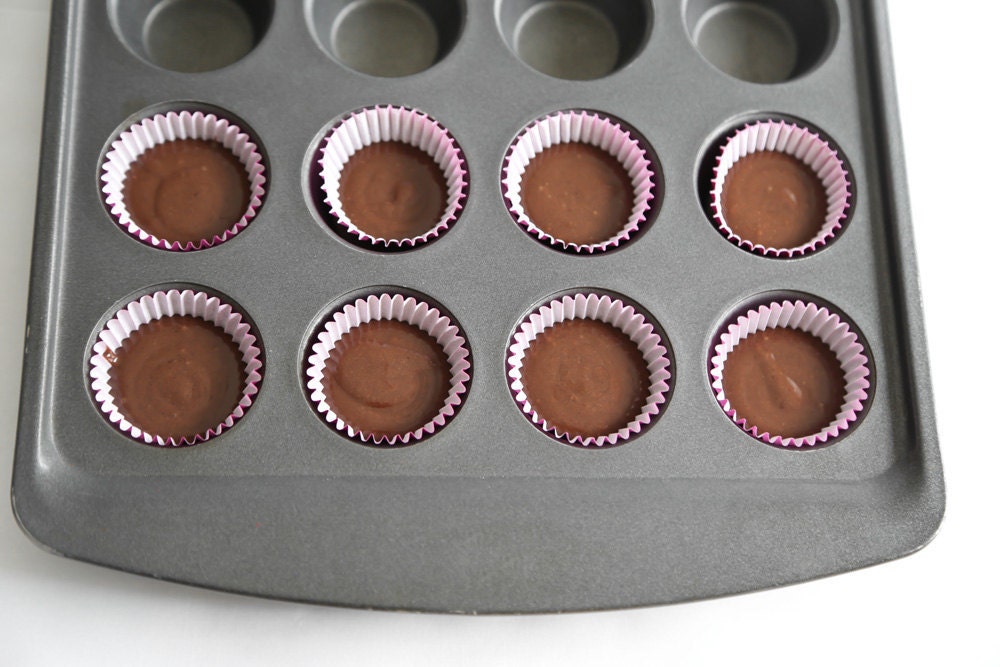
Bake for 9 to 12 minutes, or until a toothpick inserted in the center comes out clean. Allow the cupcakes to cool completely.
Step 2: Make candy clay.
Place the candy discs in a microwave safe bowl. Cook in the microwave at 100% power at 30 second intervals until the discs are melted and can be stirred smooth (about 90 seconds total). Add corn syrup and stir well.
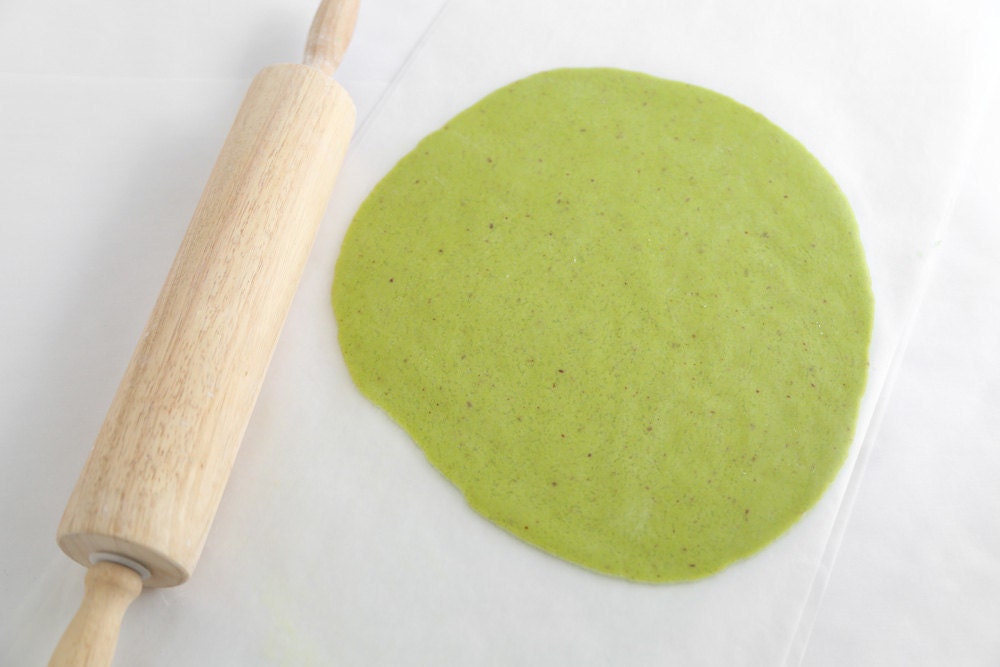
Turn mixture onto waxed paper. Place another sheet of waxed paper on top and roll the candy to 1/4 inch. Let stand until firm, or transfer to the refrigerator to speed setting.
Candy clay will be hard at first; knead a quarter of the clay until soft and pliable. Repeat with remaining clay. Store in a zip-top bag with the air removed.
Step 3: Sculpt the succulents.
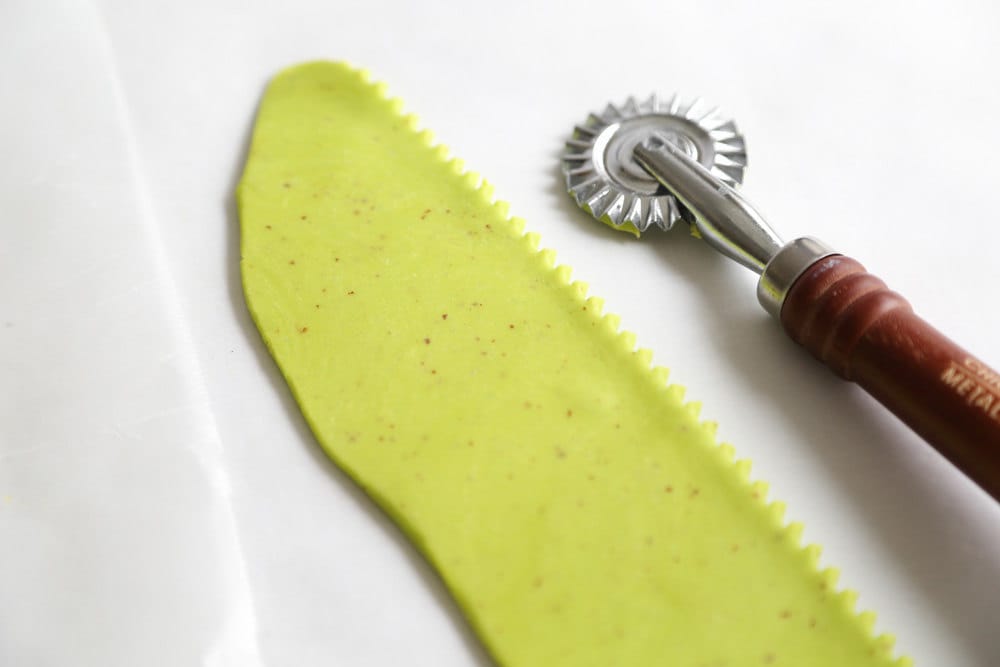
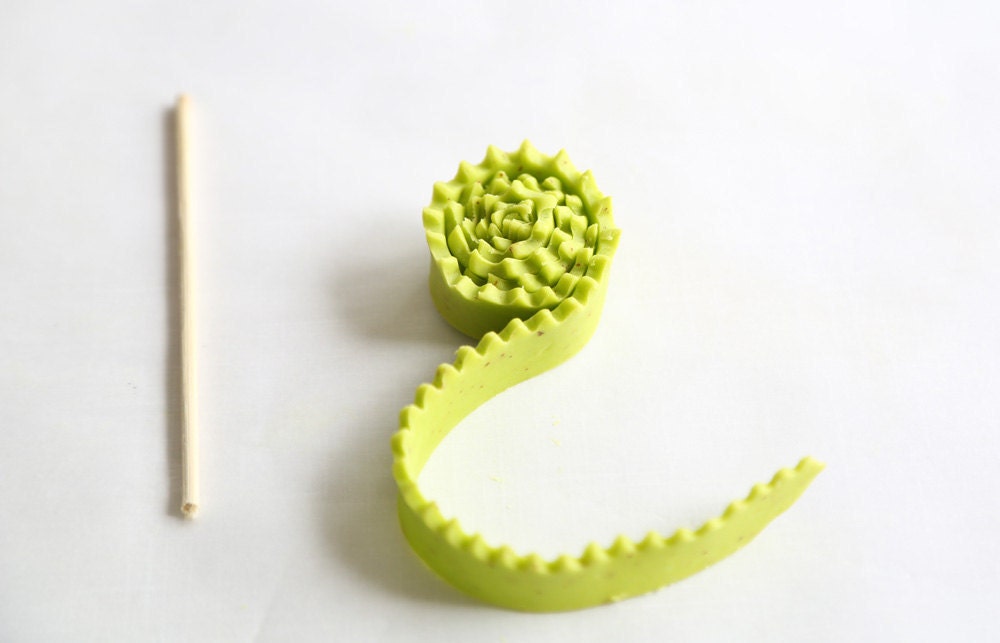
To create “hens and chicks” succulents, roll the soft clay out between two sheets of waxed paper to 1/4-inch thickness. Using a fluted pastry wheel (or one edge of a scalloped cookie cutter), cut a line through a 6-inch piece of the candy clay. Cut the piece with a straight-edged knife 1/2 inch below the zigzag line.
Roll the piece jellyroll style. If you have trouble getting the clay started curling, wrap one end around a toothpick and use it to roll up the clay. Roll two 6-inch pieces together for a large “hen,” and roll one piece up for smaller “chicks.” Gently squeeze the bottom portion of the candy succulent to cause the zigzag edge to fan slightly.
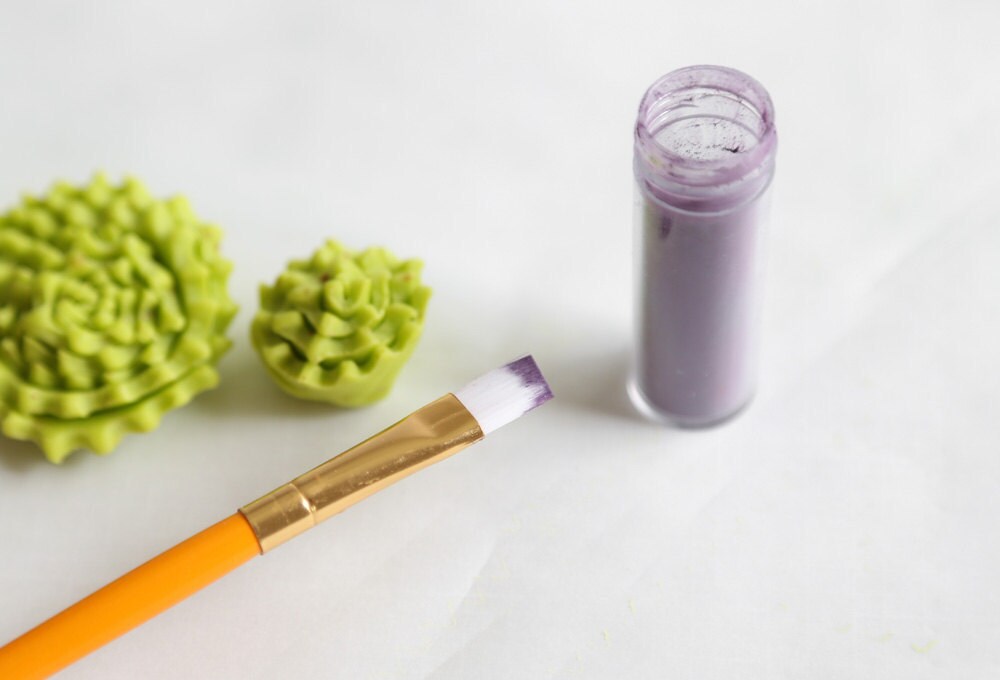
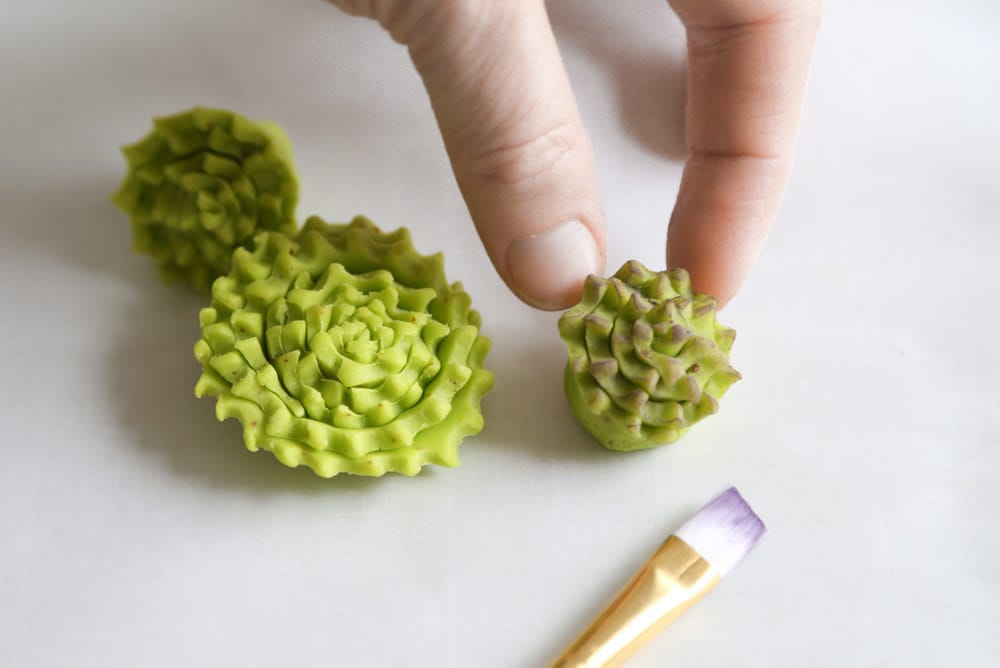
Dust with purple color dust, if desired.
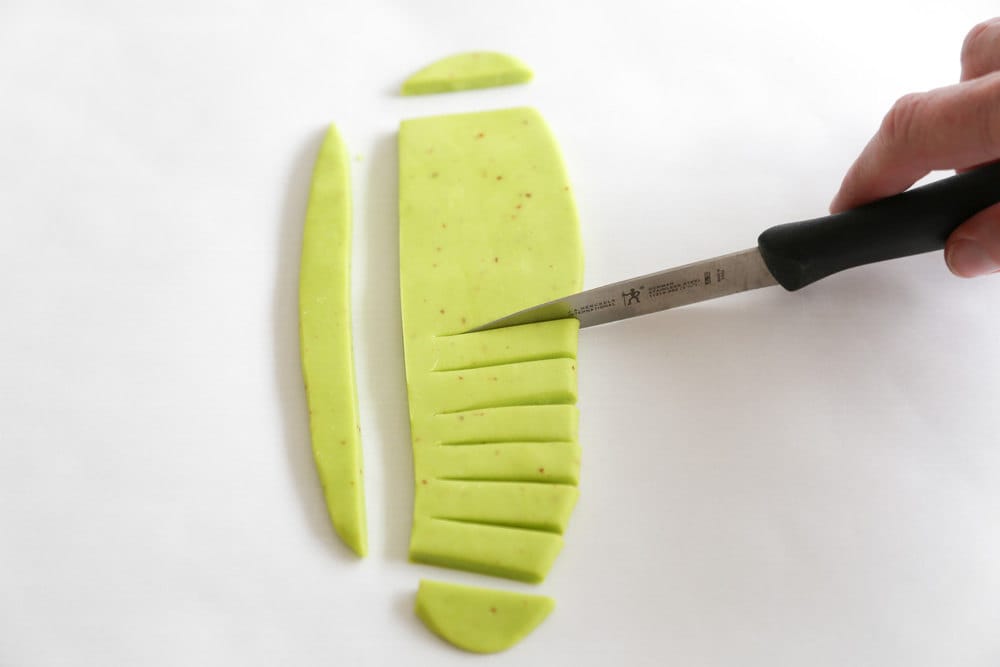
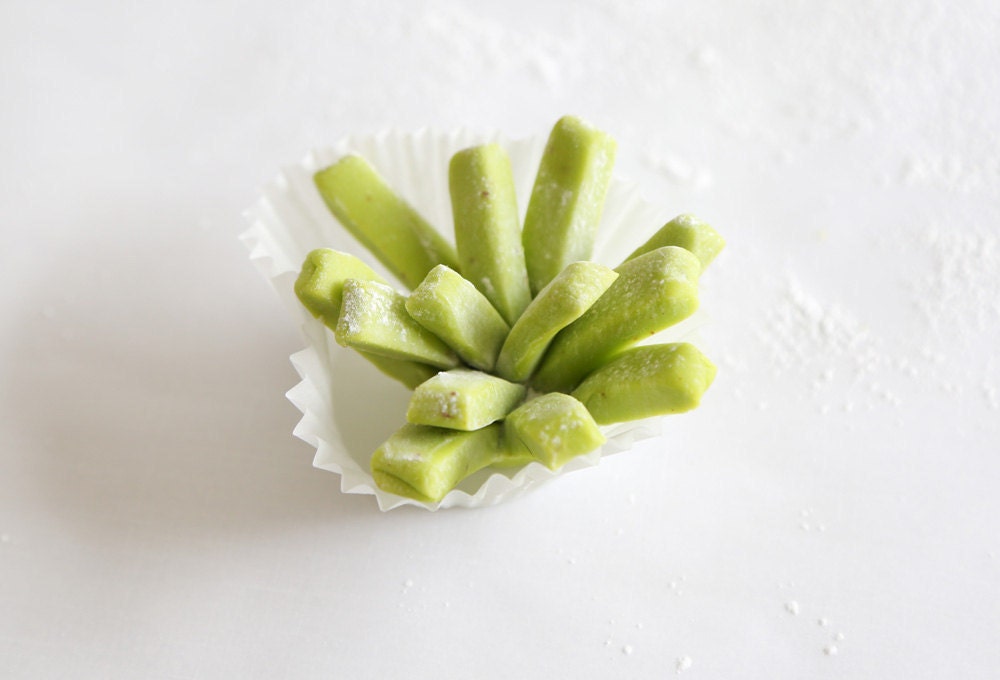
To create “green fingers” succulents, roll candy clay to 1/2-inch thickness. Cut a piece to roughly 6 x 2 inches. Cut the piece into “fingers” using a straight edge knife.
Roll the piece up jellyroll style, as before.
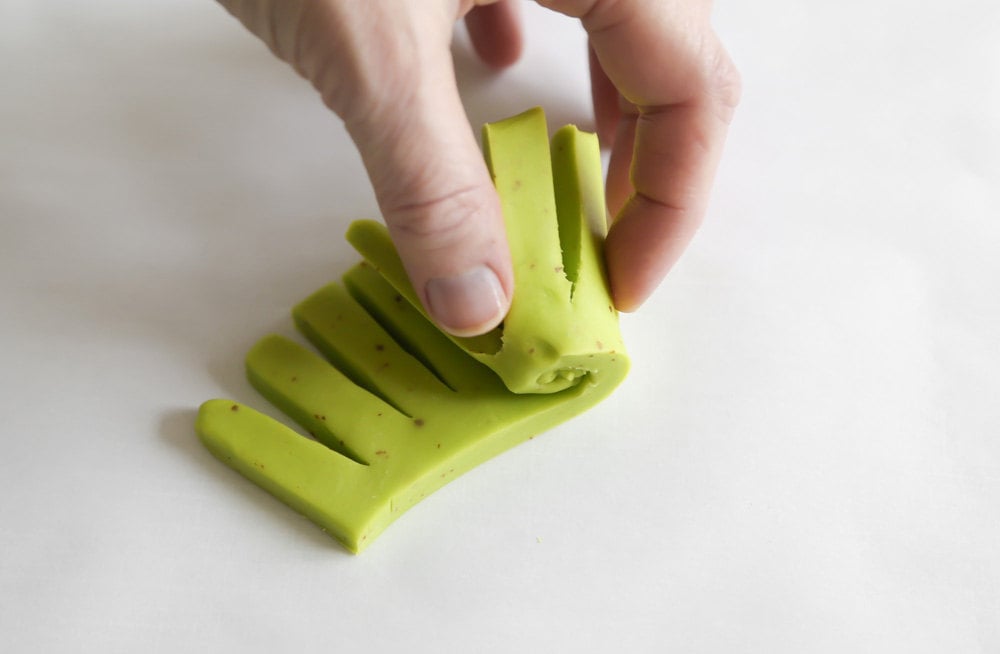
Place the succulent upright and place it in a cupcake paper to hold its shape. Some succulents have a naturally occurring powdery appearance; dust with powdered sugar for this effect, if desired.
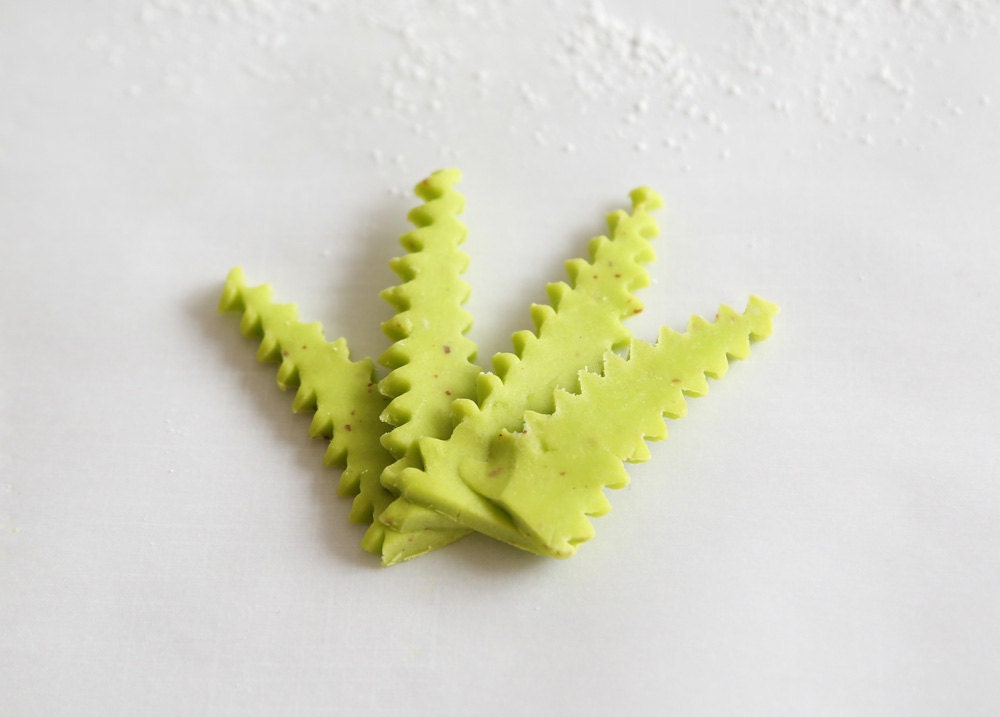
To create “aloe vera," roll candy clay to 1/4-inch thickness. Cut four 3-inch triangles from the clay with the fluted pastry wheel. Gently press the leaves together at the bottom. Let stand until firm, about 30 minutes.
Step 4: Assemble the terrarium.
Layer the chocolate rocks evenly in the bottom of the jar. Sprinkle cacao nibs over the rocks. Crumble the cupcakes in a bowl and layer the crumbs on top of the cacao nibs evenly. Arrange the succulents on top of the “soil,” and add miniature decor, if desired.
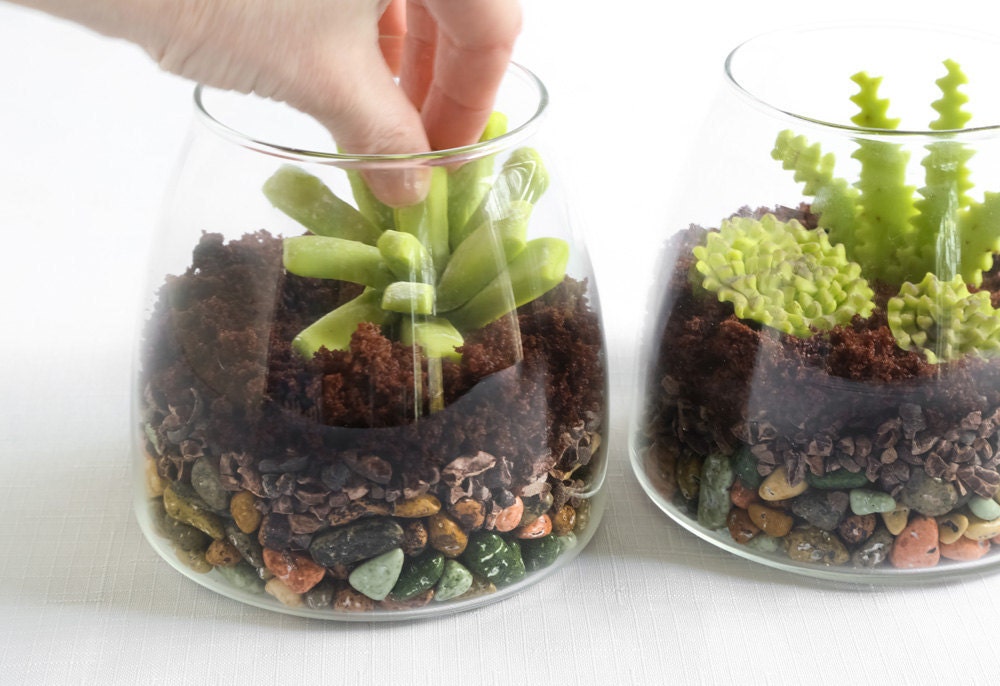
Now, revel in your candy terrarium creation—and dig in.
All photos by Heather Baird.


