Farmgirl Flowers founder Christina Stembel shares a simple DIY bouquet guaranteed to make you smile.
“I used to think flowers were a waste of money,” confesses Farmgirl Flowers founder Christina Stembel. “I would spend hours online scrolling through arrangements, just looking for the least-ugly option.” Tired of overspending on underwhelming flowers, Christina launched bouquet delivery service Farmgirl Flowers from her dining room in 2010. Today, she’s “Chief Farmgirl” of a blossoming empire, connecting floral fanatics across the United States with a curated selection of seasonal, responsibly-sourced bouquets that don’t break the bank. Christina may be a botanical bon vivant, but her approach to arranging is decidedly democratic. “Anybody can put a bouquet together,” she says. “My biggest philosophy is that there shouldn't be any rules.” But for those of us who aren’t sure where to dive in—or just actually kind of like rules—Christina has kindly shared some easy-to-follow tips and tricks for assembling your own foolproof arrangement. Take heart: It's virtually impossible to mess this one up. “Everybody has the ability to make something beautiful,” confirms Christina. Ready to start styling? Read on.
You will need:
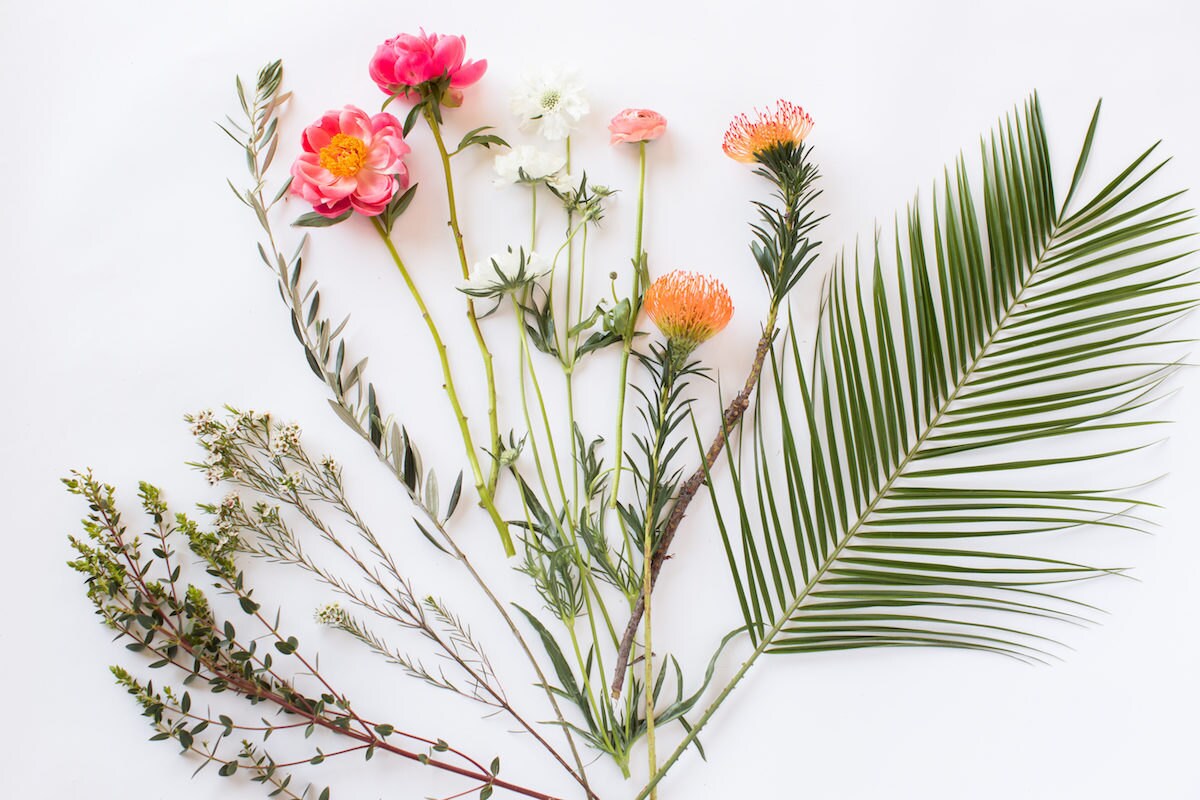
- 6-10 stems each of three different flower varieties in complementary tones
- A mixed green bouquet
- Gardening shears
- A large vase (we love this vegetable-tanned leather vessel from Good Medicine Store)
- Optional: 2-3 stems of a whimsical accent flower, like scabiosa or veronica
Step 1: Select your flowers
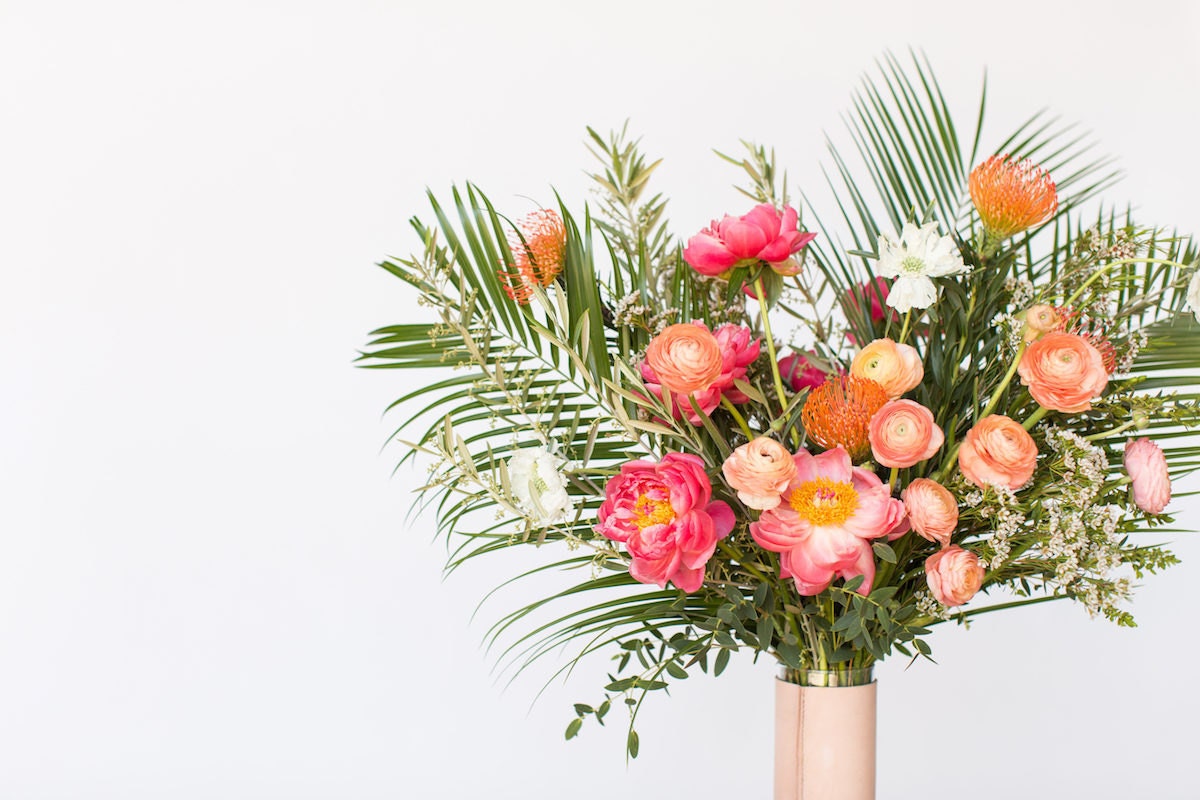
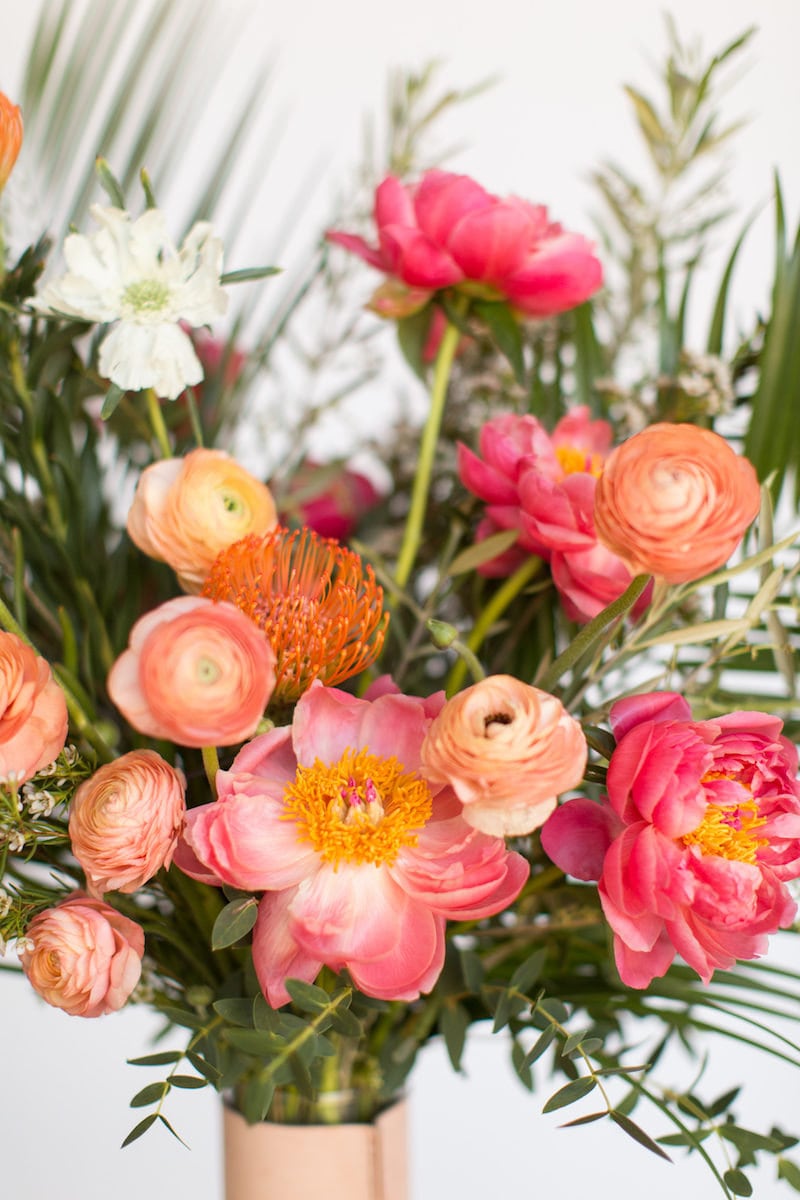
"I usually pick one bright color to pair with a couple muted or neutral tones because it’s an easy recipe that’s hard to get wrong," says Christina. "I also make sure that the flowers aren't all the same shape." Here, we paired bright pink peonies and orange pincushion protea with softer, more muted coral ranunculus and topped it off with a white scabiosa.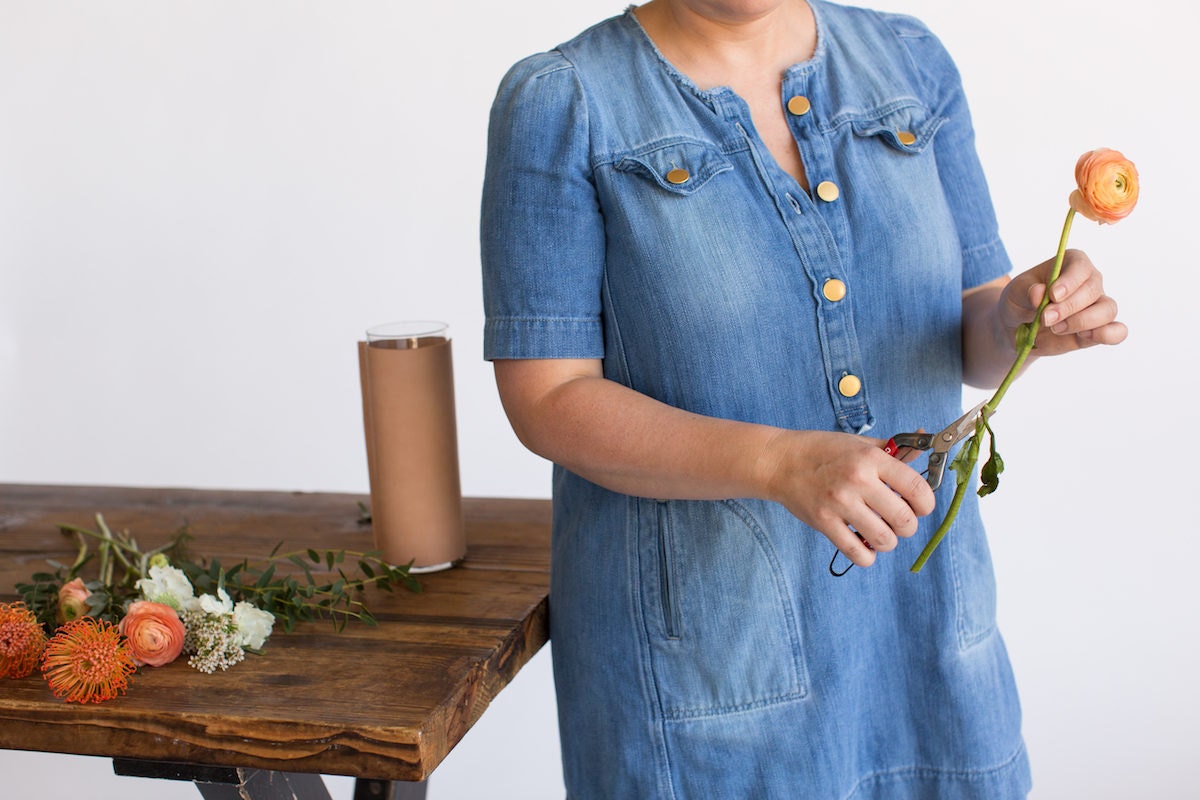
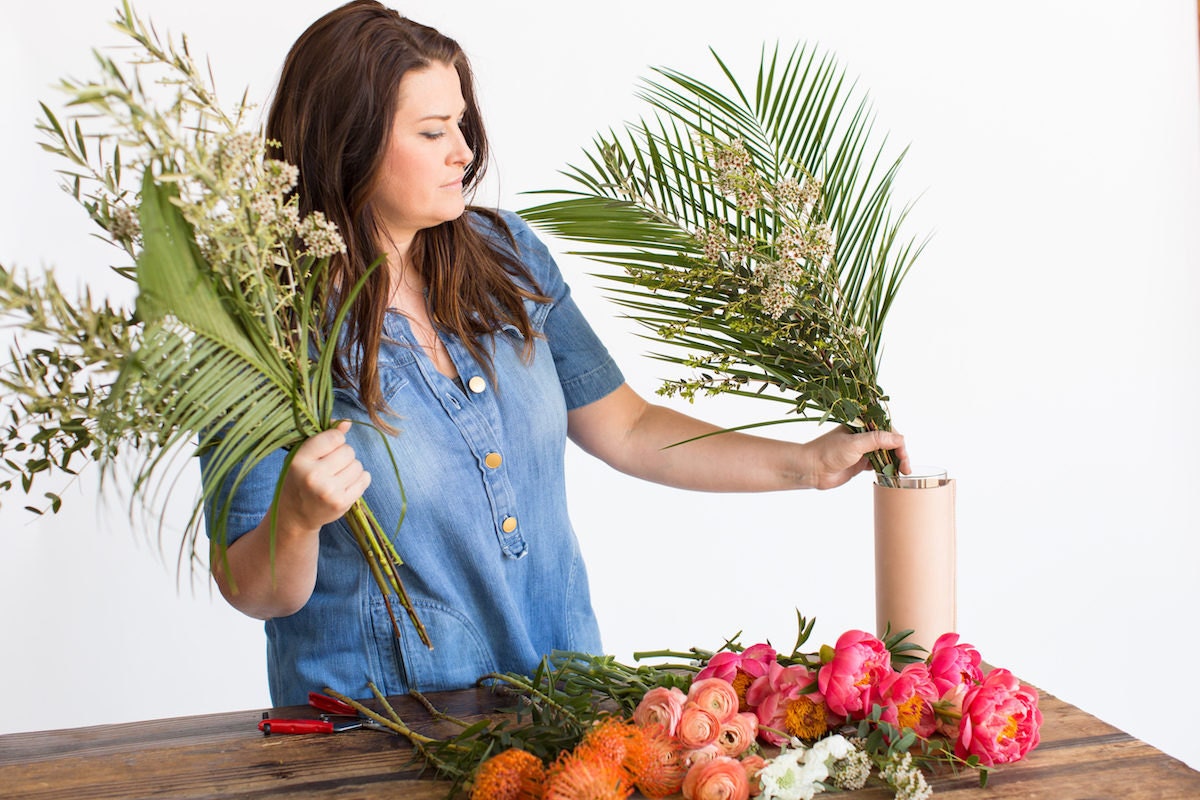
Step 2: Process the flowers and prepare your vase
"First, you need to process the flowers, which is just a fancy way of saying that you need to take the bottom half of the leaves off each stem," says Christina. Use your shears to gently remove any leaves that will fall below the water line, leaving the top ones in place to help the flowers open. Select your vase and fill with cold water.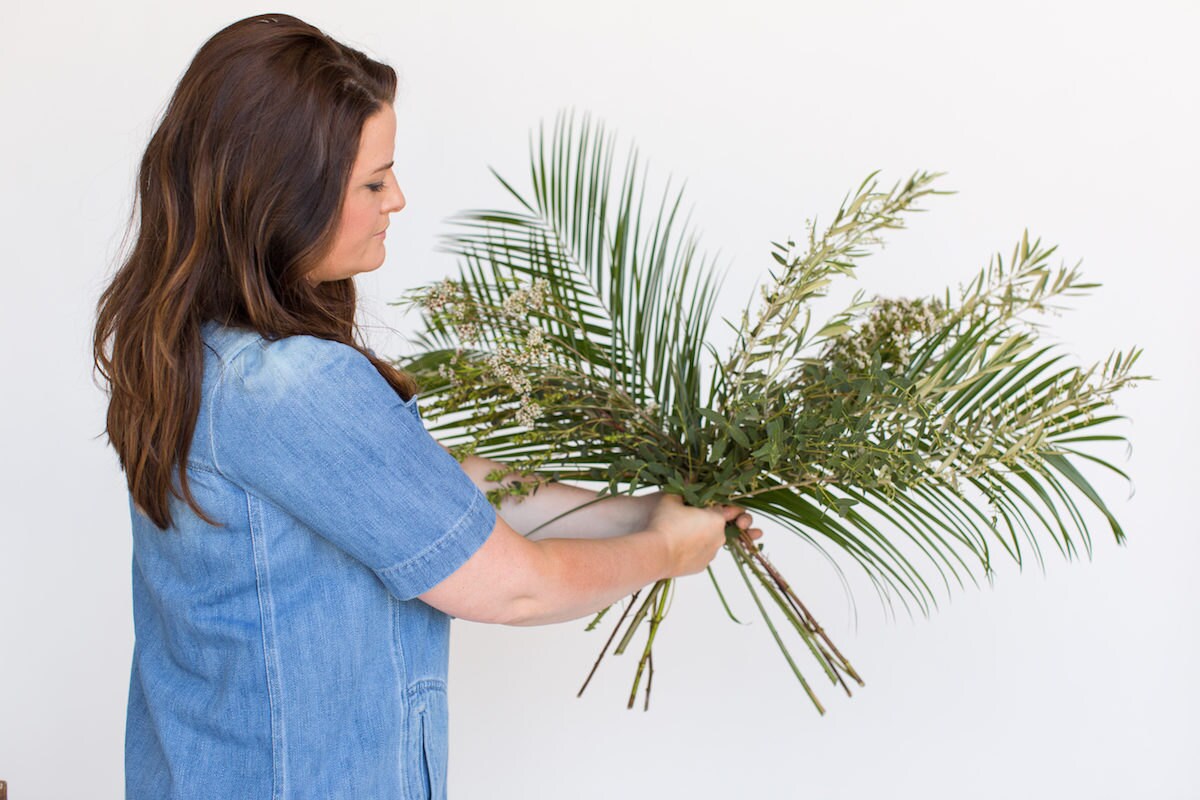
Step 3: Add greenery
"A mixed green bouquet—available in most grocery stores—will help you get that wild look without having to buy many different varieties," says Christina. "If you’re fortunate enough to live in a place with lots of vegetation at your disposal, you can also forage from your backyard!" Split your mixed green bouquet in half. Place half of the stems in the vase resting on the left side, and place the other half resting on the right. Think of making an X with the stems.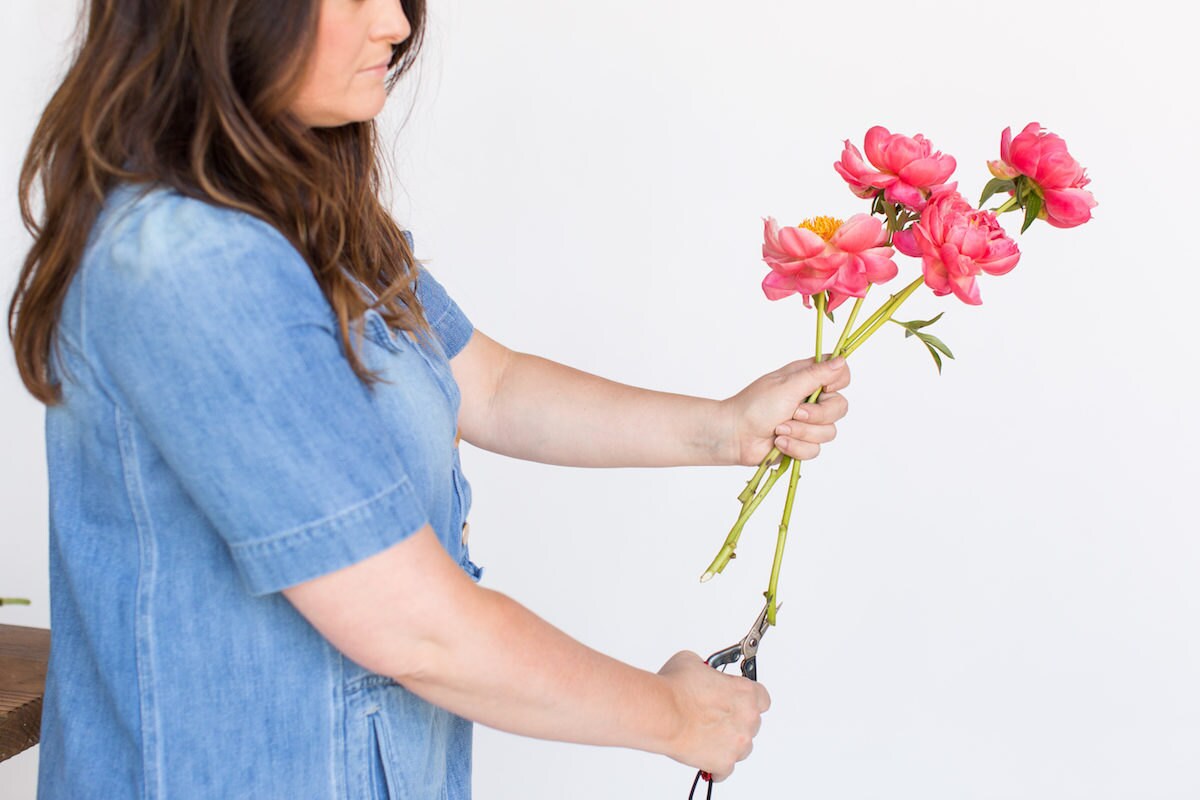
Step 4: Add first flower variety
Take half of your first flower variety (we used peonies) and stagger them in your hand so there's at least a 2-inch difference in their heights. Use your shears to trim the stems at a 70-degree angle, and place them in the vase on the right. The lowest flower should start about three inches above the lip of the vase. Turn the vase around and do the same thing with the remaining half of your stems on the other side of the vase (placing them again on the right).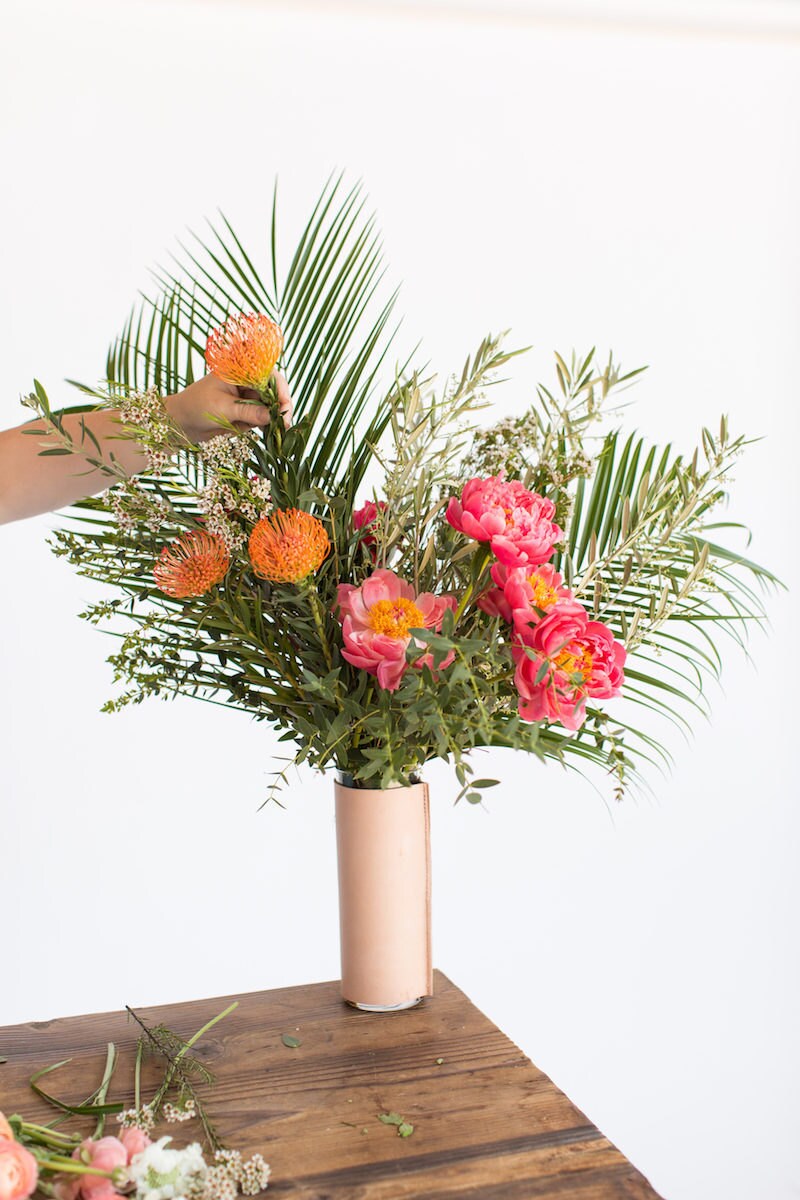
Step 5: Add second flower variety
Take half of your second flower variety (we used pincushion protea) and stagger and cut the stems in the same manner as Step 4. Place them in the vase on the left side. Now turn the vase around and repeat on the other side with the remaining stems (again, on the left).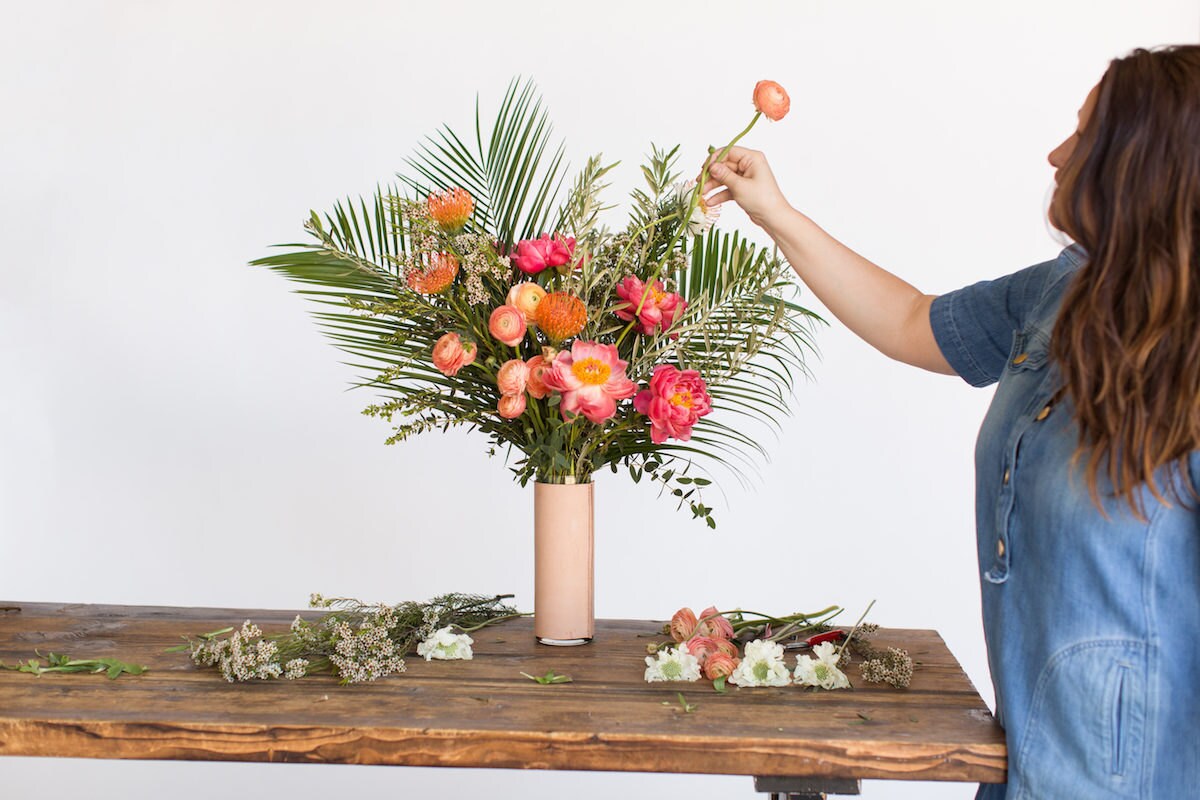
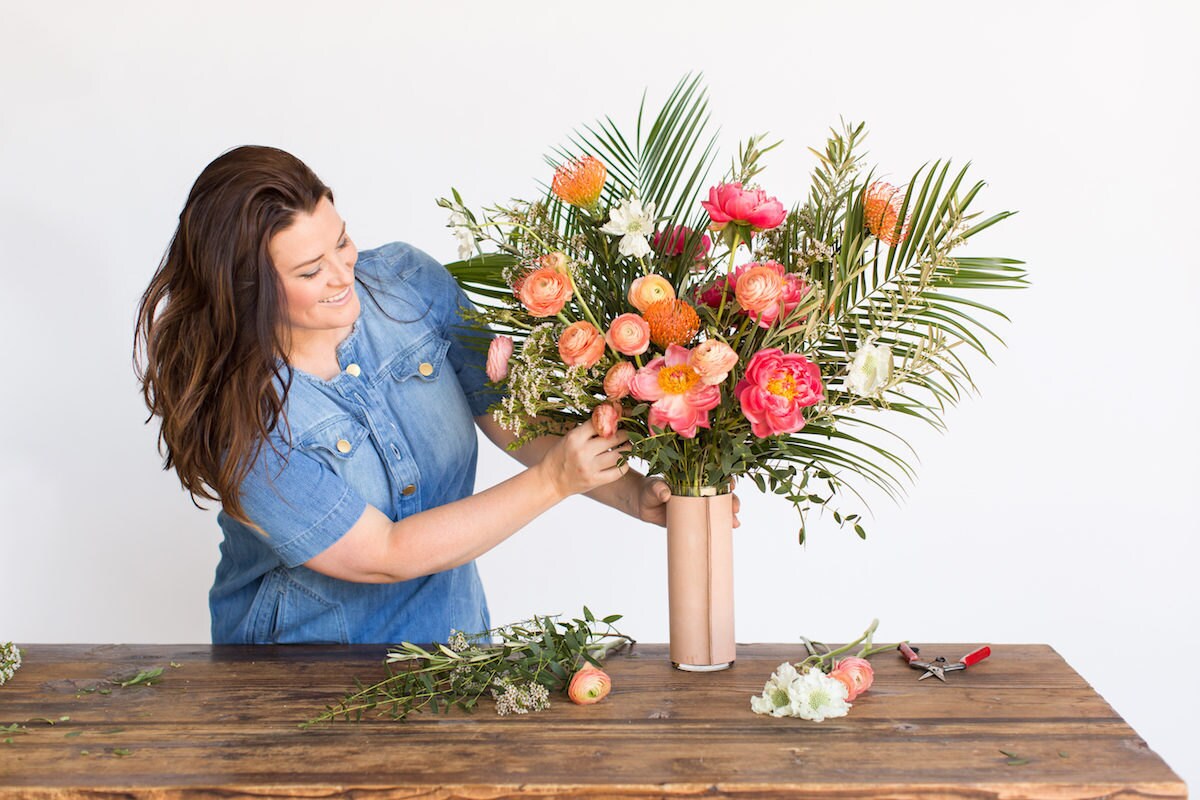
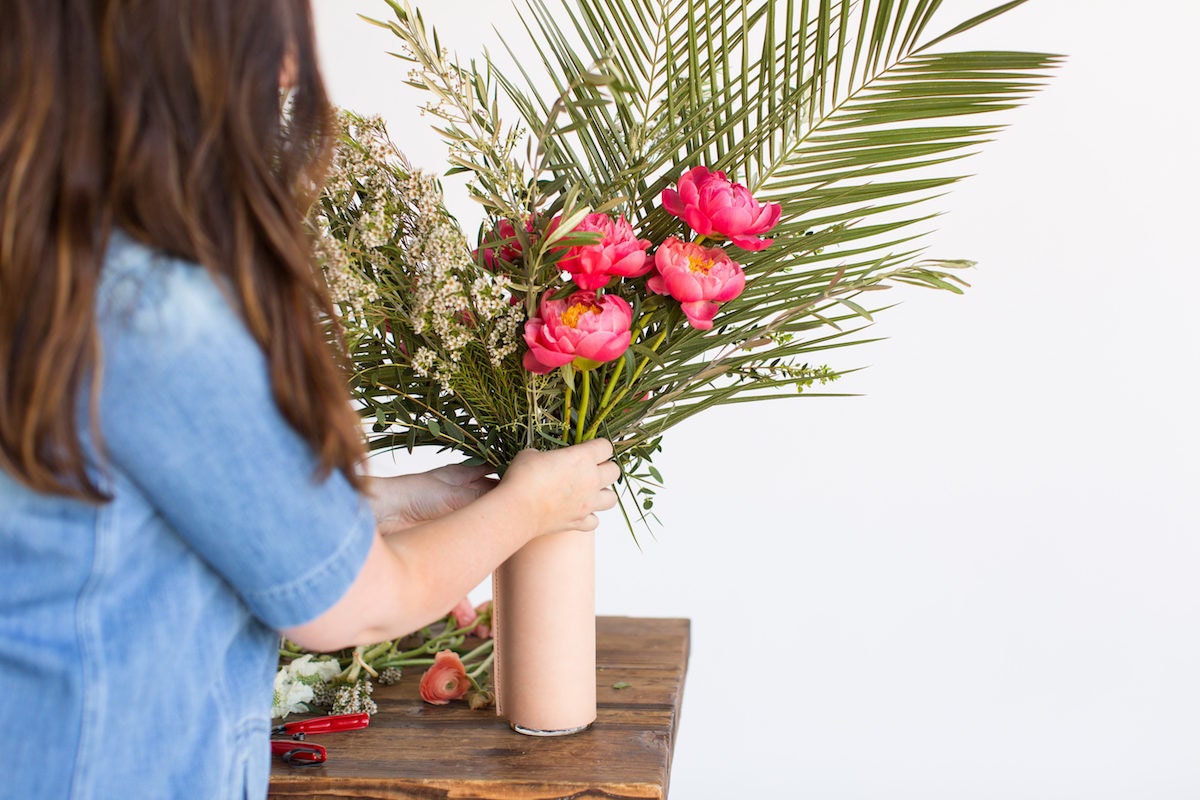
Step 6: Add third flower variety, plus optional accent
Last, take your third flower variety (we used ranunculus), trim the stems in the same manner as steps 4 and 5, and add them to the middle of the vase. You can fan them out to the sides as well to blend them in with the other flowers. If you selected an accent flower to add, pepper it throughout the bouquet—we used white scabiosa. "We like to add it on the top left, an inch or two above the highest bloom, and then lower on the right side, as if it’s spilling out of the bouquet," says Christina. "It adds all the whimsy, and makes your eye travel throughout the arrangement."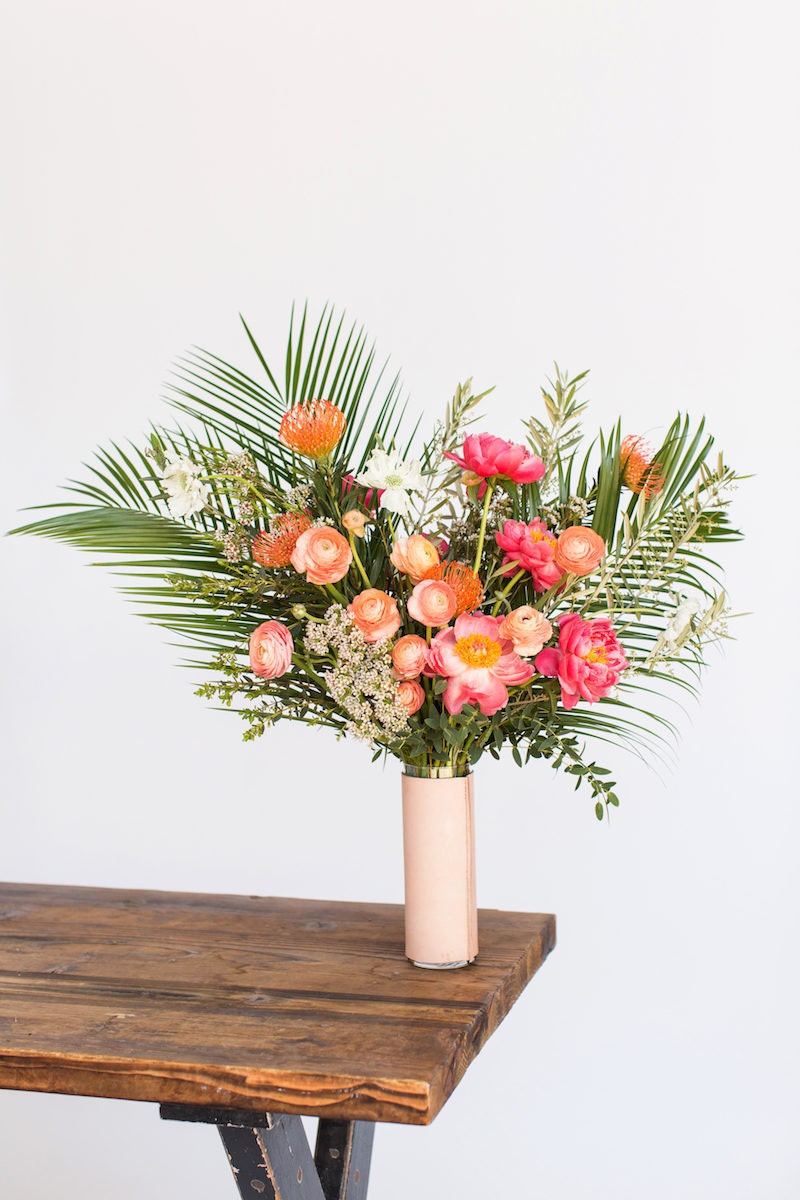
All photographs by Josh Gruetzmacher.