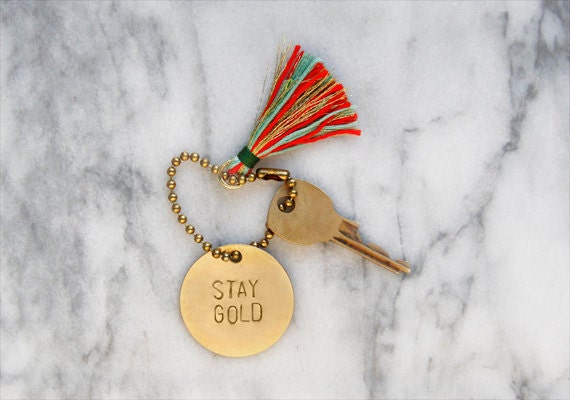
Turn a brass tag into a stylish keychain using metal stamps, a hammer and this simple tutorial by Clare McGibbon.
I've always wanted to work with a metal in a more creative way. Last year, I finally splurged and bought a metal stamp set: the alphabet letters, steel bench block, and leather sand pad (which helps keep the noise level to a minimum – stamping metal can be loud!) added up to around $60. Since then, these supplies have opened up a whole new world of experimentation: custom jewelry, hand-stamped leather goods, and these totally custom, totally easy stamped brass key tags. This project is an easy introduction to working with your metal stamp set, and the end result is a gorgeous brass tag with any word or phrase you can think of (that fits, of course). Make a few and switch up your keychain to suit your mood, or give some away as small gifts or party favors. Let's get started!
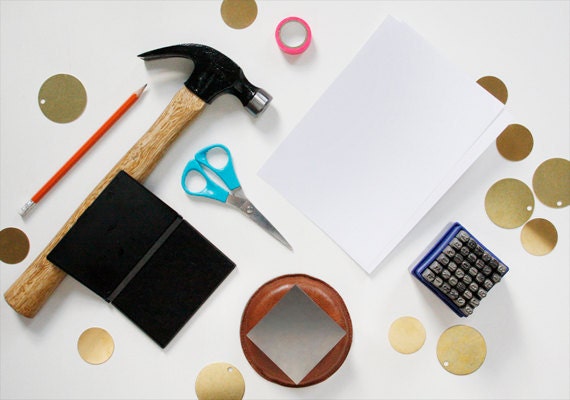
You will need: Paper Pencil Scissors Ink pad Masking tape Hammer 6mm alphabet metal stamps Steel bench block 1 1/2 or 2 inch blank brass tag Key ring or ball chain Optional: Tassel Leather sand pad (to muffle sound)
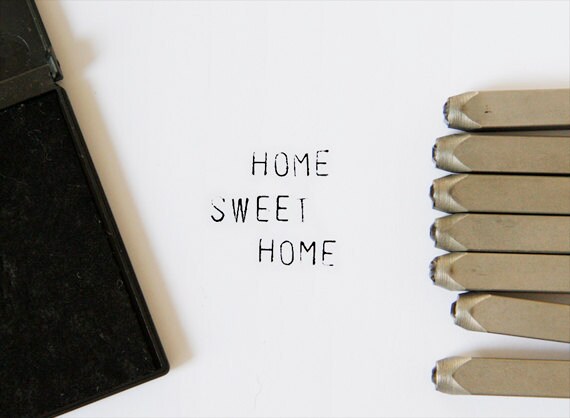
Step 1: Brainstorm what you want your keychain to say. Once you've decided on a word or phrase, you'll want to test it out on paper before committing to brass. To test, stamp the word(s) on paper using your ink pad. Cut around each word.
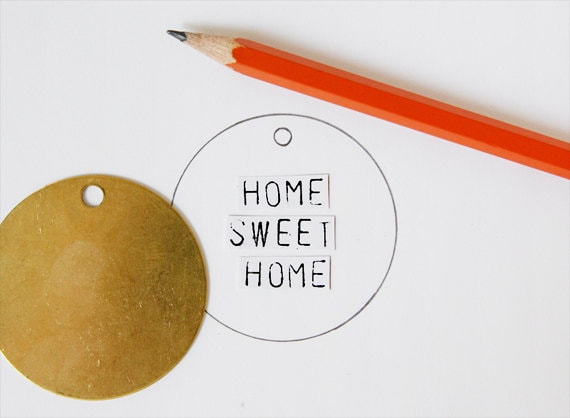
Step 2: Trace your tag and arrange your paper phrase so it's centered on the tracing. If it fits, move on to step three. If it doesn't, select another phrase and test again.
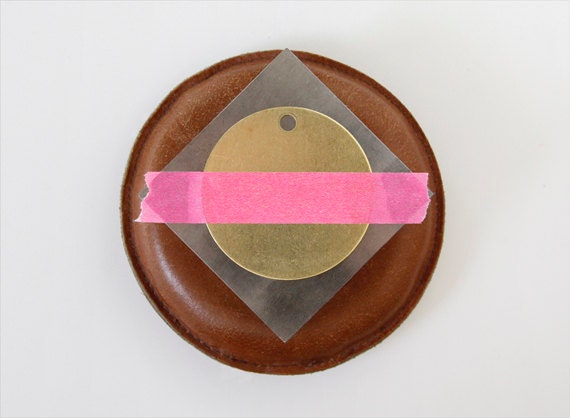
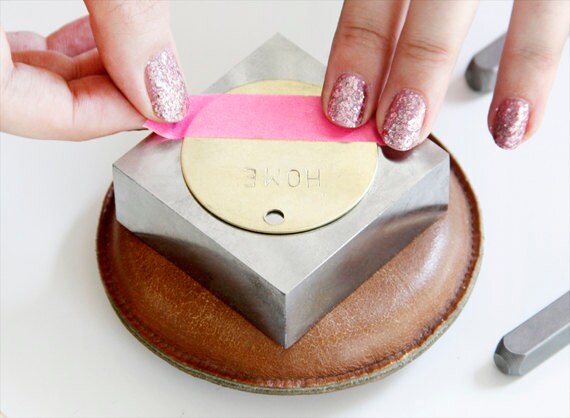
Step 3: Place the metal tag on top of your steel block. Use masking tape to fix the tag to your block so it doesn't wiggle around while you're stamping. The tape will also help you line up your letters evenly, as if you were about to write on lined paper.
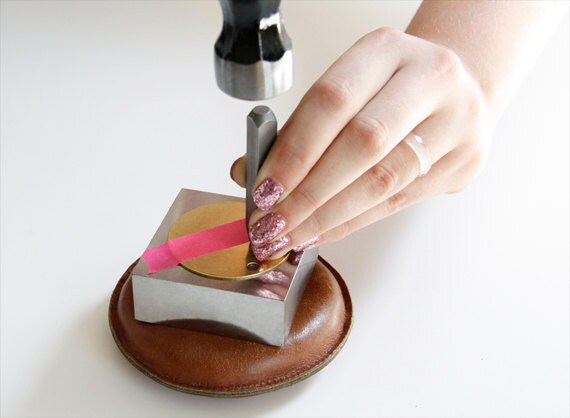
Step 4: Take your first letter stamp and place it on the tag, using your initial paper design as a visual guide. While holding the stamp, rest your pinky and index finger on the block for stability. When you're ready, hit the top of the stamp with a hammer. (Tip: think of it as a solid golf swing – you can only hit the stamp once, so put some gusto into it!) Continue stamping the rest of the letters.
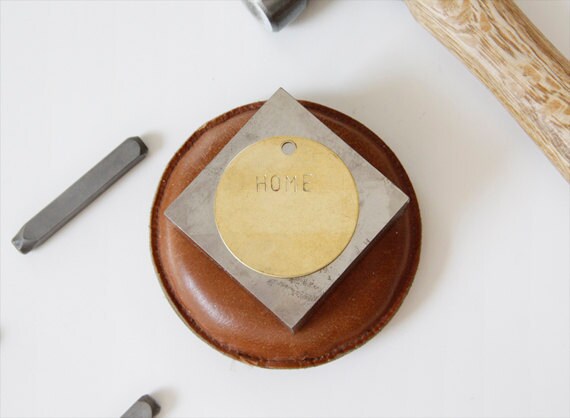
Step 5: If you have several lines of text, unpeel the tape and reuse it as a guide for your other lines. Stamp your next word(s), continuing to use your paper design for visual reference.
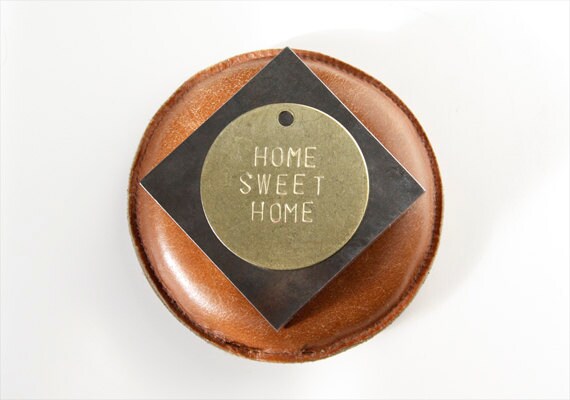
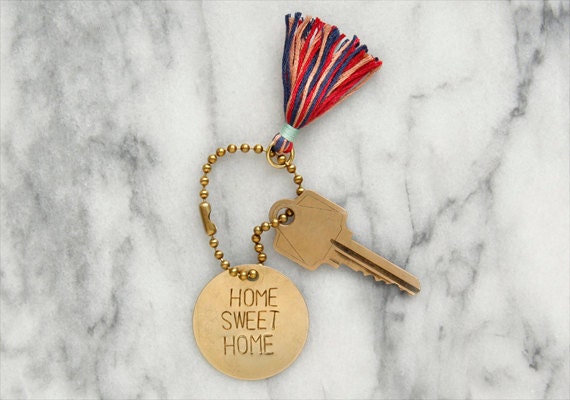
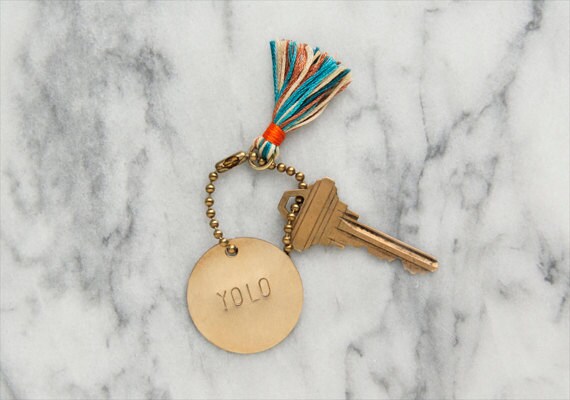
Voila! Now all that's left is to attach your custom tag to your keys using a ball chain or keyring. I added a tassel for an extra punch of color, but a pom pom or other embellishment would do the trick as well.
Happy stamping!

Process photographs by Romain Laurent; finished shots by Clare McGibbon.