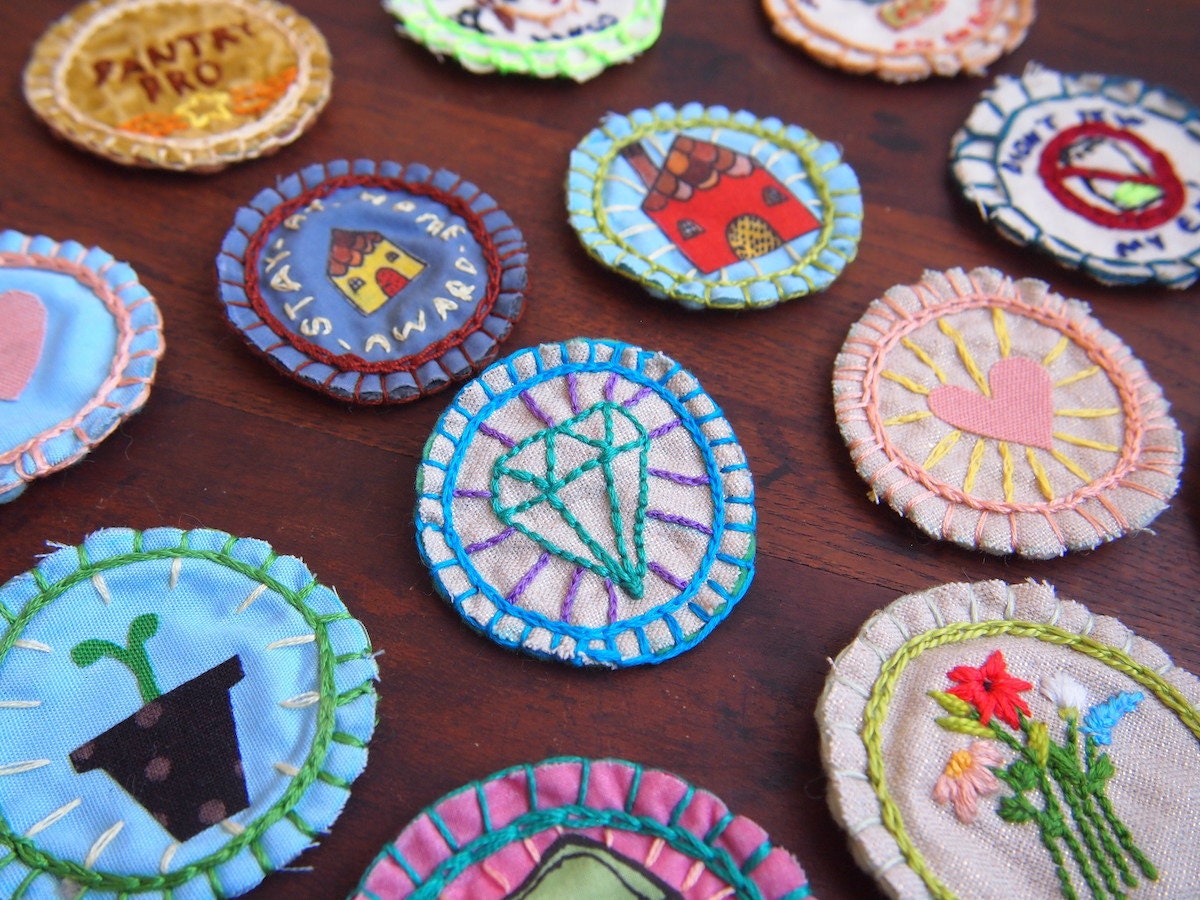
Show off a recent accomplishment or honor a friend's good deed with a personalized twist on a classic scout badge.
Editor’s note, May 2020: One upside to all the extra at-home time on our hands these days? Plenty of hours for cooking and crafting—which has us digging up some of our favorite DIYs from the archives. One project we love? These personalized DIY merit badges from Brooklyn-based creative Julie Schneider:
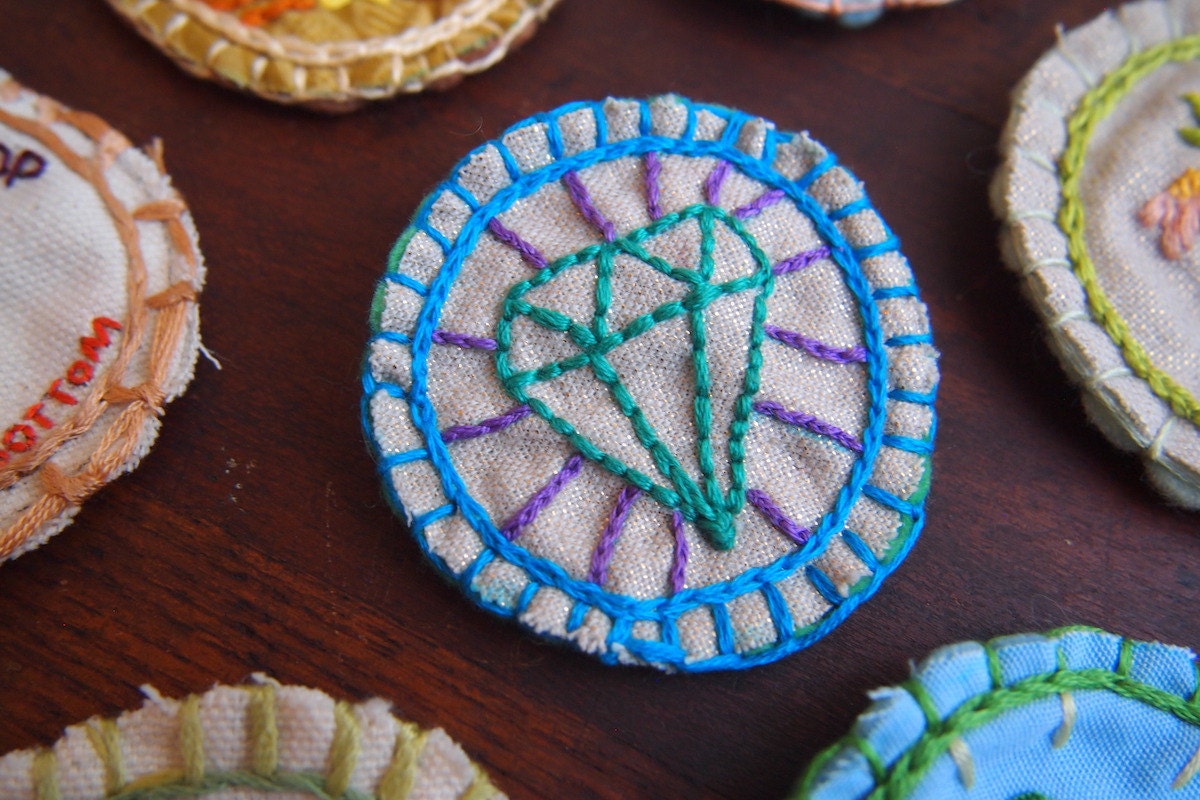
While my Girl Scout career was brief, I still carry a love for those iconic little patches I earned way back when—so I've cooked up a custom DIY twist on classic scout badges. Make your own version to honor a recent accomplishment, good deed, skill learned, or just for fun. Keep it for yourself, send one to a friend, or tip your hat to dad for Father's Day. Ready to give it a try? Follow along below to stitch a diamond badge with me, or dream up your own one-of-a-kind design.
At a glance:
Time: 2–3 hours
Difficulty: Intermediate
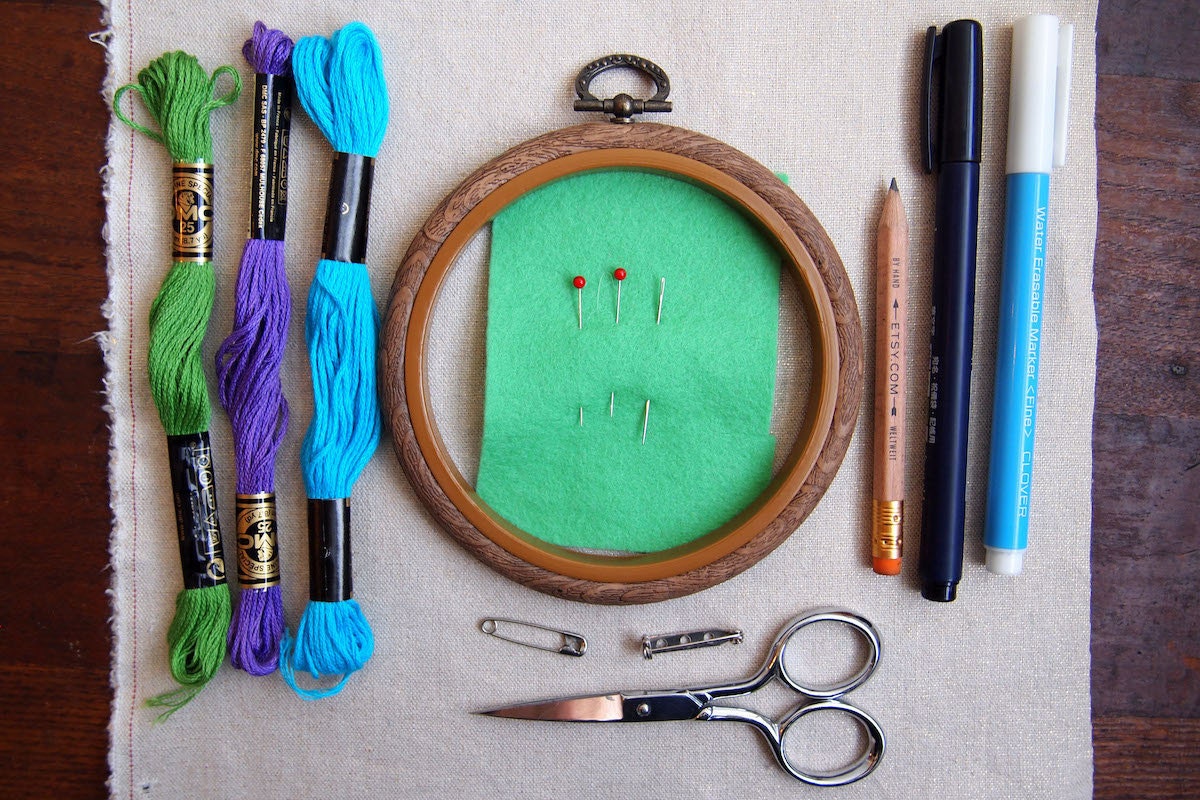
You will need:
- Fabric (6" x 6" or so)
- Embroidery floss
- Scissors
- Felt (2" x 2" or so)
- 4" embroidery hoop
- Pencil
- Water soluble marker
- Embroidery needle
- 1" bar pin back
- Pins
- Diamond merit badge template PDF (optional)
- Fray Check (optional)
Don't have all the supplies? No worries! Here are a few simple swaps you can make:
- Instead of a pinback, use a safety pin.
- Instead of an embroidery hoop, stretch fabric across the ring of a mason jar lid and secure with a rubber band.
- For fabric, consider scraps from old clothes or a retired dish towel.
Step 1: Start brainstorming

Take some time to make a few sketches, and consider simple line drawings and iconic images (including icons of your own invention). What will your merit badge represent? Who is it for, and what achievement does it honor?
Alternatively, you can download the diamond template and stitch along with me to make a gemstone merit badge for someone who is a true gem, a diamond in the rough, or who just plain rocks!
Step 2: Sketch your design
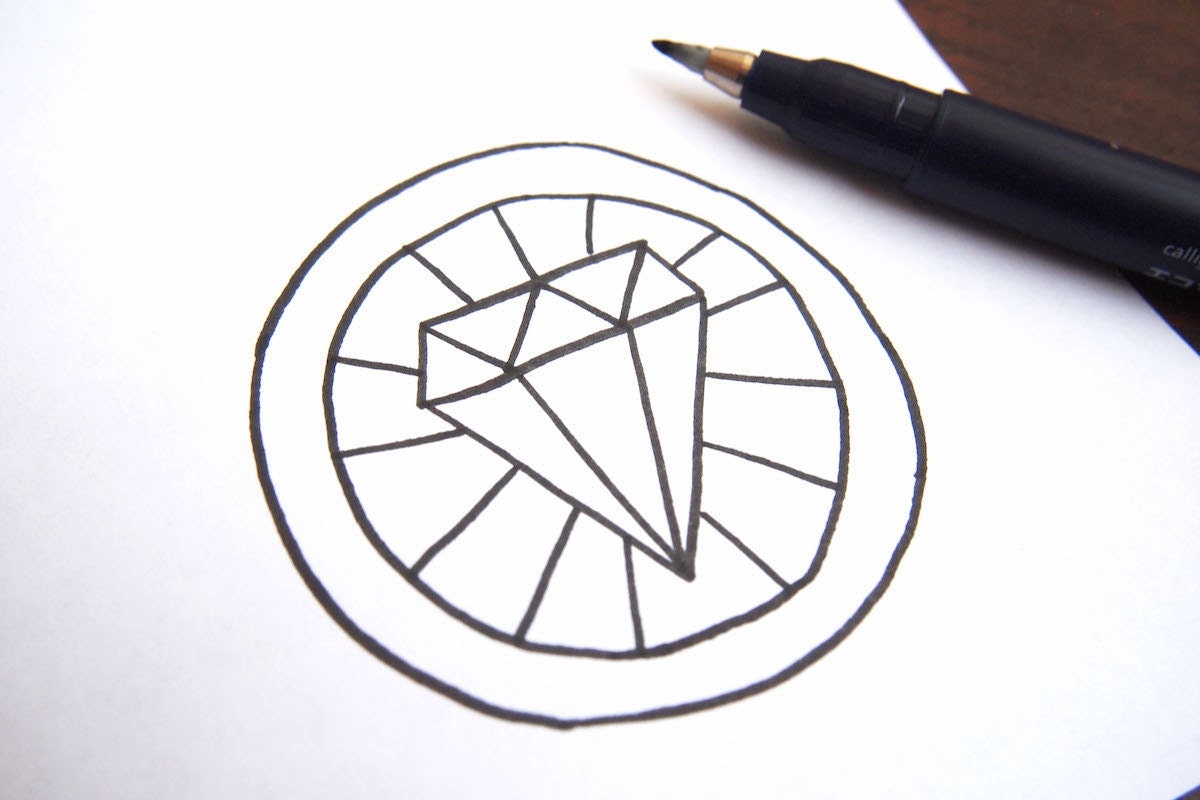
Sketch images for your badge inside of a circle, drawing one line for a decorative border stitch, and another for the outer edge of your badge. Trace over the sketch with a dark pen.
Step 3: Transfer image to fabric
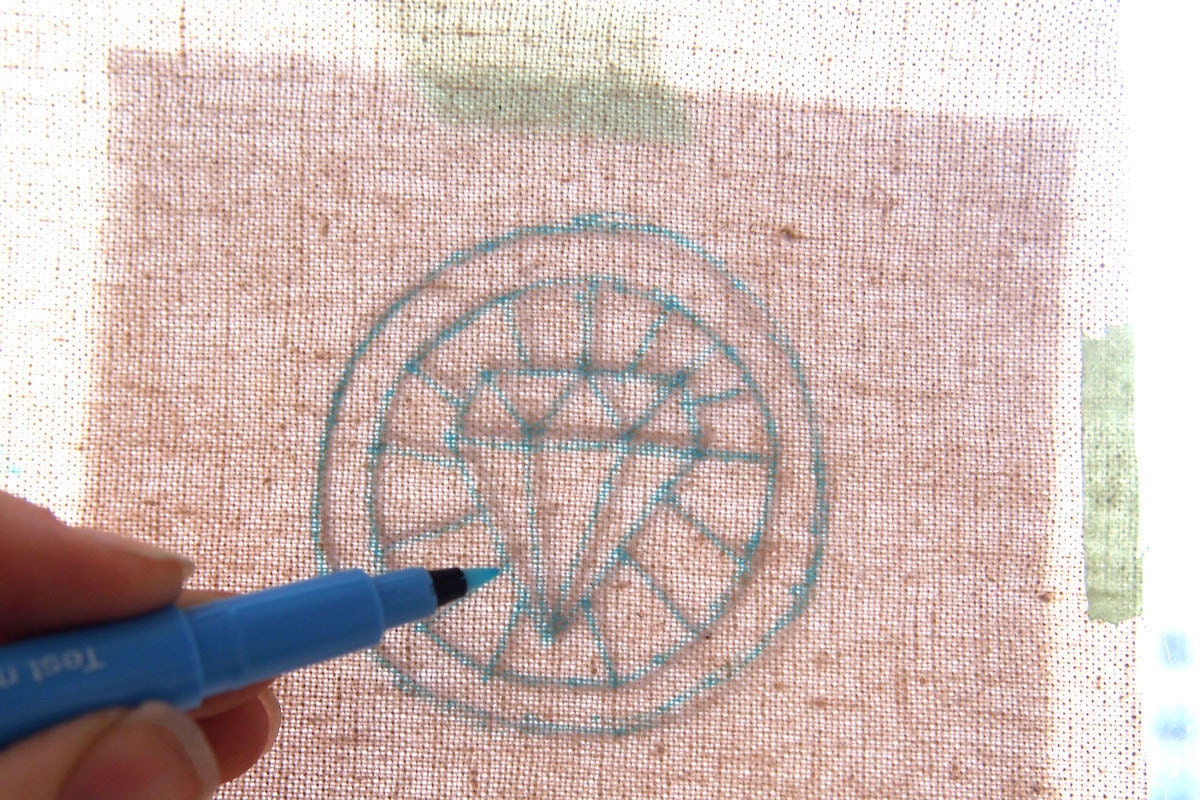
I used a water soluble craft pen and a window as a DIY lightbox. To do this, tape your design to a window and tape your fabric over it, so the image is in the center. Use the water soluble marker to trace your design onto the fabric.
If you prefer, you can use transfer paper and pencils for this step. If you're using a dark fabric, you may wish to use a chalk pencil or an opaque white gel pen.
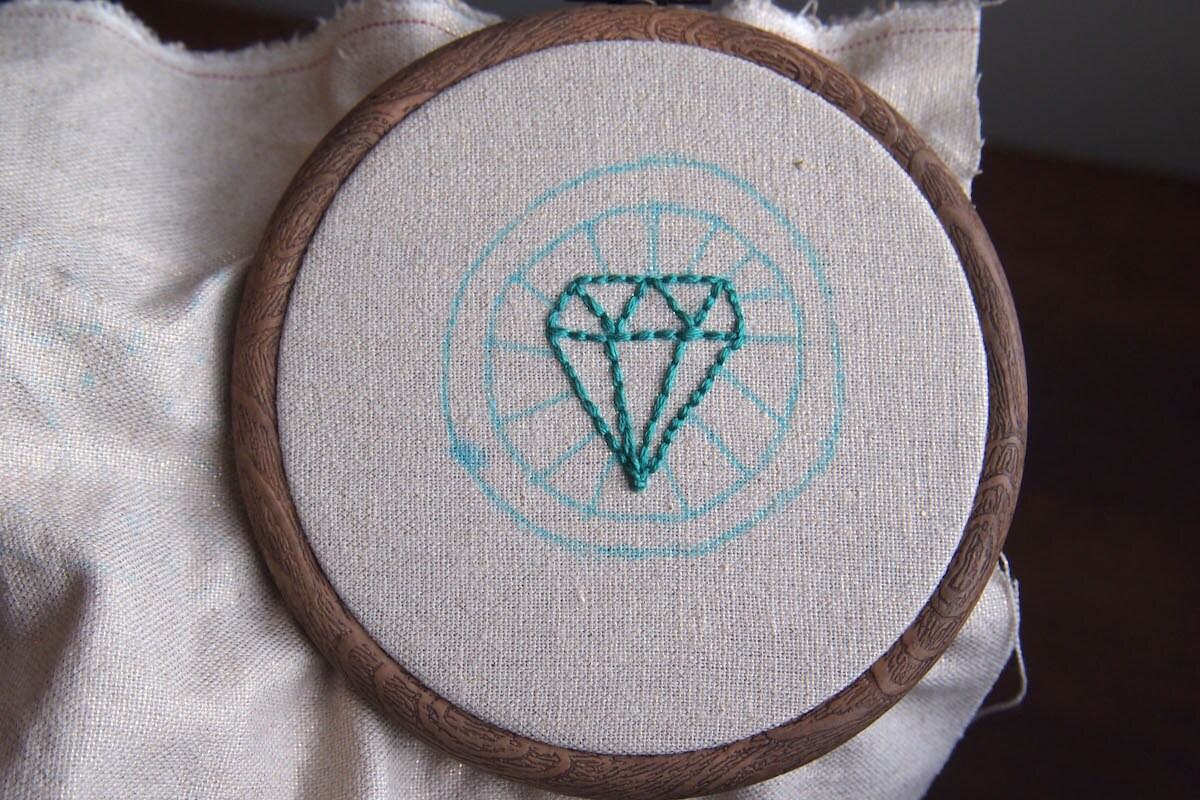
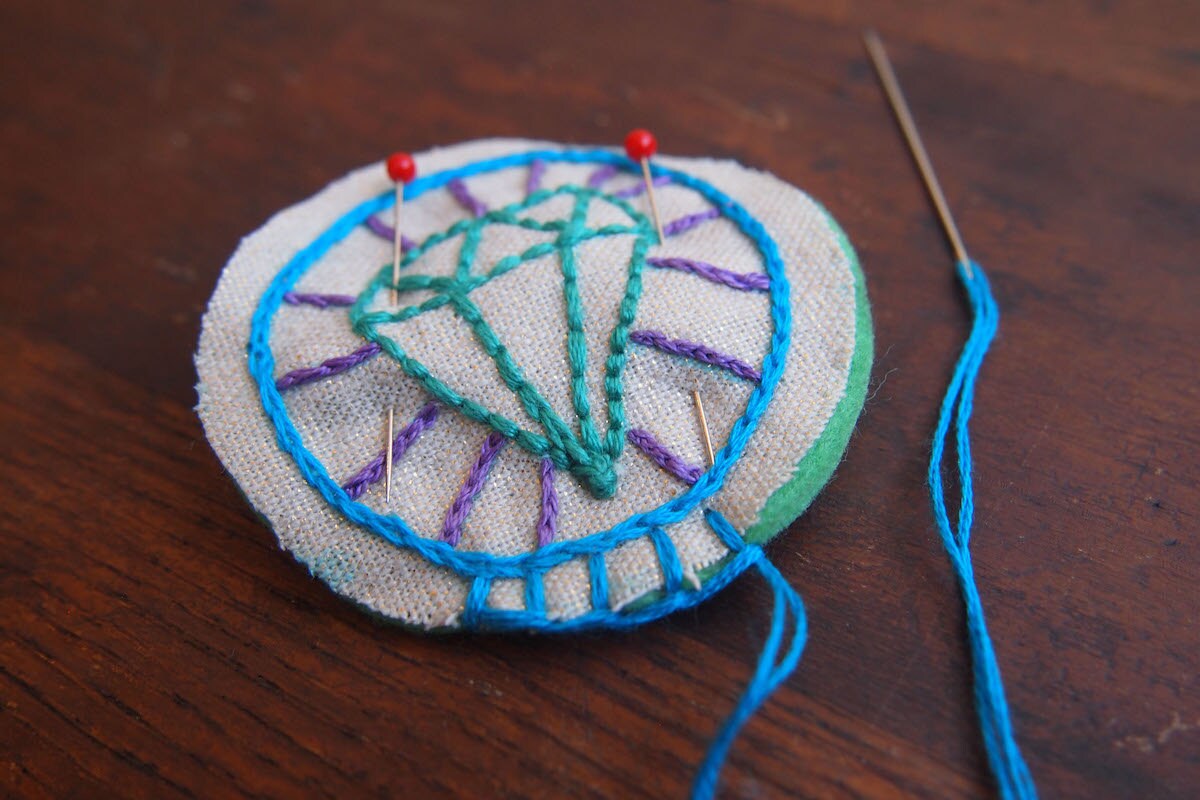
Step 4: Start stitching
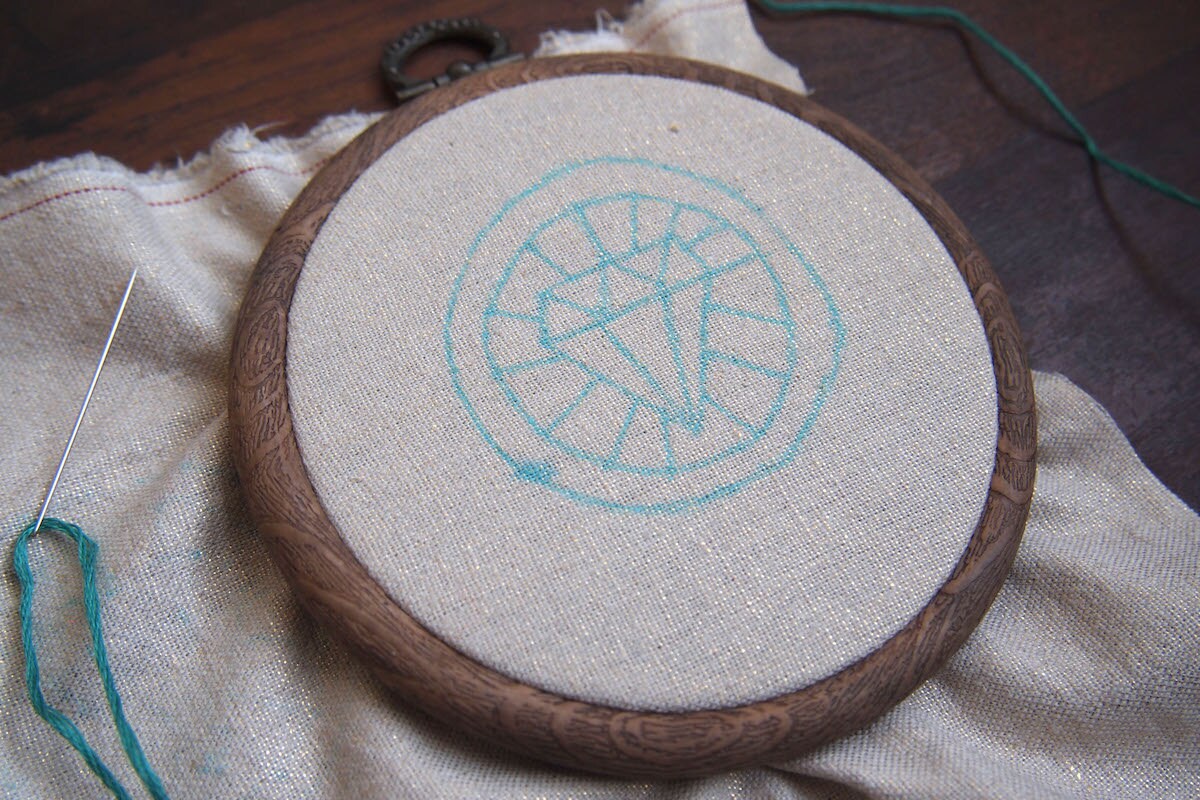
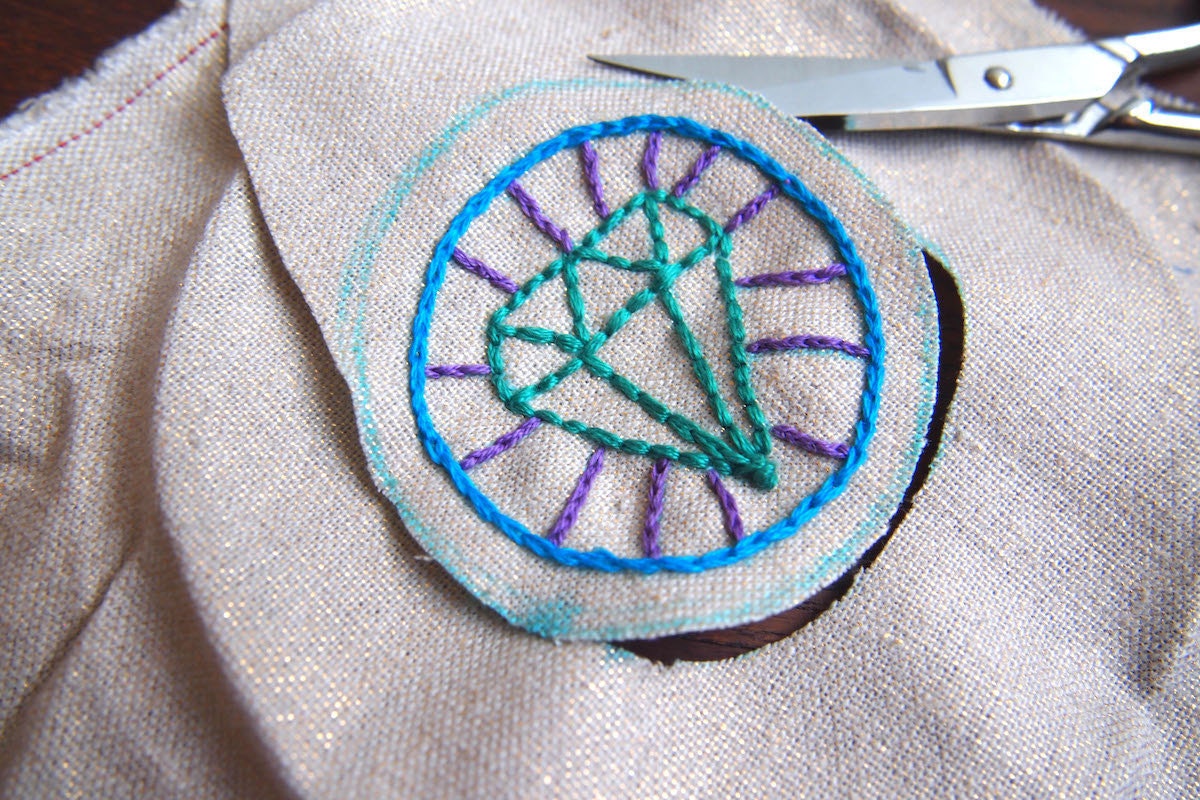
Secure the fabric to a 4” embroidery hoop. Cut an arm's length of embroidery floss. Don't get tempted to work with a super long piece of thread; I promise it will be nothing but knotty trouble! Start stitching the lines of the design.
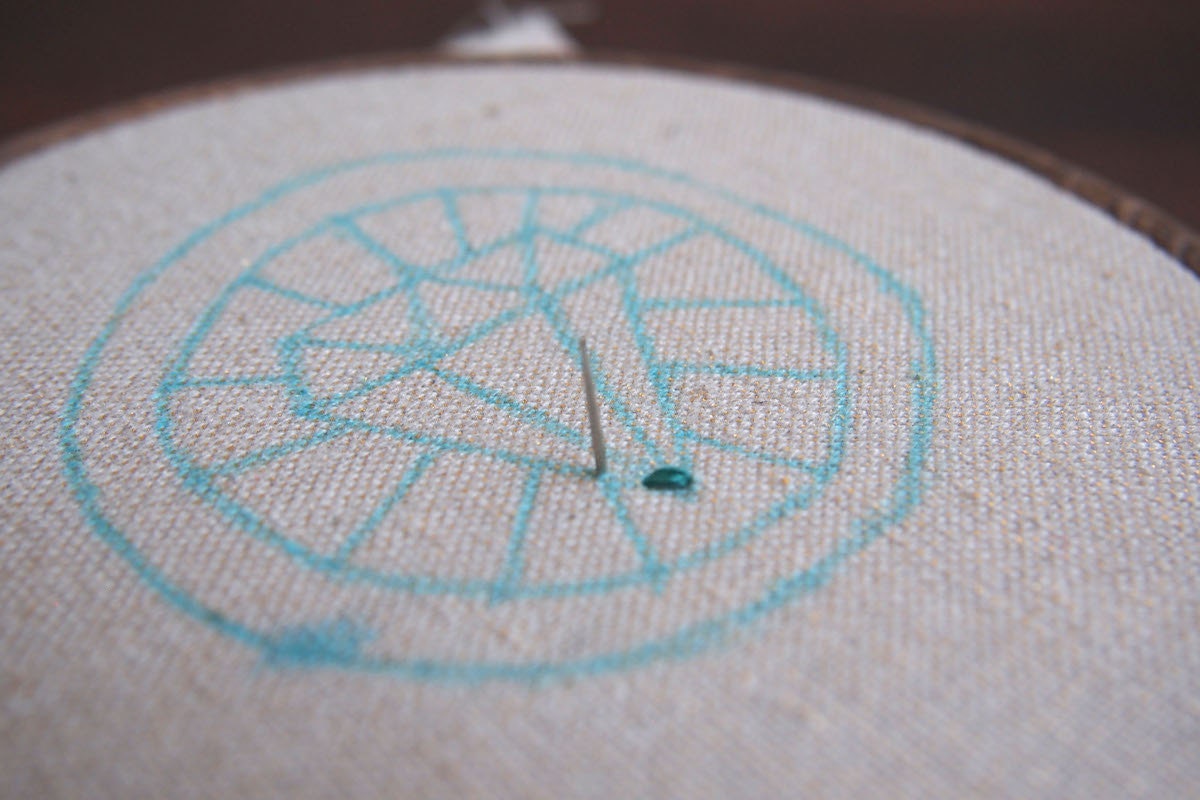
For the main image, try a back stitch. To start, tie a knot at the end of the floss. Starting from the wrong side of the fabric, pull the floss up through the fabric and make a small stitch.
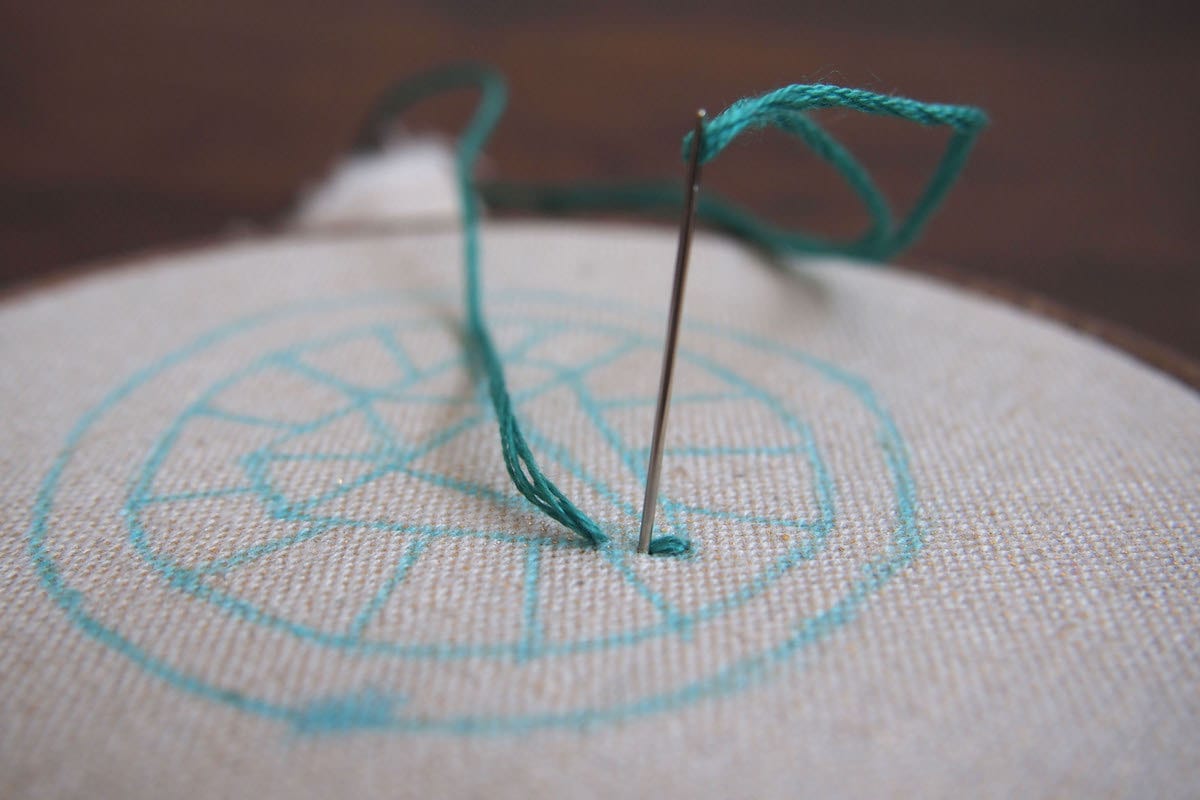
Pull the needle back through the fabric a small stitch length in front of the first stitch. Bring the needle back, connecting the dots with the first stitch.
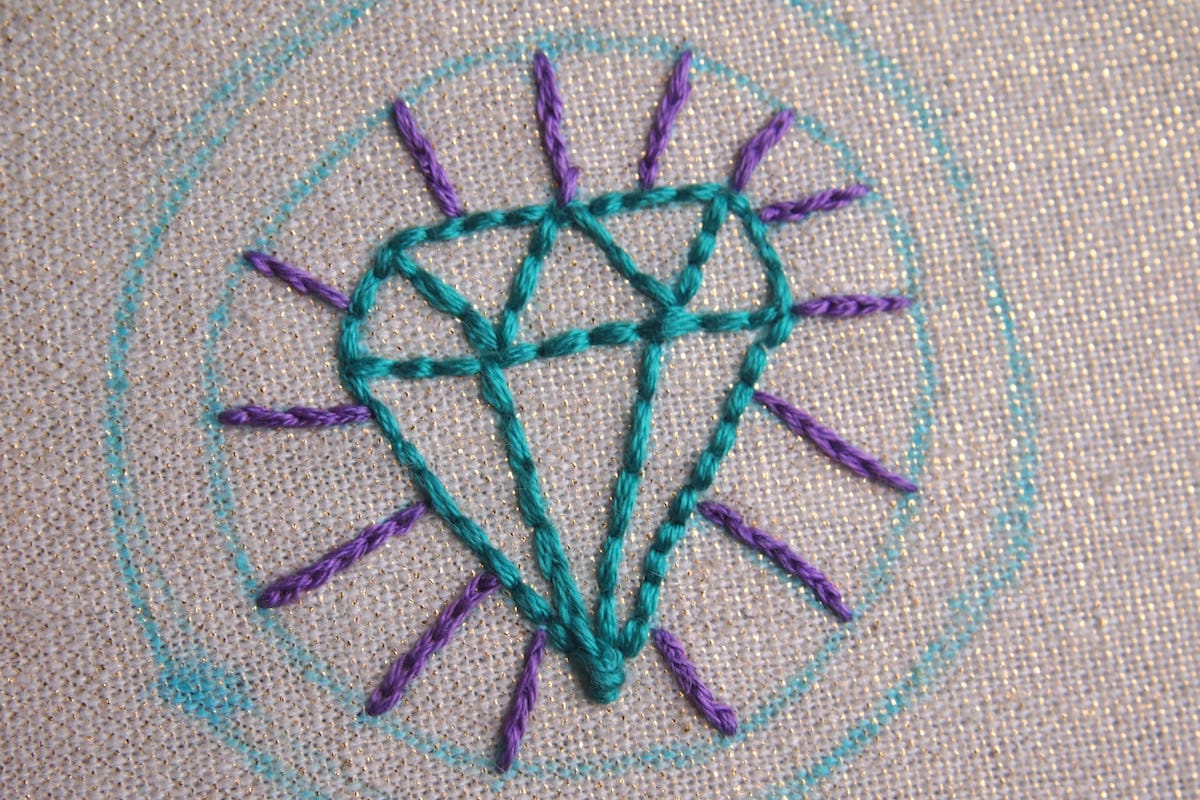
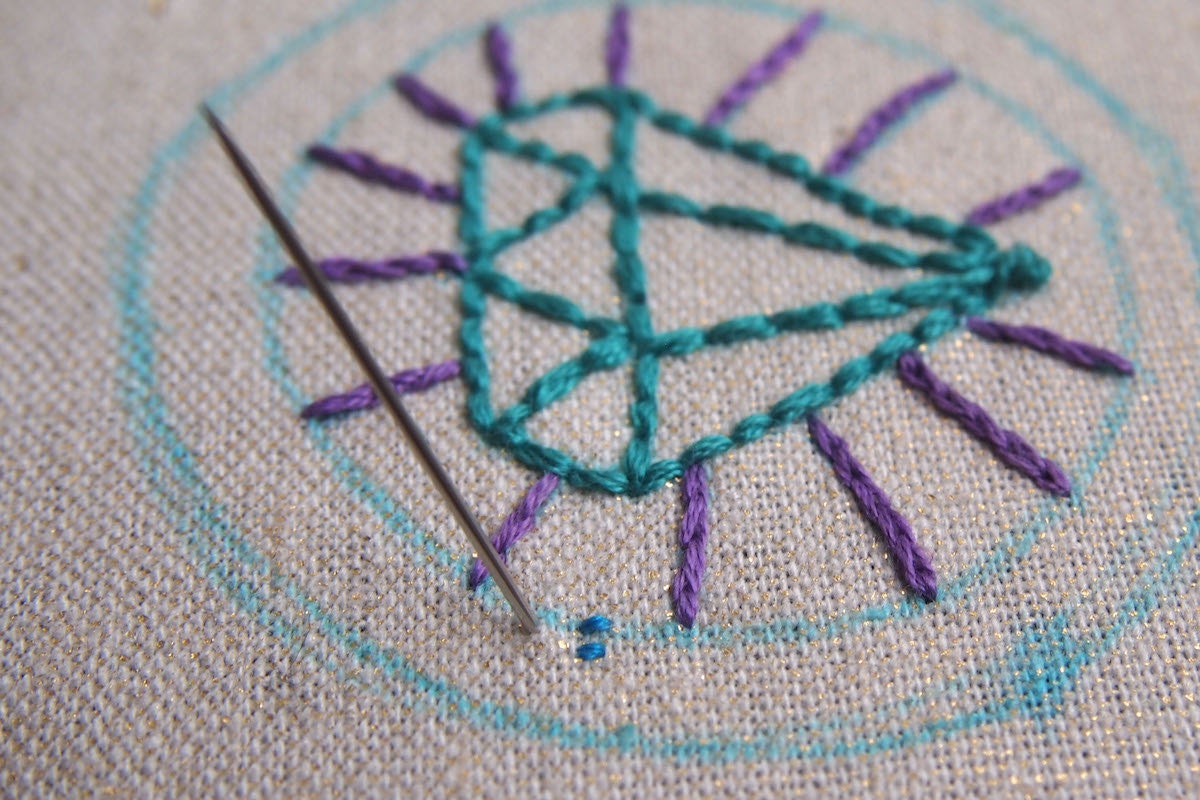
For the radiating violet lines, I used a split stitch. To begin a split stitch, make one stitch forward and then bring your needle up from underneath in the middle of that first stitch, thereby “splitting” the first stitch. Continue along like that to create a chain-like effect.
Step 5: Stitch the border
For a decorative border around the iconic badge image, I am a fan of the chain stitch. To start the chain stitch, sew two small parallel stitches, like tiny railroad tracks. Bring the needle up through the fabric a small stitch length away from these two stitches.

Staying on the surface of the fabric, slip the needle under those two stitches. Bring the needle back through the fabric to the back, traveling back through the same hole.
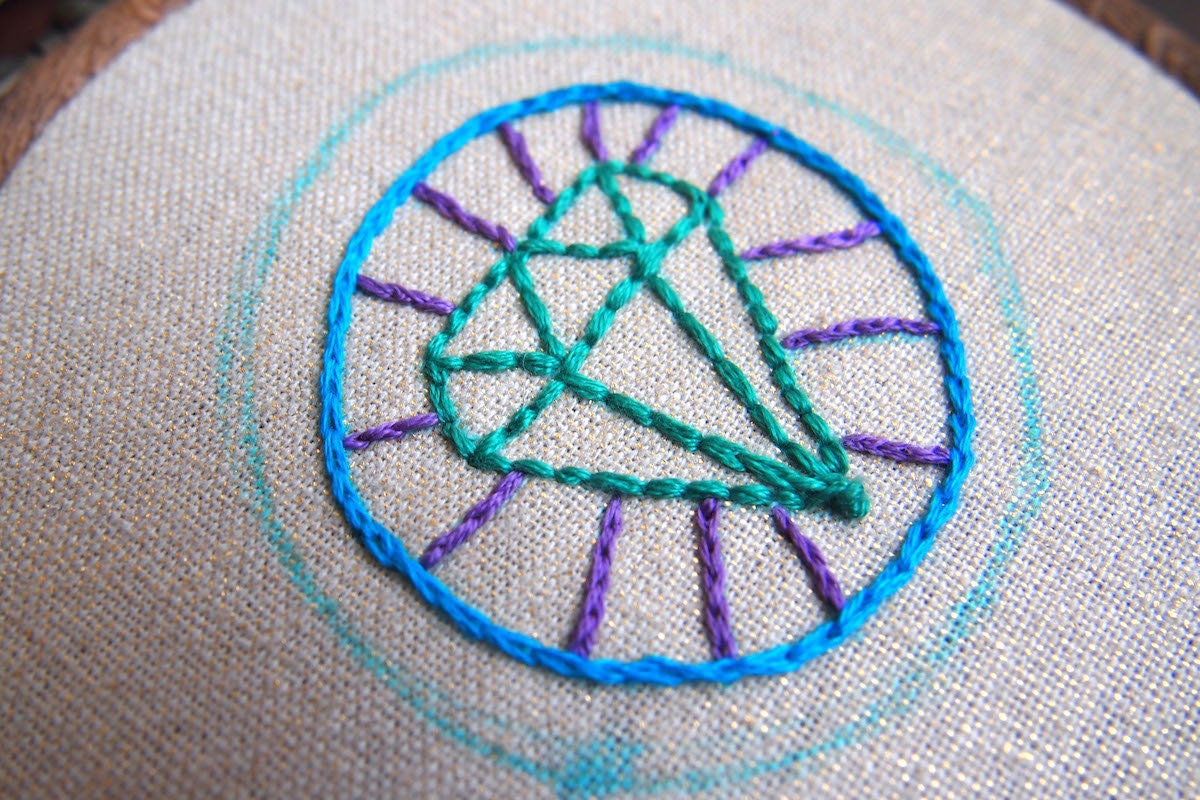
Repeat until the chain circle is unbroken.
Step 6: Create the back
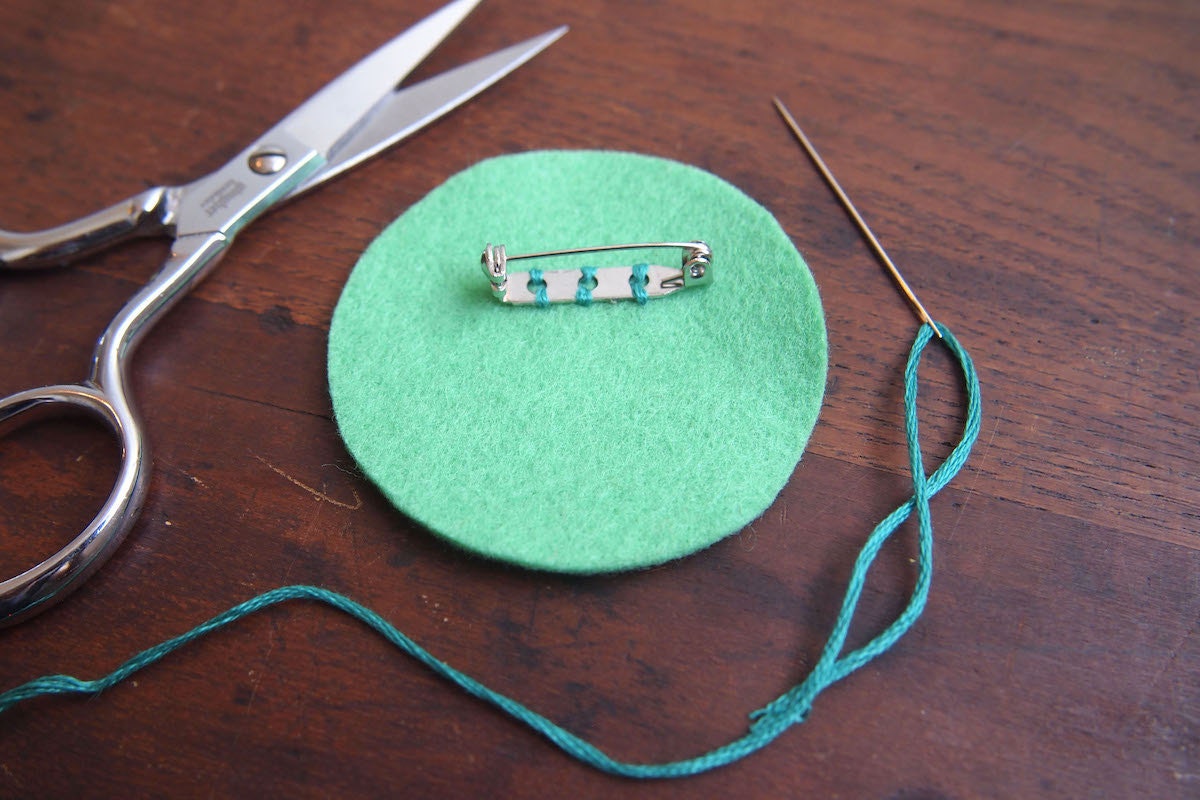
Cut a circle of felt for the back of the badge that is the same size as the front circle that bears your embroidered design. Attach a pinback with nice secure stitches. You can also skip this step and stitch the badge directly to a garment or bag.
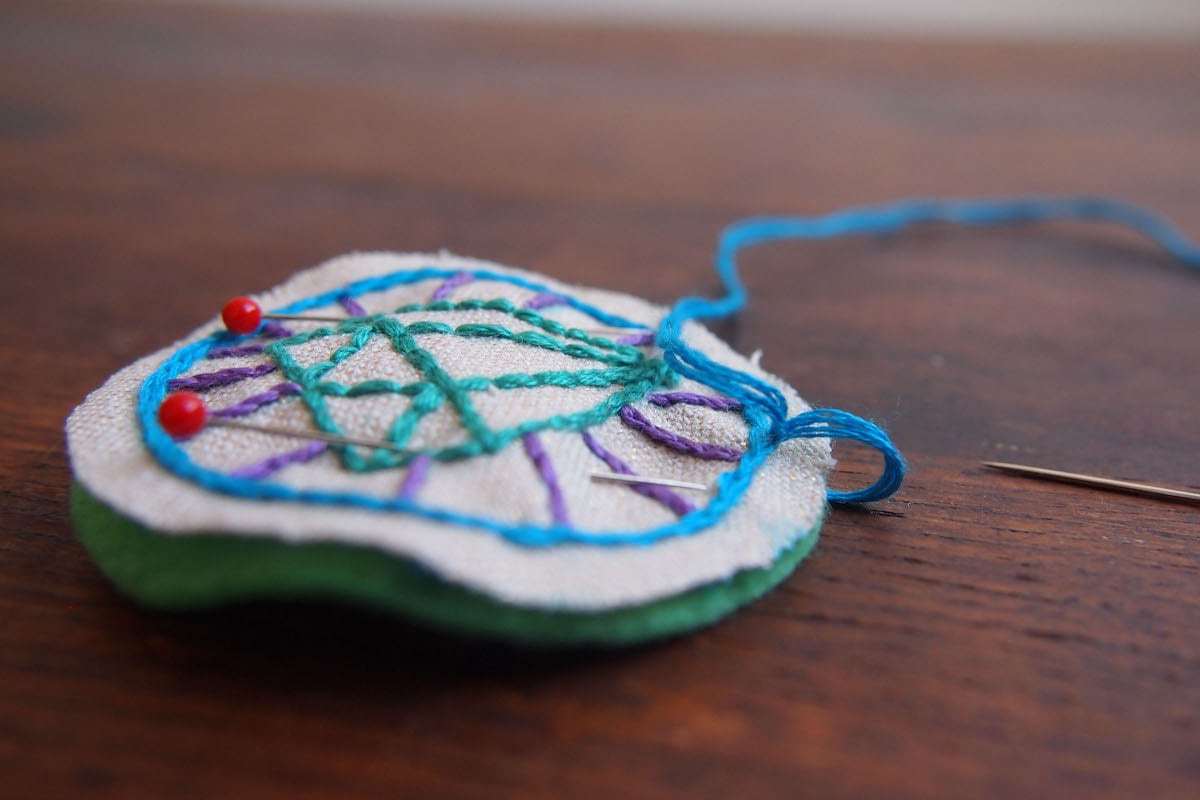
Step 7: Finish the edges
Cut out the embroidered front circle and pin it to the felt back circle. If the fabric looks like it might fray, you may want to dab Fray Check on the raw edge.
Stitch the two together with a whip stitch or a blanket stitch. To start the blanket stitch, make a knot, and pull it through the top layer of fabric to hide the knot in between the two layers of the badge. Stitch around the edge of the badge, like you’re doing a whip stitch, but don’t pull the stitch taut. Leave a little loop.
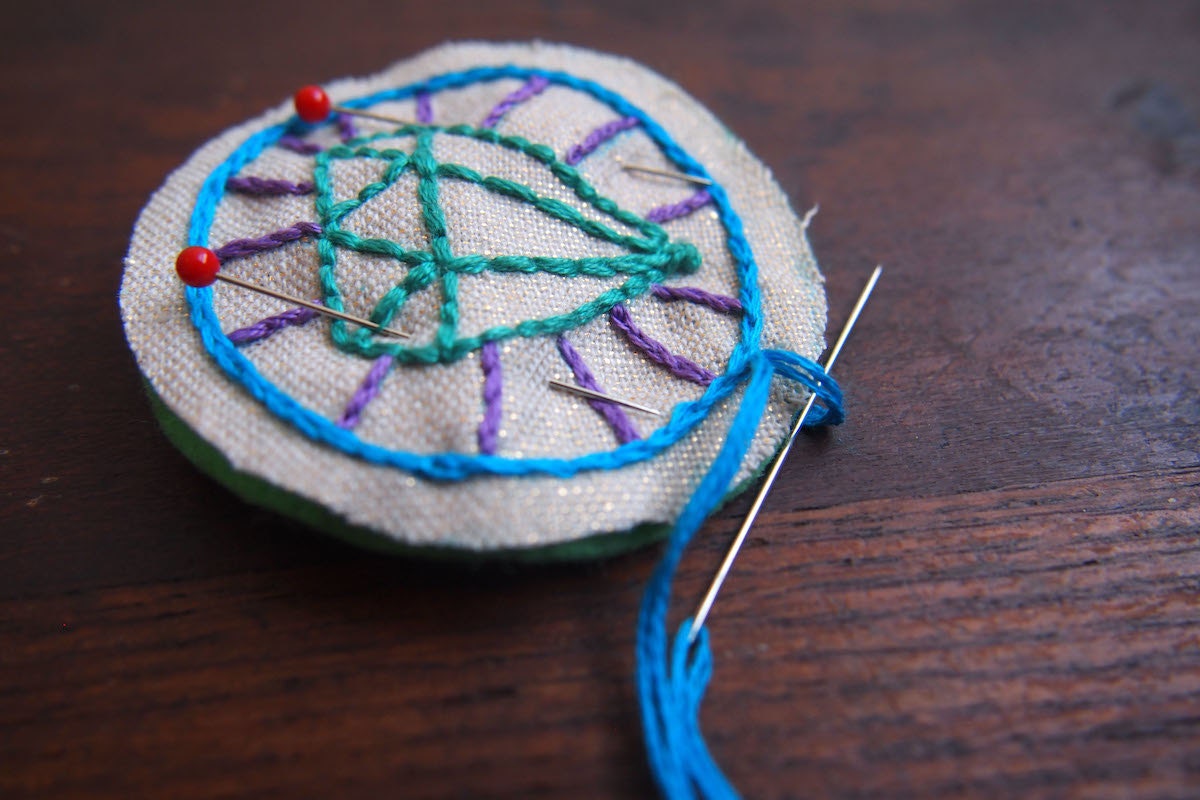
Pull your needle through that loop.
As you stitch, you'll end up with a nice, thread-enforced edging.
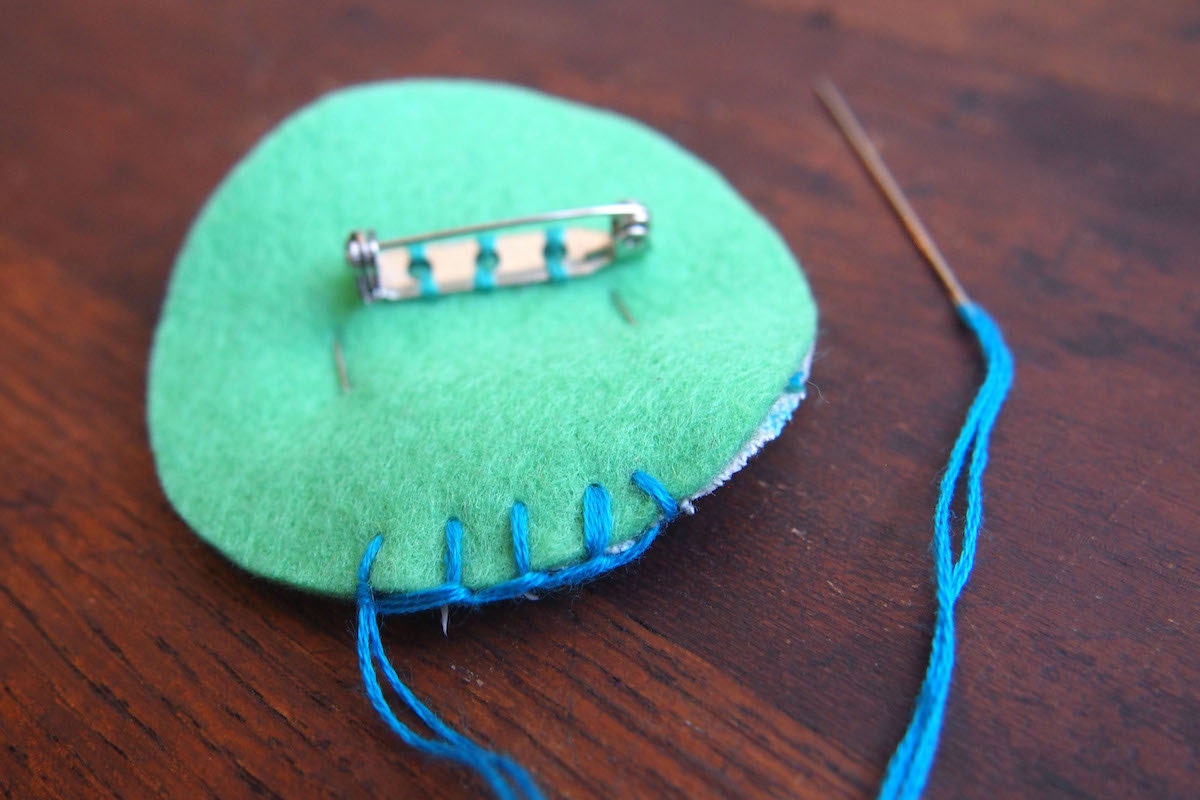
This is what it will look like from the back.

Repeat till the edge of the badge is completely blanket stitched. Dab or spritz with water to remove any remaining water soluble pen marks. Affix your finished badge to your favorite tote or tee, or award it to someone worthy!
Variations:
- Skip the embroidery and use fabric markers or paint, or make mini appliqués with fabric and fusible web.
- Add embellishments, like ribbon, trim, cabochons, or sequins.
- Try another shape—there’s no rule that says merit badges have to be circular.
Merit badges made by Julie Schneider, Elyse Wilson, and Nicole De Feo.