12 Fresh Ways to Shop the Garden Girl Trend
From dainty pressed-flower jewelry to stylish gardening accessories, discover some of our favorite ways to make the trend our own.
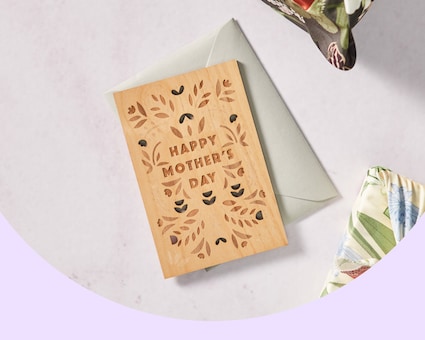
Unique Mother's Day Cards for One-of-a-Kind Moms
Fact: nothing means more than a handwritten card filled with words straight from the heart!

Everything You Need for a Spring Home Refresh
The Home Sales Event ends soon! Save up to 30% on outdoor furniture, springy decor, and more today.

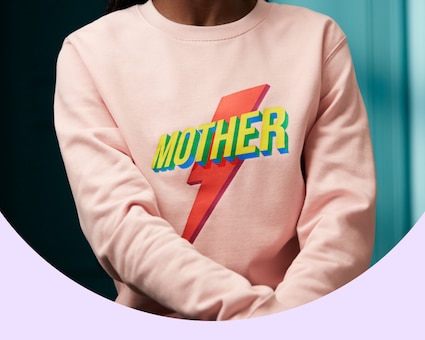
The Best Mother’s Day Gifts Based on Her Hobbies and Interests
Surprise your mom with a present that goes beyond the go-to’s—and is perfectly tailored to her passions and pastimes.

6 Vintage Workwear Jacket Styles We Love
These on-trend vintage jackets are effortlessly stylish and perfect for seasonal layering.
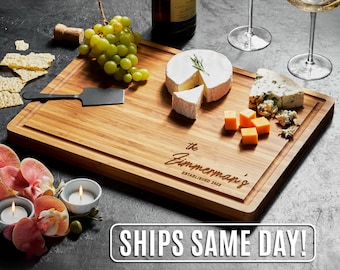
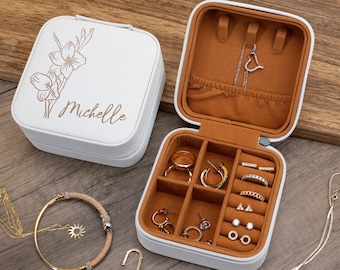
40+ Extra-Special Mother’s Day Gift Ideas Worthy of Mom
From personalized jewelry to handcrafted decor, discover Mother’s Day markdowns on thoughtful gifts—up to 30% off!
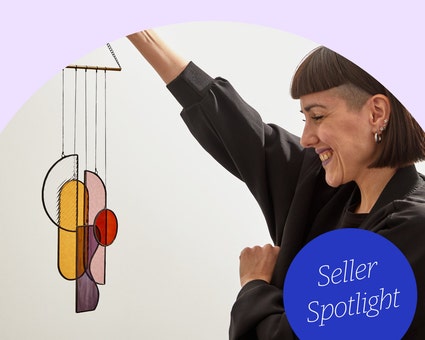
Add Sparkle to Any Space With Stained Glass Decor from Multiple Shapes
Welcome a world of color with prismatic pieces that combine modern designs with bold palettes to dazzling effect.
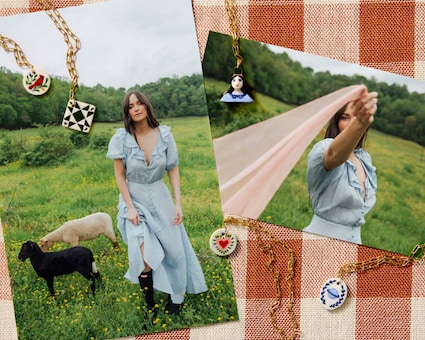
Shop Kacey Musgraves’s Collectible Charm Jewelry—While You Can!
To celebrate the release of her brand-new album, the singer-songwriter co-designed a line of limited-edition ceramic charms, and we want them ALL.
Birthday Gifts for Her: Foolproof Picks She'll Love
On the hunt for the perfect birthday gift for her? Check out our list jam-packed with unique ideas for every style and personality.

The Best 10-Year Anniversary Gifts
Congratulations on a decade! From traditional tin to modern diamonds (and daffodils and all the blue hues!), here are the best 10th anniversary gifts.
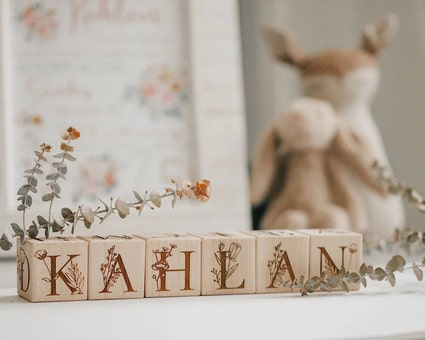
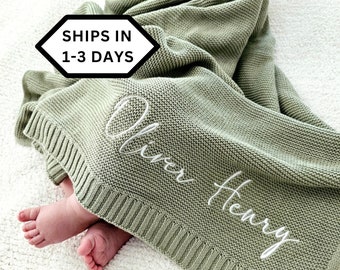
Personalized Baby Gifts They’ll Adore
Looking for a present that will wow? These personalized gifts for babies and new parents are designed to delight.
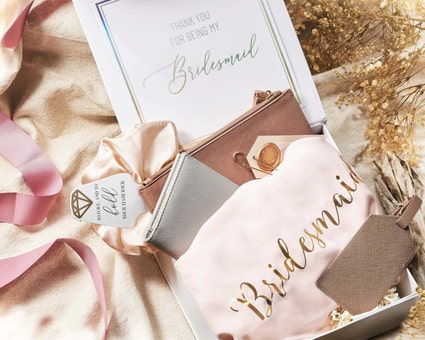
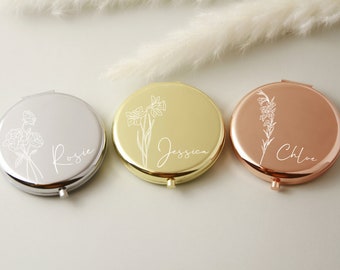
Memorable Bridesmaid Proposal Ideas for Popping the Question
Get creative with your bridesmaid proposal boxes, from choosing a theme and curating the gifts to picking the perfect presentation and popping the question on paper.