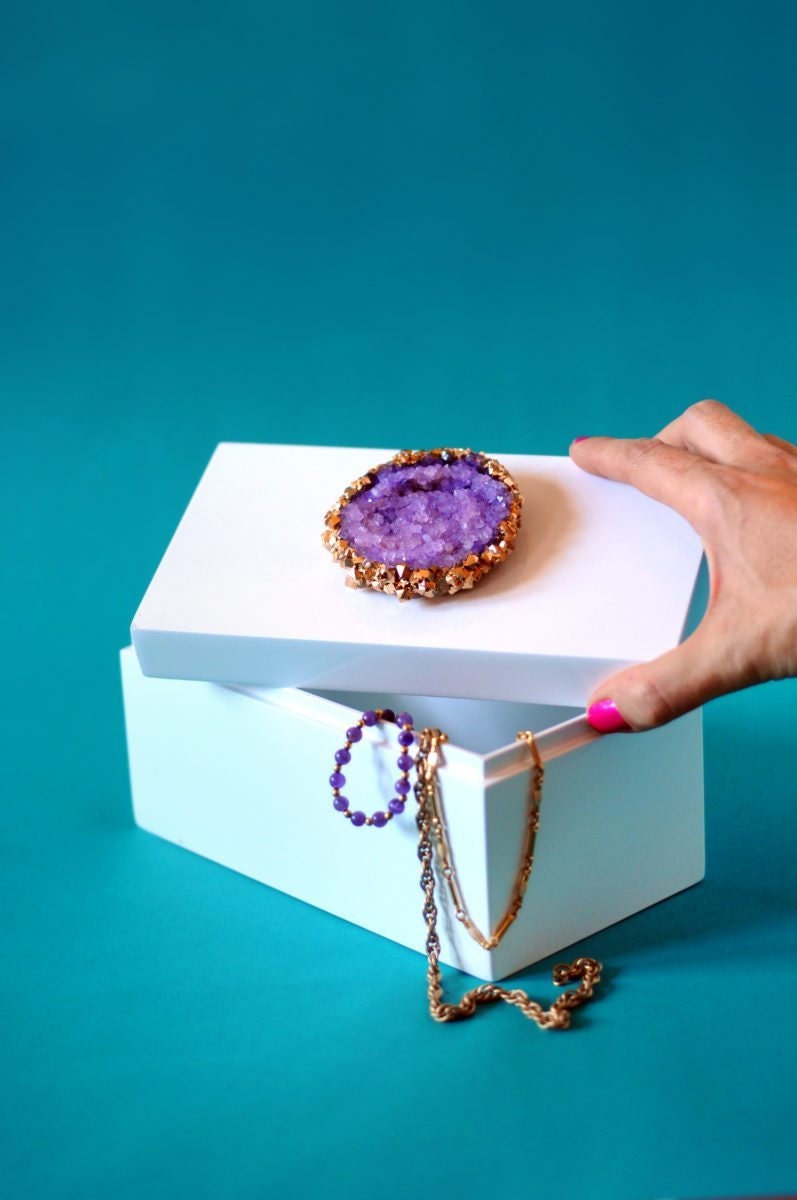
You don't have to be an alchemist (or even a chemist) to create your own pretty crystals — and turn them into an undeniably precious present.
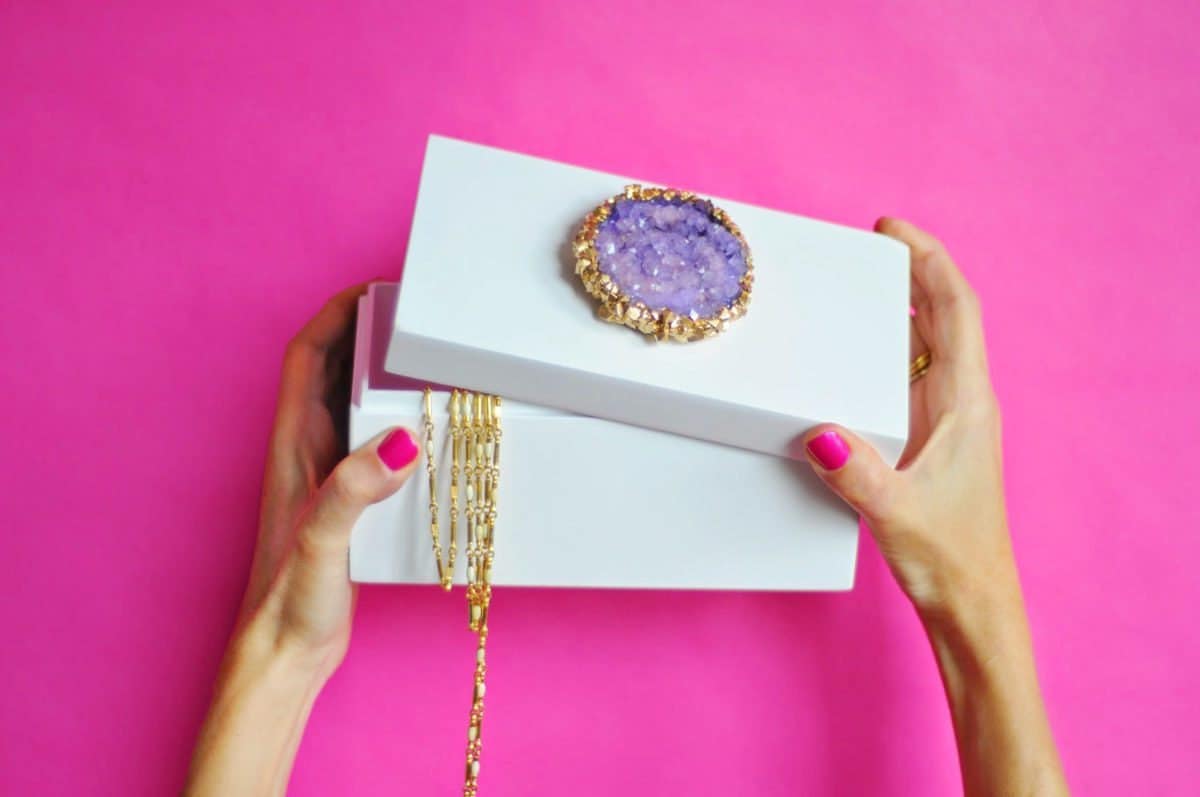
"What do you give a friend who has everything?" You’ve said it before, and there’s no doubt you’ll say it again. But here’s an idea: one gift that even the owner of everything could use is a chic box to store all those stylish bibs and bobs in. (Pretty genius, right?) So you start to shop for a cool trinket box, and I’ll tell you, because I’ve done it — you either find the glamorous, glossy, $200 variety or the $10 job that doesn’t quite match the elegance of said friend. What a pleasant surprise, then, that this DIY faux-geode trinket box — the one that looks like it could cost close to $250 — only requires about $20 worth of supplies, provided you already have food coloring and glue in your craft arsenal. And if you assume you need a lab coat and beakers to “grow” your own decorative crystals, think again. This project can be completed right on your kitchen counter — no science degree required.
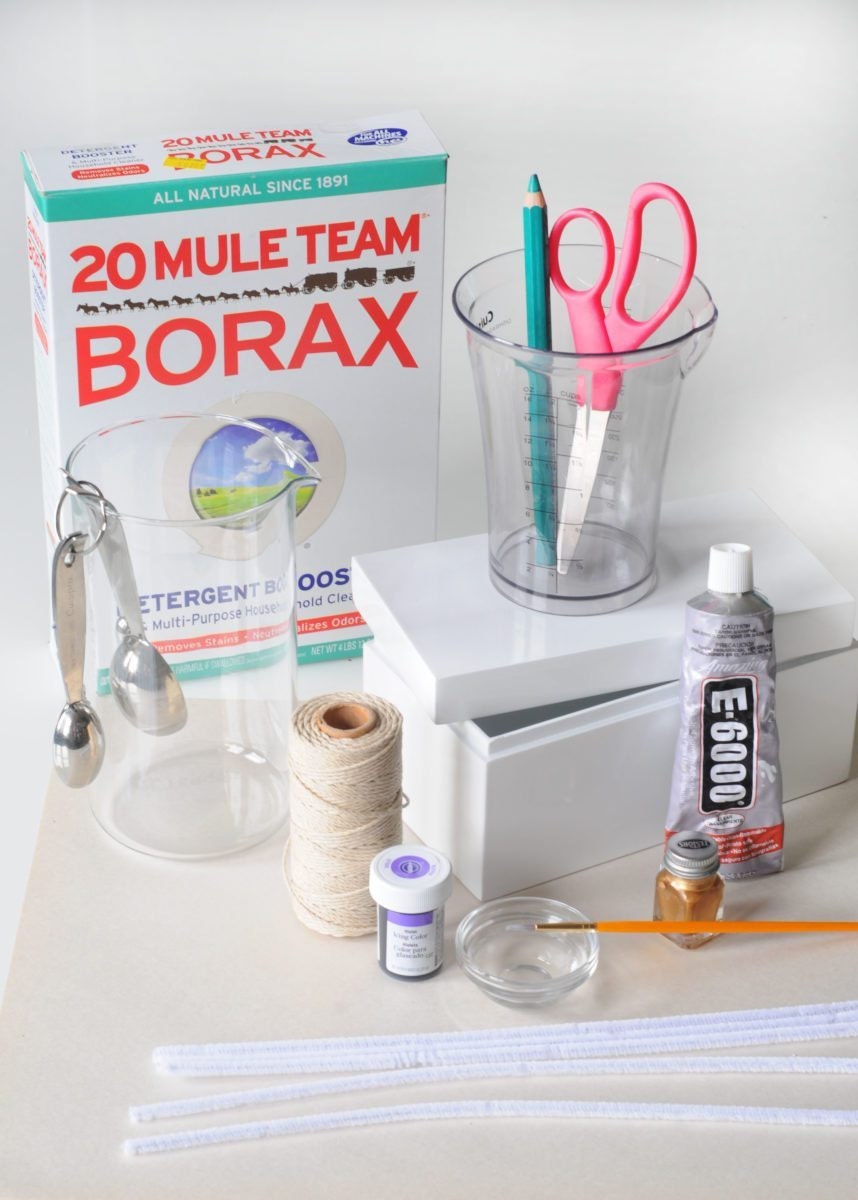 What you’ll need:
• White pipe cleaners
• String
• Scissors
• Borax
• Heat-safe glass jar or container
• Measuring spoons
• Gel food coloring (liquid would work, too)
• Pencil
• Paint brush
• Testors Metallic Gold enamel paint
• Paint thinner
• E6000 glue
• Decorative wood box
What you’ll need:
• White pipe cleaners
• String
• Scissors
• Borax
• Heat-safe glass jar or container
• Measuring spoons
• Gel food coloring (liquid would work, too)
• Pencil
• Paint brush
• Testors Metallic Gold enamel paint
• Paint thinner
• E6000 glue
• Decorative wood box
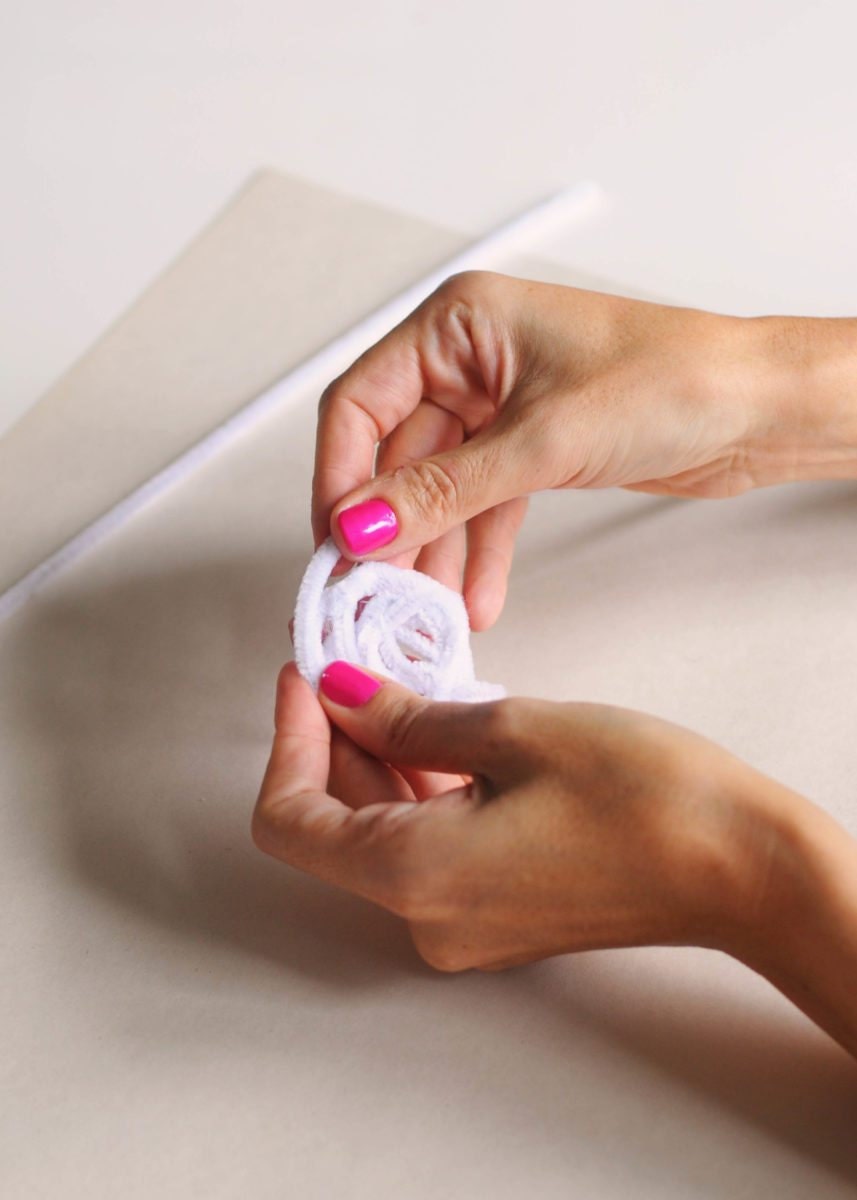 Step 1: Create the base for the crystal. Using a few pipe cleaners, form a coil, weaving the ends in and through the coil's layers as you go. This will help secure the disc-like shape.
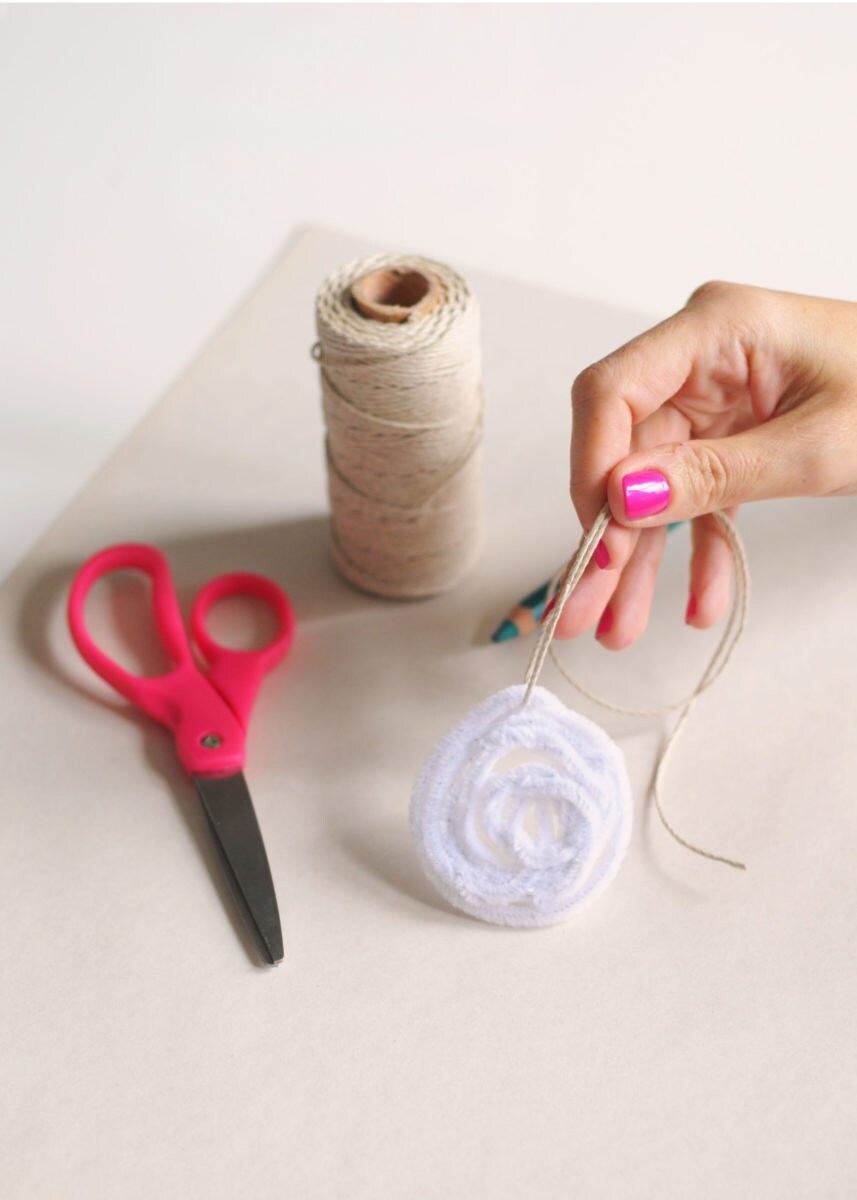 Step 2: Cut a 12-inch long piece of string and thread it through one of the outer rings of the coil. Set the whole thing aside.
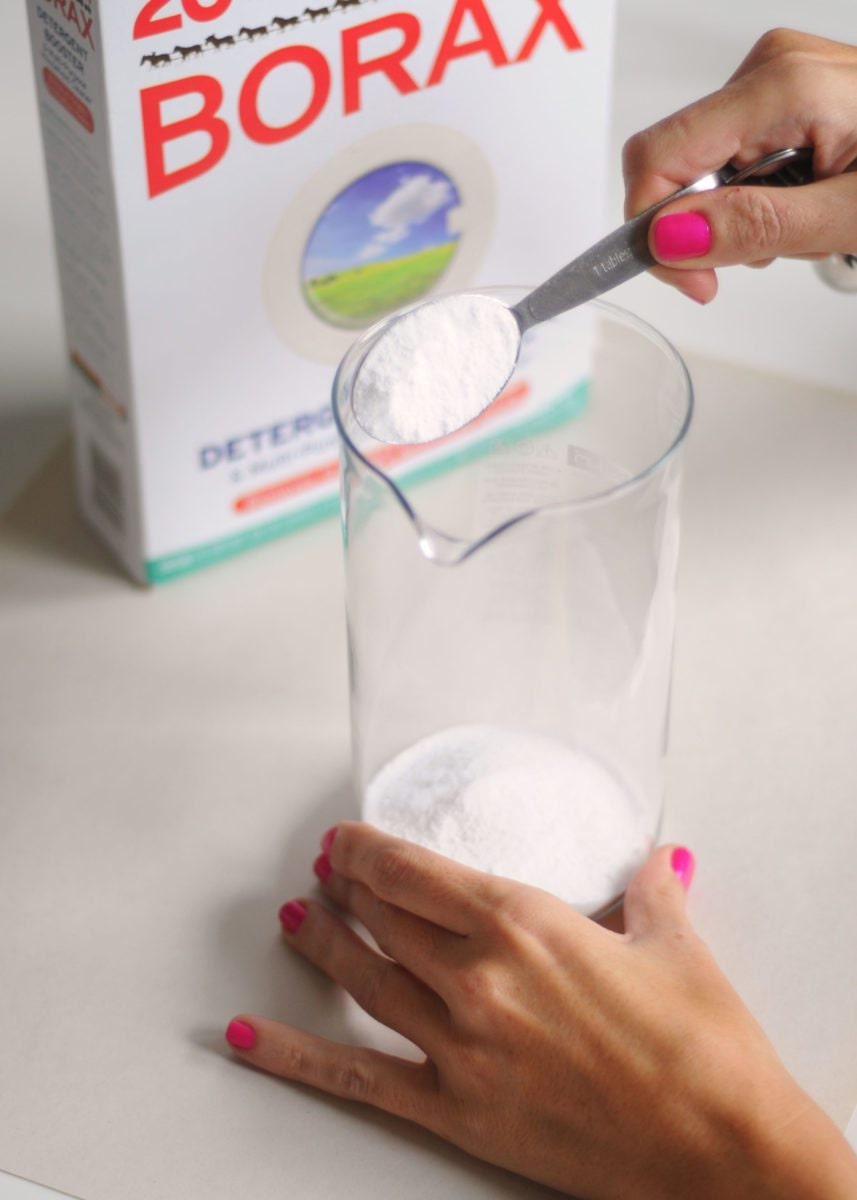 Step 3: Measure out 9 tablespoons of Borax into a heat-safe glass container or jar.
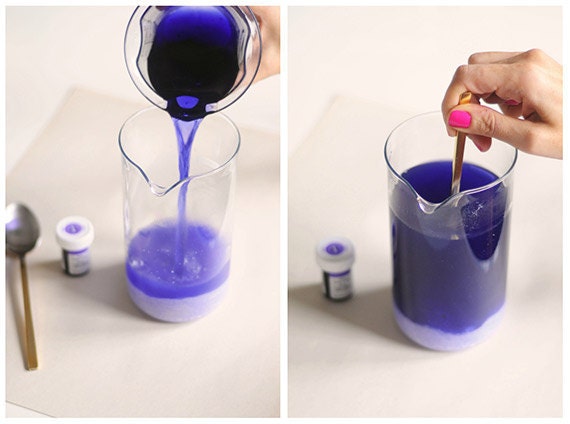
Step 4: Boil 3 cups of water in a small pot and mix in food coloring. (Start with about ½ teaspoon of gel food coloring, and add more if you know you want a deep tone.) Stir to encourage the gel to mix in completely, then carefully pour the still-boiling water over the Borax powder and mix until dissolved. (You can add more coloring to the water once the Borax is dissolved if you'd like a deeper hue.)
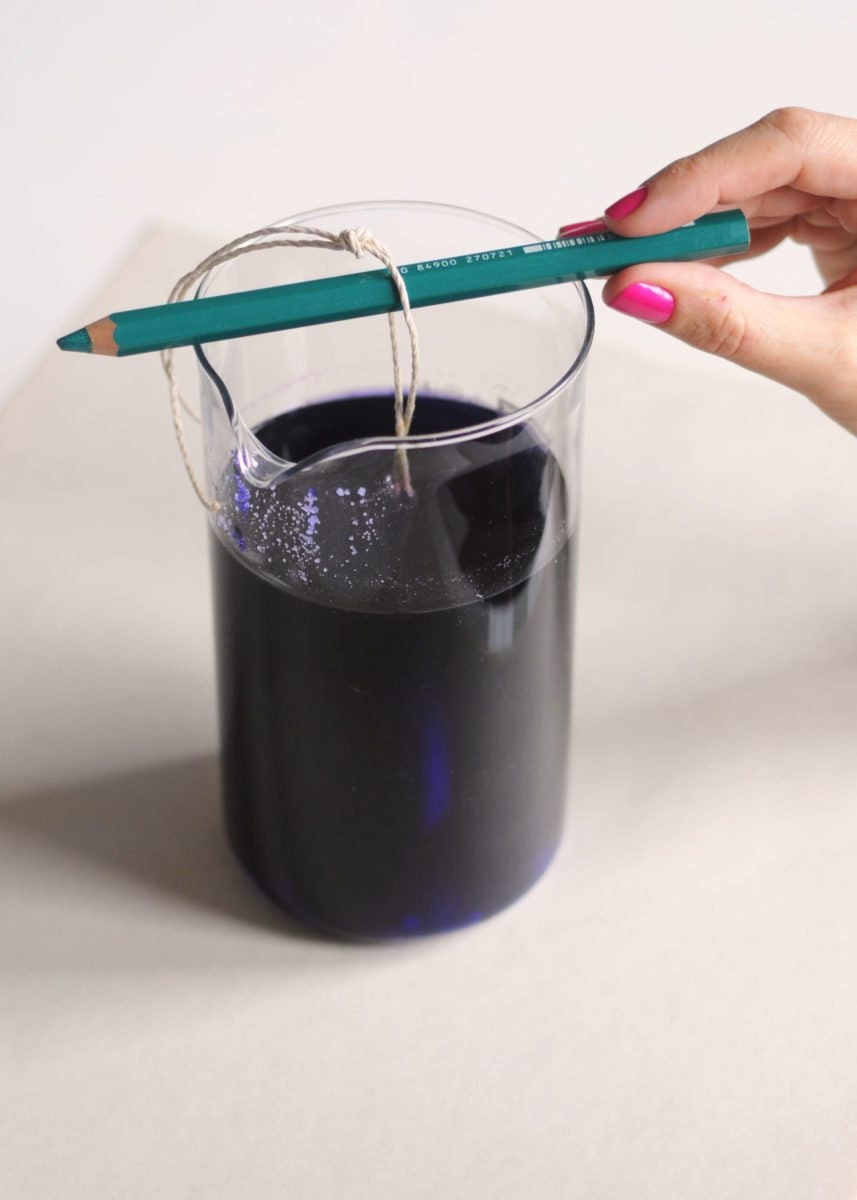 Step 5: Lower the pipe-cleaner coil into the Borax solution, and tie the other end of the string around a pencil or pen, so that the coil won't touch the bottom of the jar when you rest the pencil on the jar's rim. Let the coil sit undisturbed for about 5 hours, covered with a dish towel, then remove it from the solution and pat dry with a paper towel. Cut off the string.
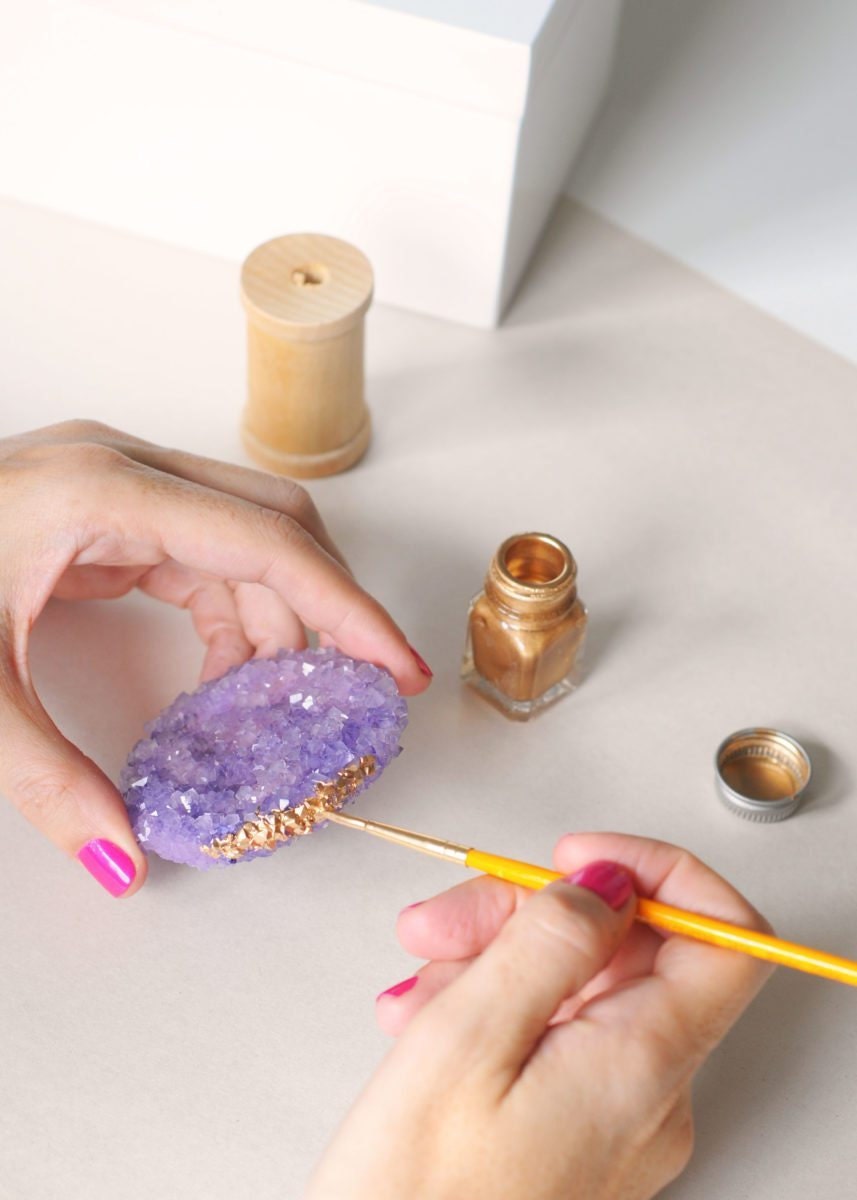 Step 6: Paint the crystal's edges with metallic enamel paint. Tip: Load only a small amount of paint onto your brush at a time — it will spread over the crystal's surface rather quickly. When you've finished, clean the brush with paint thinner and rest the crystal on a spool or a bottle top, out of direct sunlight (which can cause the color to fade). Let dry, then glue the crystal to the box lid with E6000 glue.
 Photographs by Amanda Kingloff.
What will you create next?
Photographs by Amanda Kingloff.
What will you create next?