Add a splash of color to your home (and protect against spills and scratches) with these easy-to-make pressed-flower coasters.

Flowers and foliage are long-time favorites when it comes to decorating, and for good reason. Whether you're greeting guests with a lively wreath on the front door or sprinkling touches of botanical home decor from room to room, there's no quicker way to spruce up a space than with the addition of a few eye-catching blooms. Beautifully pairing form and function, these pressed-flower coasters bring the trend to the tabletop, preserving the perennials of the season while protecting your surfaces from unsightly spills and scratches. This easy-to-make project is the perfect addition to your entertaining arsenal—and can even serve double duty in a pinch for a holiday host gift. Gather up your favorite leaves and flowers, and let’s get started.
At a glance
Time: 1 hour (plus drying time)
Difficulty: Beginner
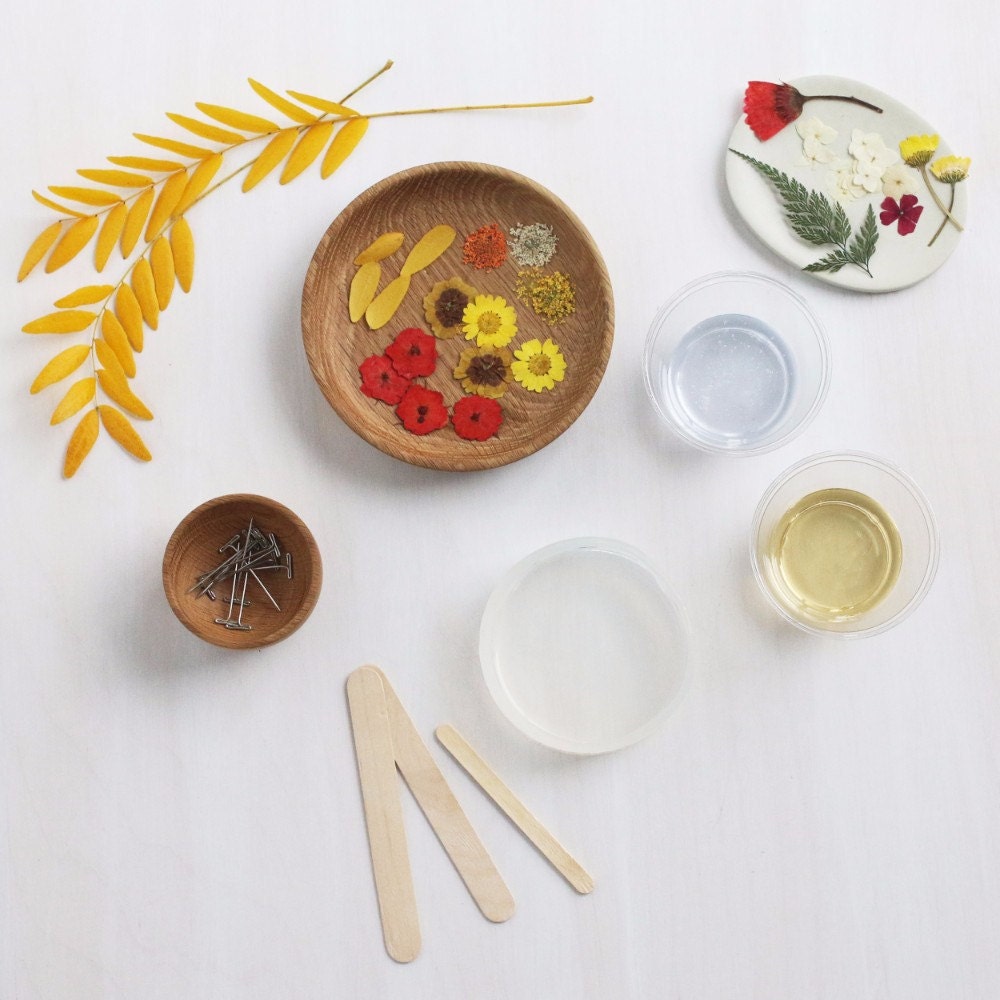
You will need:
- 4-inch round silicone molds (coaster size)
- Silicone mold release spray
- Assorted pressed leaves and flowers
- Plastic cups
- Clear epoxy resin and hardener
- Wood craft sticks
- A small pin or needle
- Self-adhesive clear rubber dots (optional)
Step 1: Prepare your materials
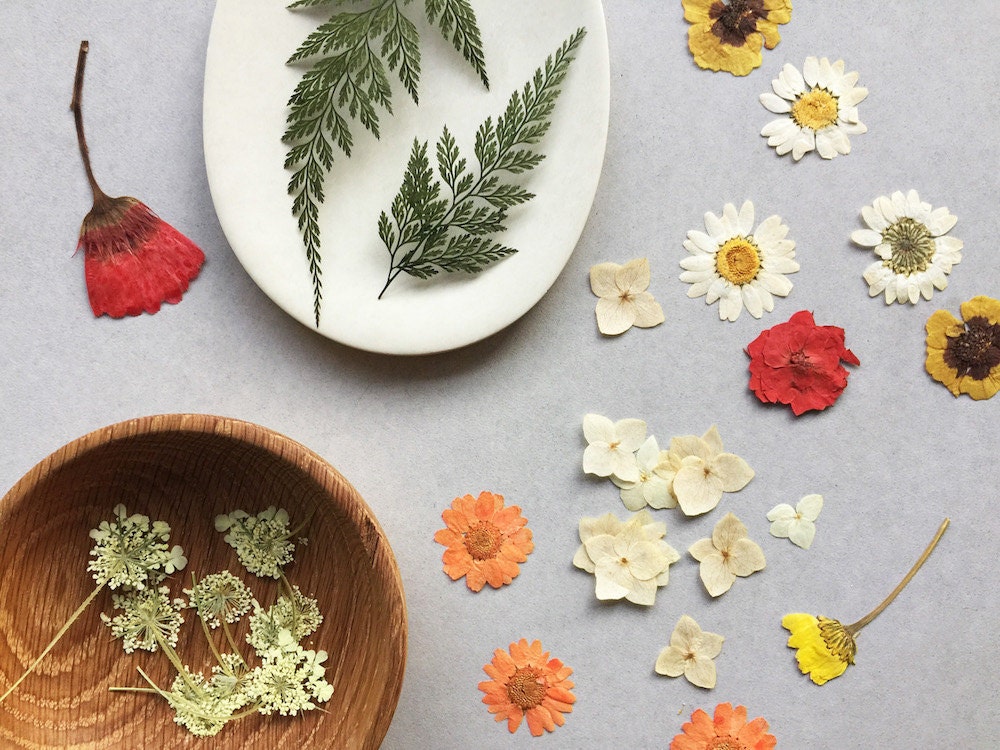
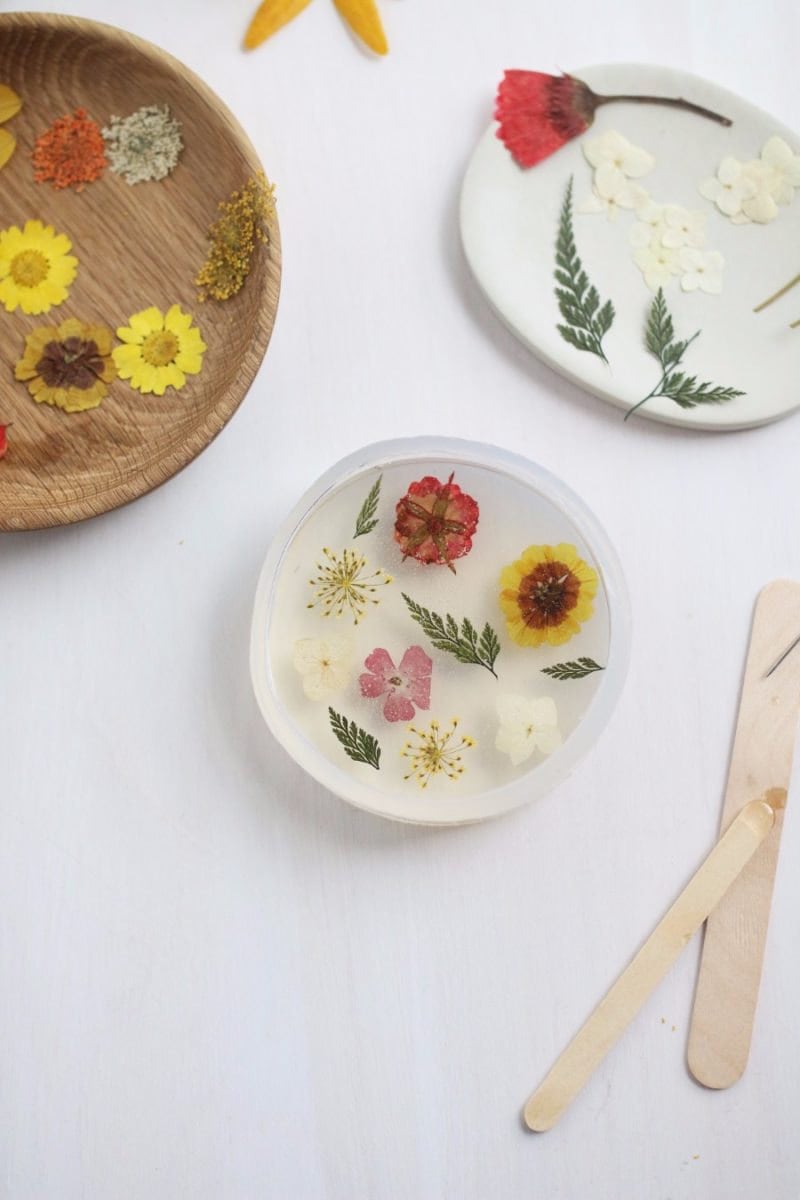
In a well-ventilated area, pretreat the silicone mold with a thin coat of release spray. While the spray dries, select an assortment of pressed leaves and flowers that you’ll use for your coasters. You'll likely end up using between eight and 15 pieces (or more) per coaster, depending on their size.
Step 2: Mix the epoxy resin
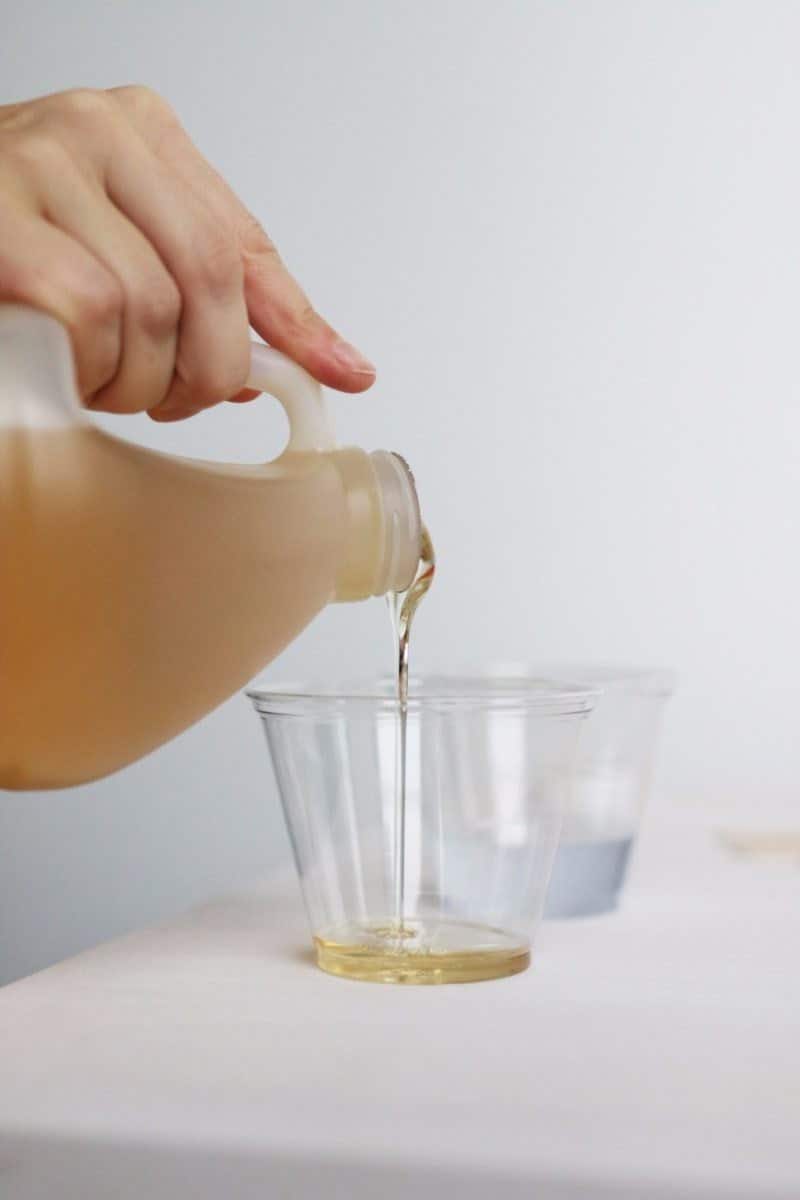
In two separate clean plastic cups, pour equal amounts of resin and hardener.
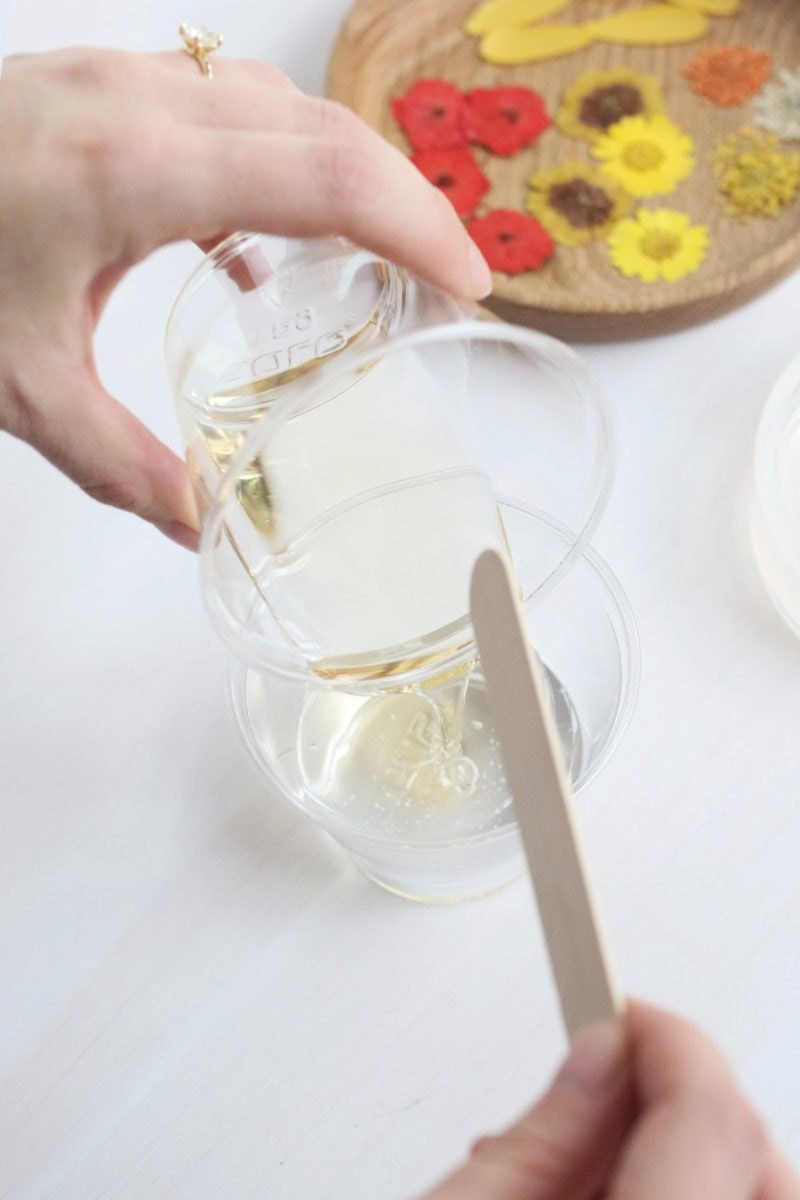
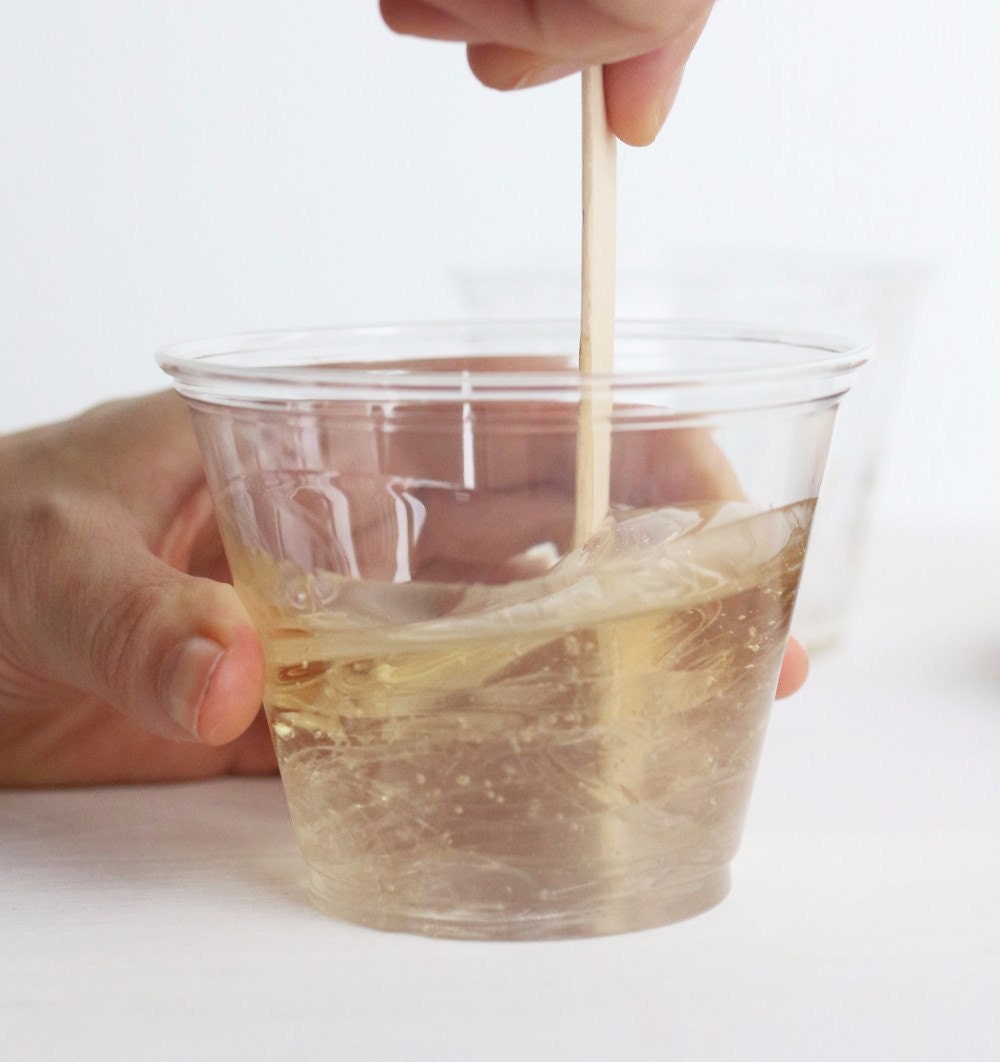
Combine the resin and hardener, stirring with a wooden craft stick until completely mixed. Tap the cup gently against a tabletop to help release any air bubbles.
Step 3: Add resin mixture to mold
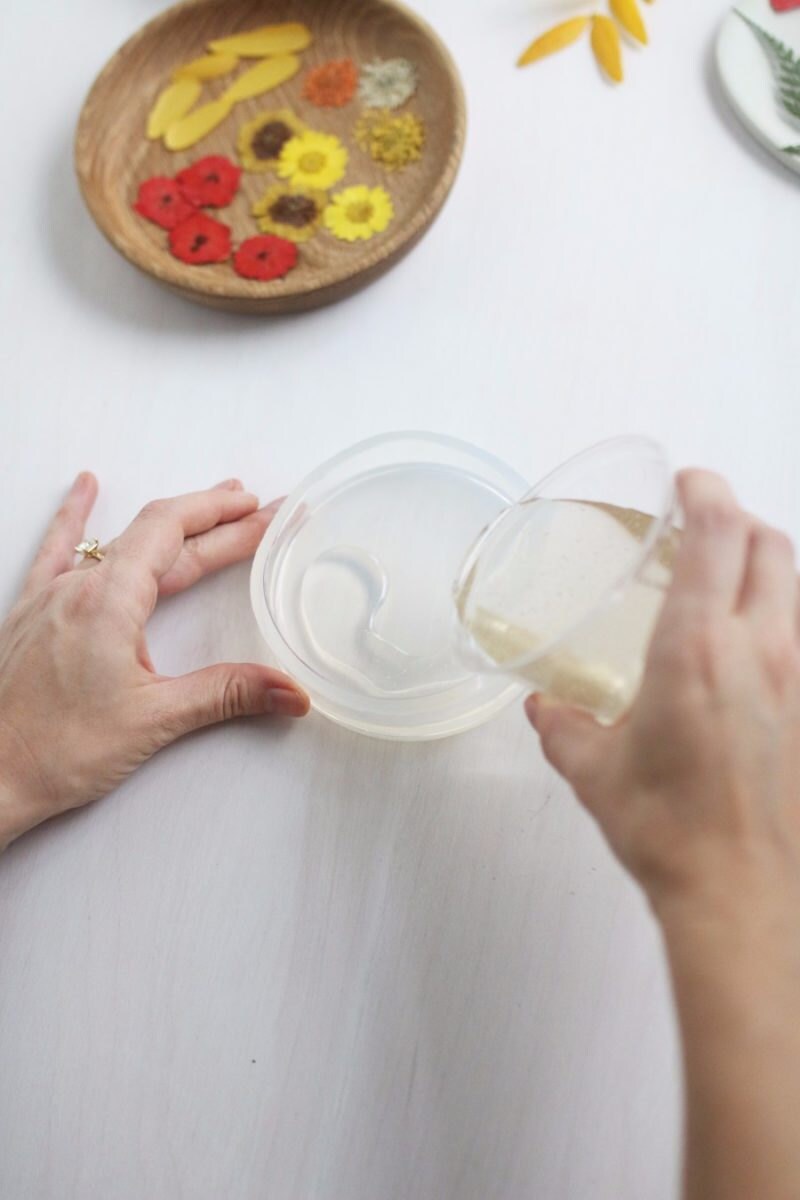
Pour a thin layer of the resin mixture into the bottom of the pretreated silicone mold.
Step 4: Add pressed leaves and flowers
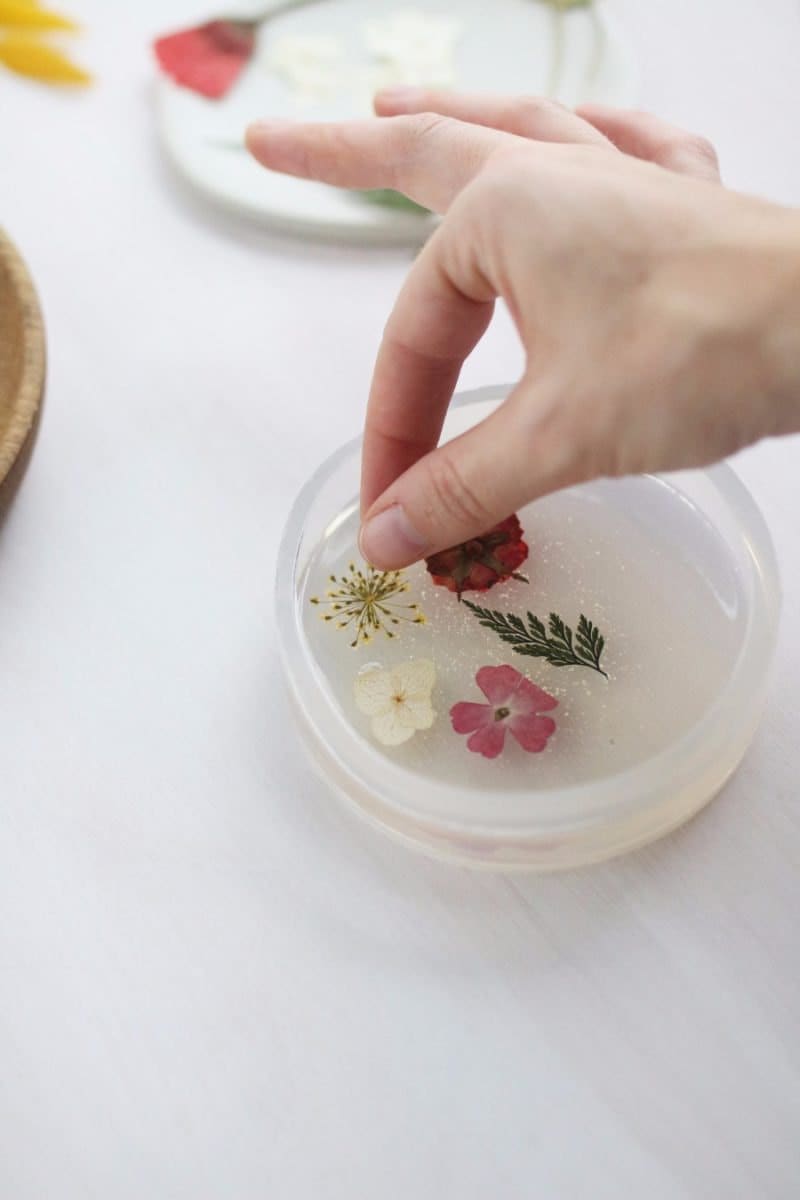
Gently place the pressed leaves and flowers inside the mold on top of the thin resin layer in your desired arrangement. Tip: Be sure to place the flowers with the desired top side facing down, since the bottom of the mold will become the top of your coaster once it's removed.
Step 5: Top off the mold
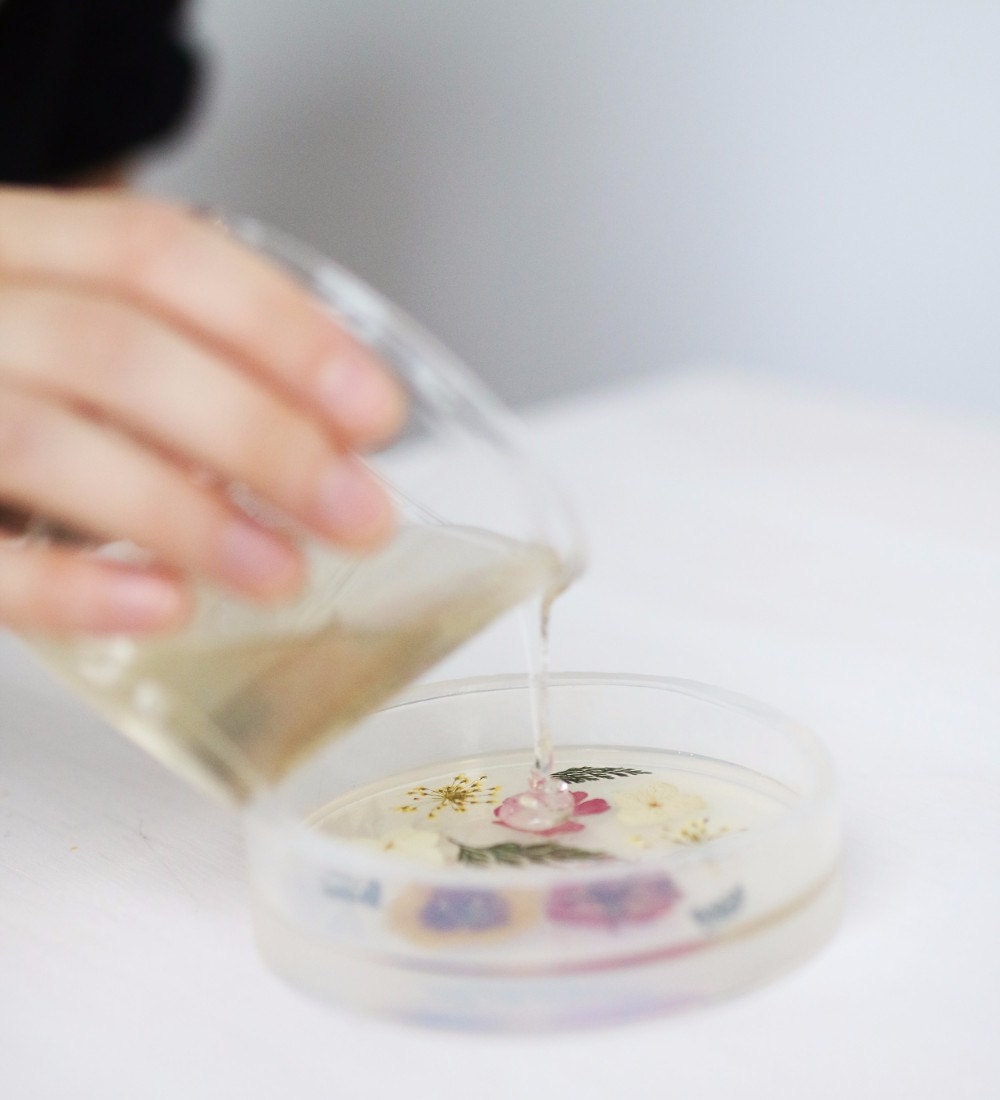
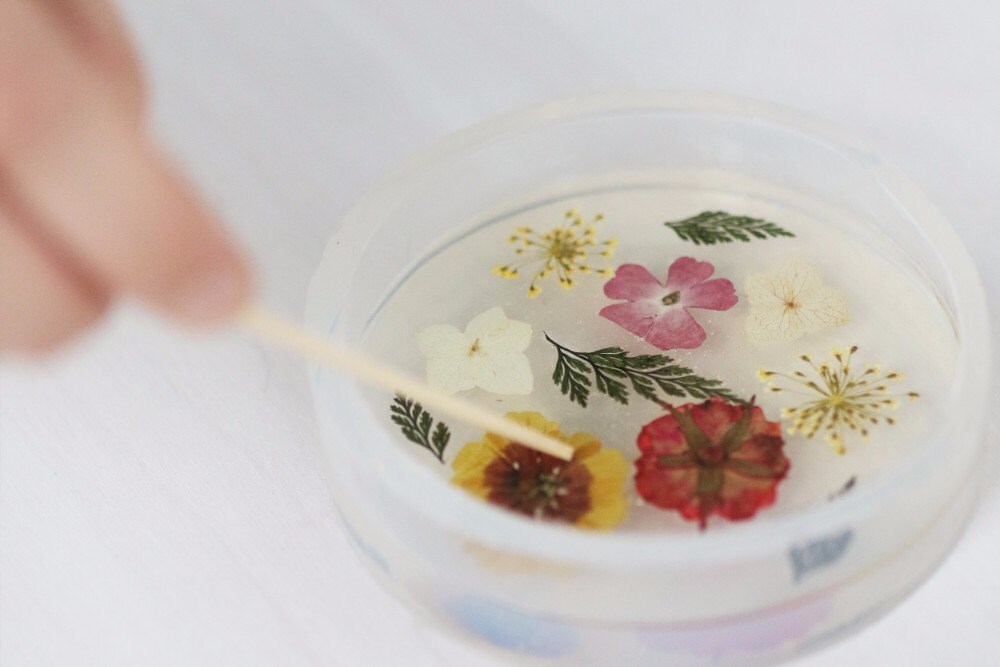
When you’ve finished adding flowers and leaves, pour a second layer of resin over your arrangement. If the flowers shift, use a pin or craft stick to gently guide them back to their intended position.
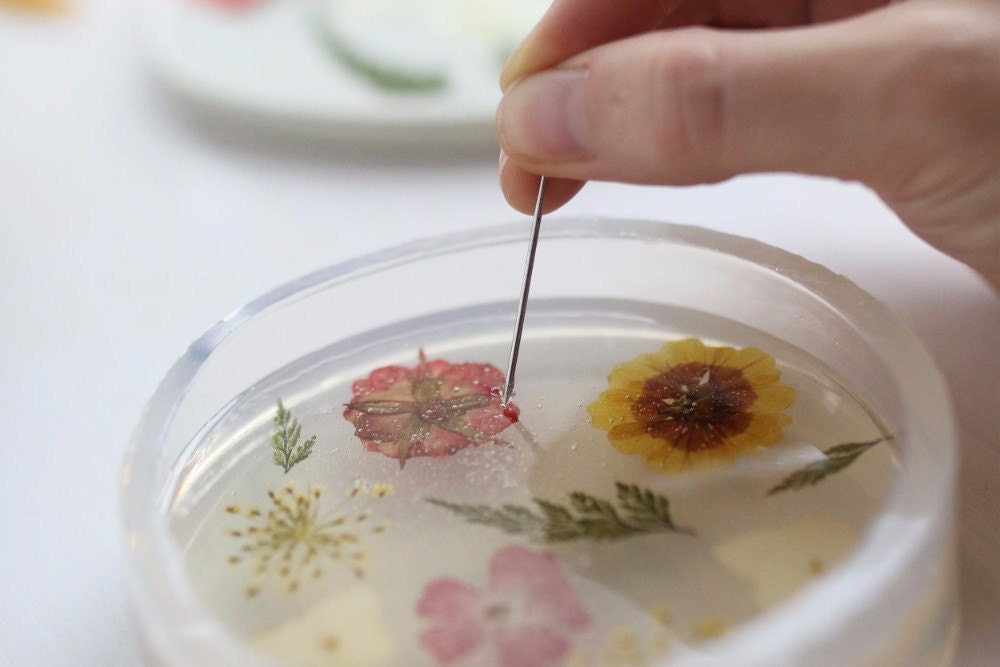
Use a pin or needle to pop any large air bubbles that may have formed while you were adding the resin.
Repeat the process for any additional molds. Then, set your soon-to-be coasters aside to cure for at least 24 hours. Tip: Double check your resin instructions for specifics on curing time.
Step 6: Remove coaster from mold
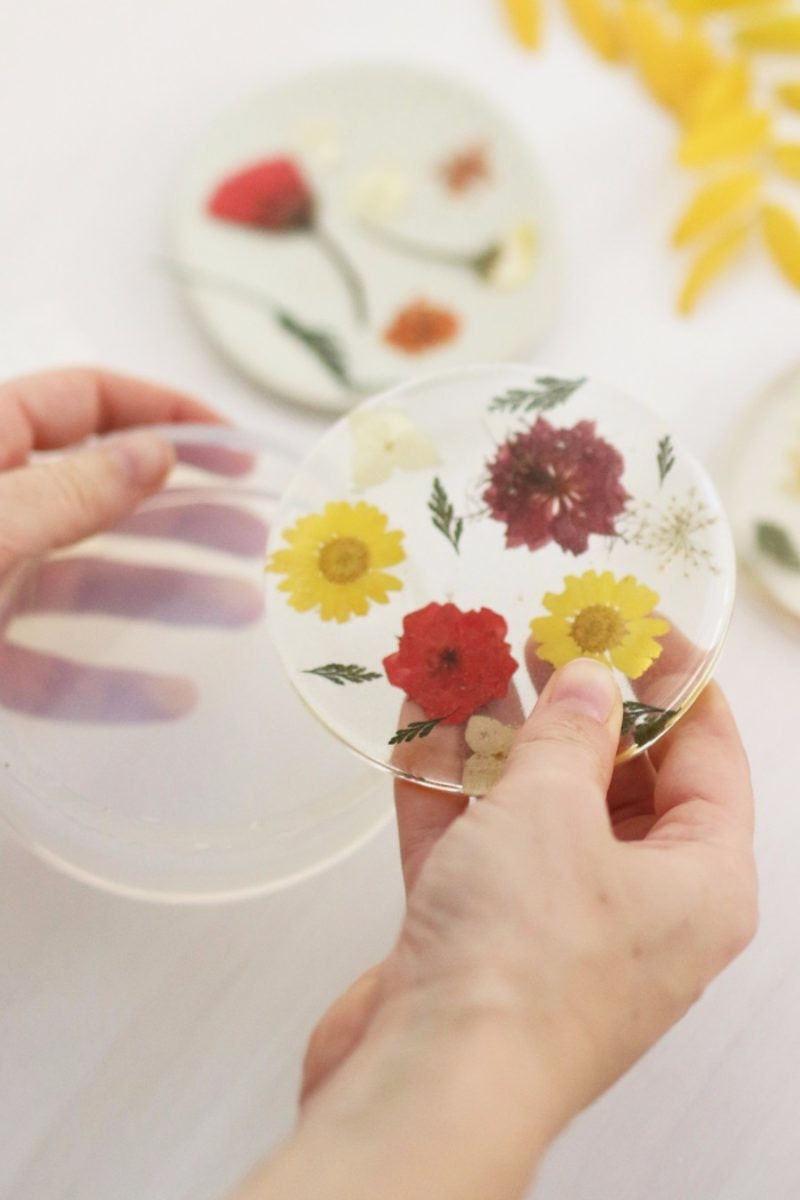

Once the resin has cured, carefully remove the coaster from the mold. If you’d like, press three or four clear rubber dots on the bottom to prevent your coaster from scratching or sliding on surfaces. Then, simply set the table and enjoy!

Projects, styling, and photography by Hannah Bridge, Brigette Muller, and Jessica Ulrich.