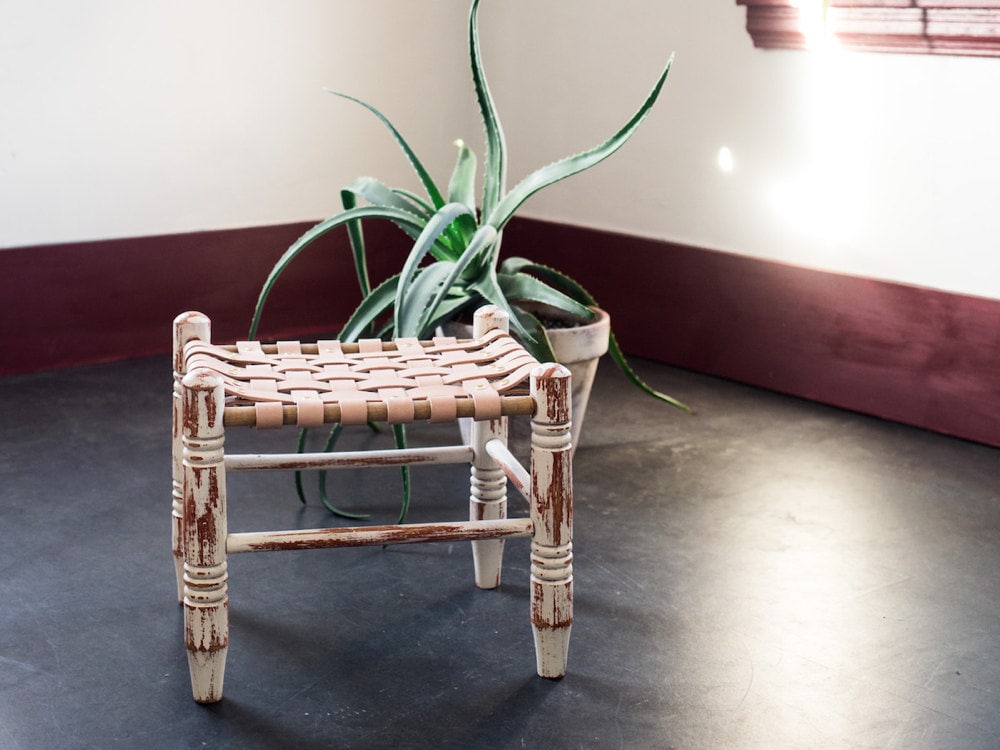
Upgrade your entryway and salvage a worn wooden stool all in one go, with this simple upcycling DIY.
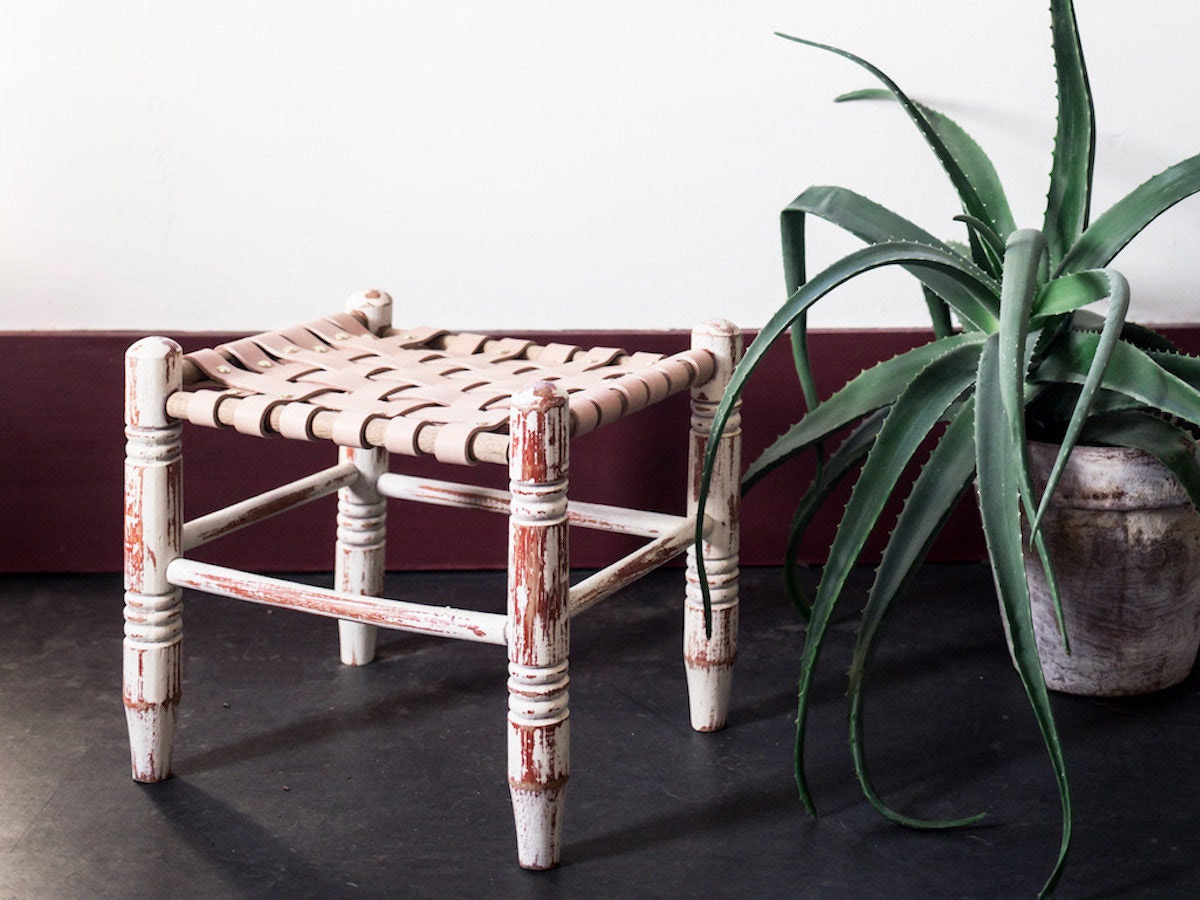
As snow-crusted boot season approaches, having a handy shoe-removal perch positioned near the door is a wise (and welcoming) idea. With this DIY, you can transform a worn, frayed, or simply lackluster stool into a chic and functional piece fit for a modern home. It's quick and simple to put together—and to put your own spin on. Play around with weaving different colors of leather together, or use a single neutral tone as shown here. Read on to learn how it's done. At a glance: Time: 2 hours or less Difficulty: Beginner
 >
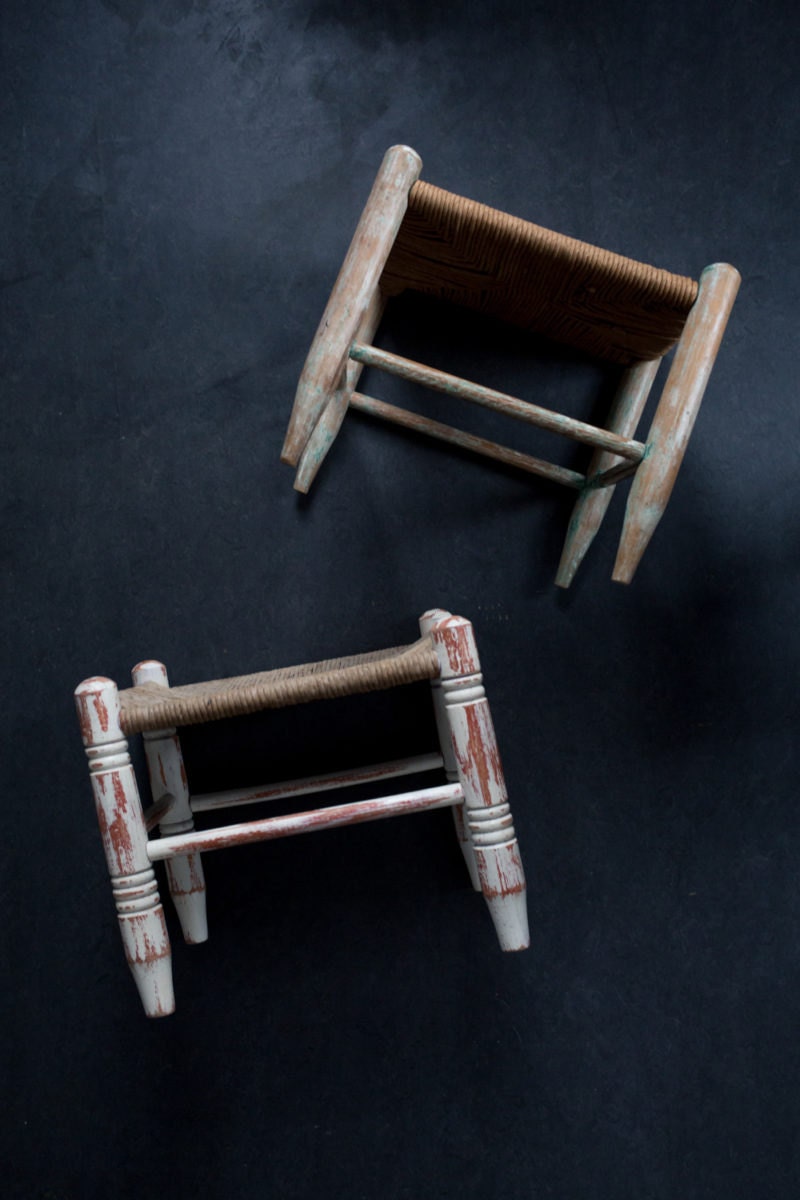
>- Vintage stool with a woven seat
- Sharp, sturdy scissors
- Measuring tape
- Pencil
- Several feet of 1-inch wide leather strap (we used about 7 yards for this project)
- A few dozen 1/2-inch flathead Chicago screws (we used 30 for this project)
- Flathead screwdriver
- Leather hole punch
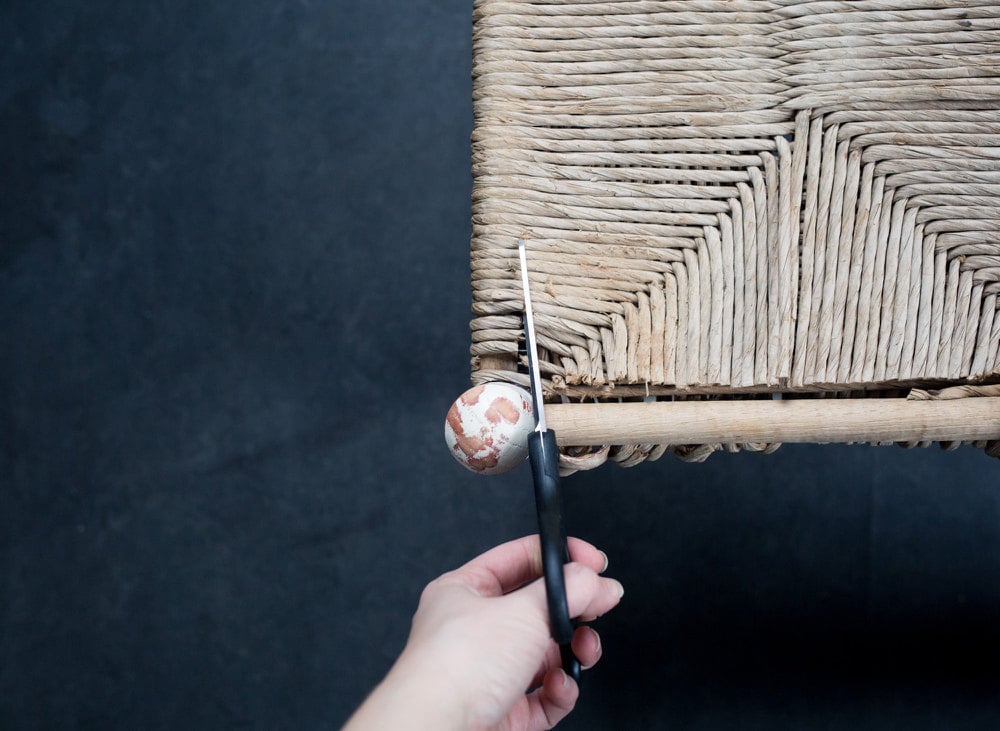
Step 1: Remove the seat and measure the frame
Use heavy-duty scissors or a utility knife to remove the stool's old seat, then measure the length and width of your stool's frame along its inside edges. (You want to calculate the distances between the corner posts, without including the corner posts themselves.)
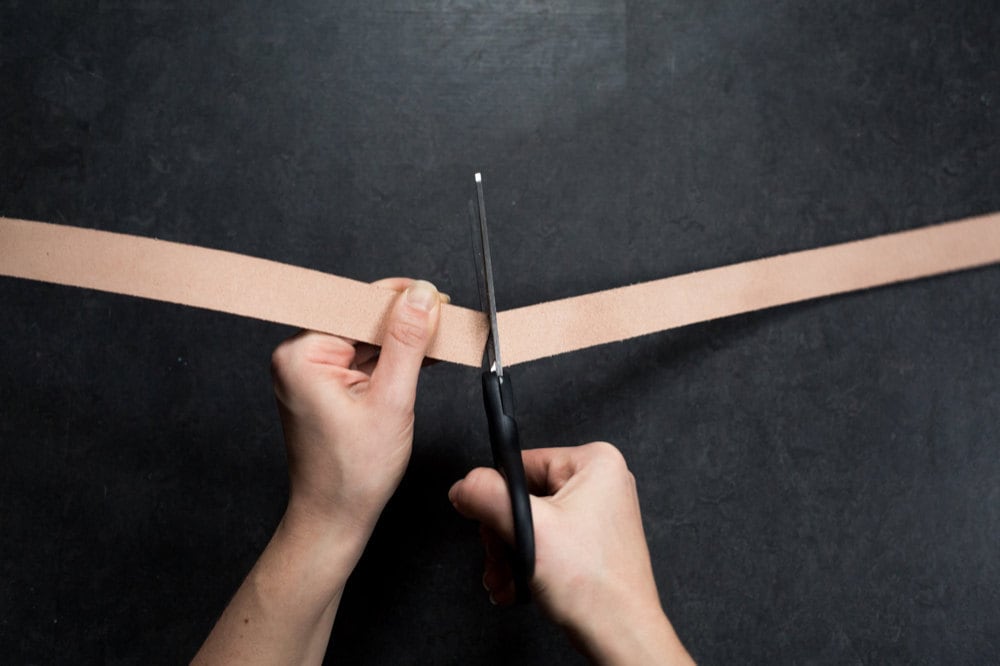
Step 2: Measure and cut the leather straps
The stool's width and length will determine how many leather straps you need. Since you'll be working with 1-inch leather, the math is simple: You'll cut one strap per inch of width for both the shorter side and the longer side of the stool (for a tight weave), or slightly fewer straps (for a looser arrangement). Those measurements are also what you'll work from to determine the length of each strap, adding a few extra inches to each piece so that you can wrap the ends around the frame and secure them in place. To find the right lengths, wrap one end of a leather strap around a section of the stool's frame so that one inch of strap overlaps on the bottom side. Measure just that section of the leather—the looped part and the overlap—multiply it by two, and add that number to the frame width and length measurements you took in the first step. Now it’s time to cut: Working on the underside of the leather, use a pencil to mark off the correct number of straps in the lengths you just calculated. Cut with scissors or a craft knife.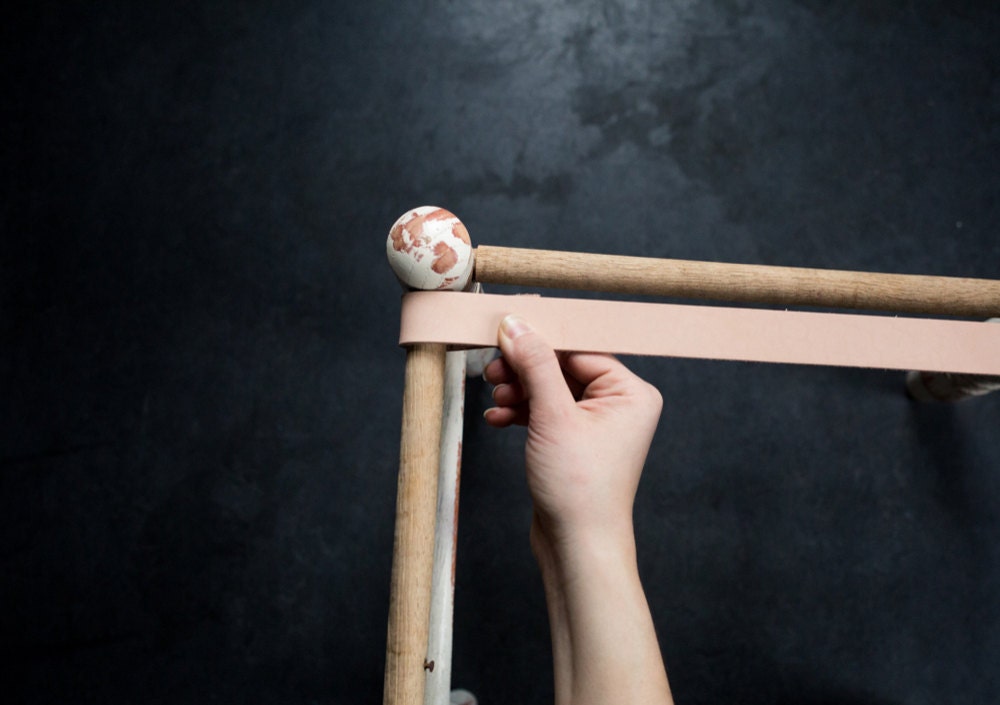
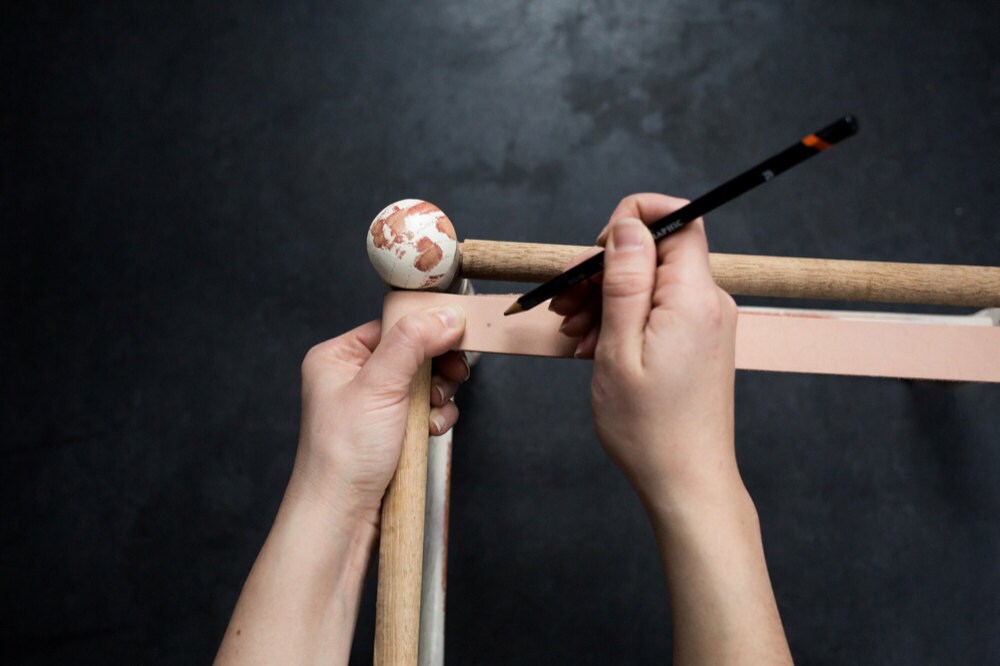
Step 3: Mark the placements for the screws
Loop one end of a strap around a section of the stool's frame so that 1 inch of leather overlaps on the bottom side. Use your pencil to mark a dot in the center of the overlapping section, and trace a line on the underside of the strap where the overlap ends.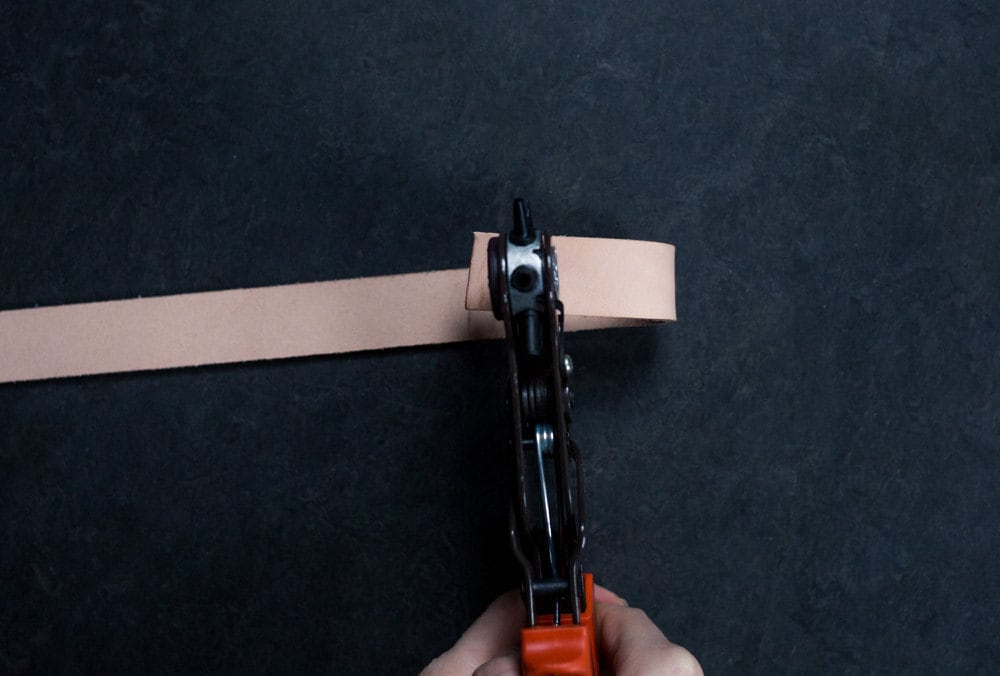

Step 4: Punch holes for the screws
Remove the strap from the stool and use a leather hole punch to perforate the leather where you marked the dot. Fold the end of the leather back under so that it lines up with the pencil line, mark another dot that aligns with the hole you just punched, and use the leather hole punch to create a second hole in the strap at that point. The two holes should line up when the leather strap is folded over to meet the pencil line you drew. Repeat these steps to make holes at one end of all the leather straps.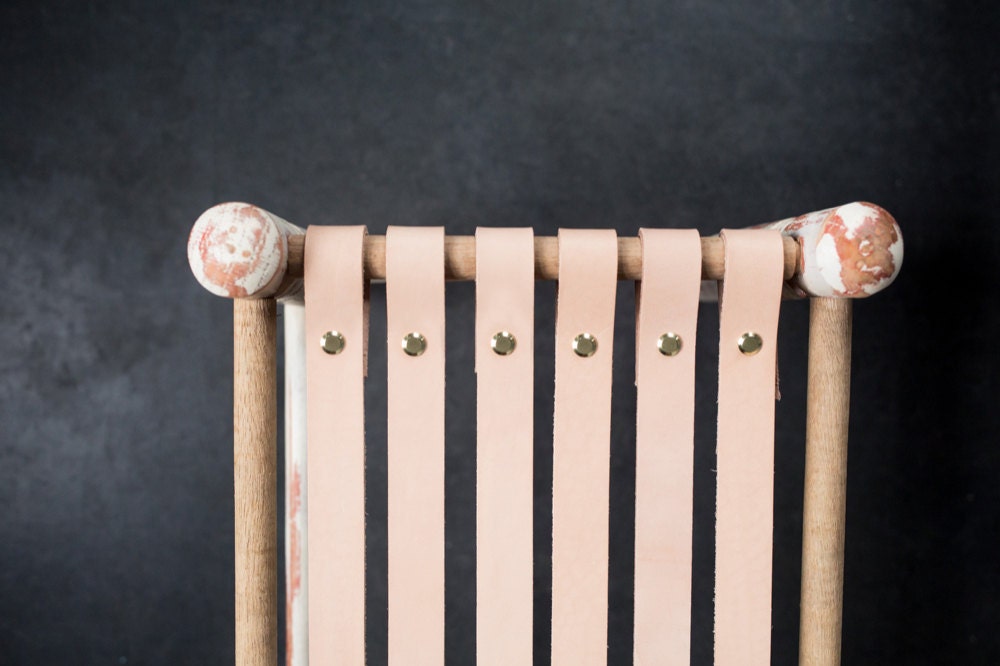
Step 5: Attach straps to one edge of the frame
Starting with the shorter side of the stool's frame and the longer set of leather straps, attach each strap by looping it around the frame and securing the overlapped layers of leather with a Chicago screw through both holes. Use a flathead screwdriver to tighten the bottom of each screw. Repeat this step for all the straps you cut for this side of the stool.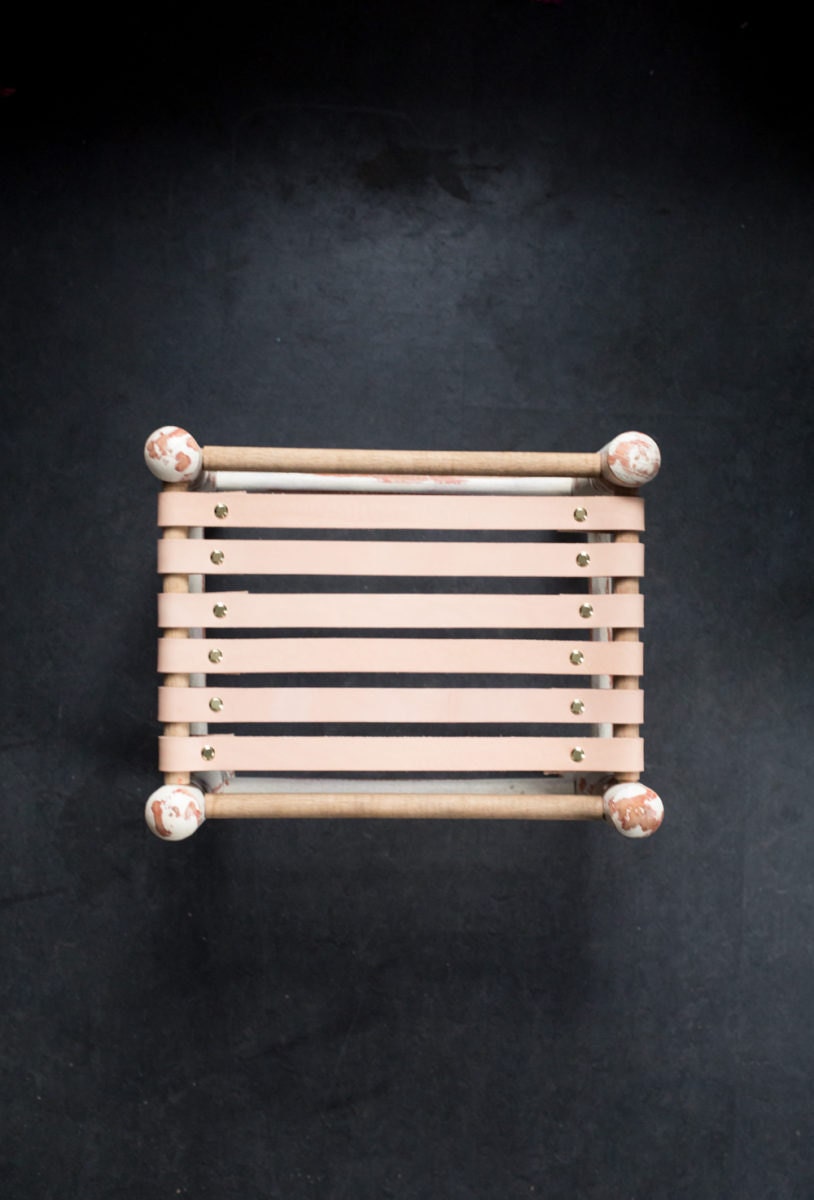
Step 6: Secure those straps to the opposite edge
Loop a strap around the opposite side of the stool frame and pull the leather taut. Mark positions for screws as you did in steps 3 and 4 and punch holes in the leather at those spots. Secure in place with Chicago screws and tighten as before. Adjust the straps if needed so that they are evenly spaced.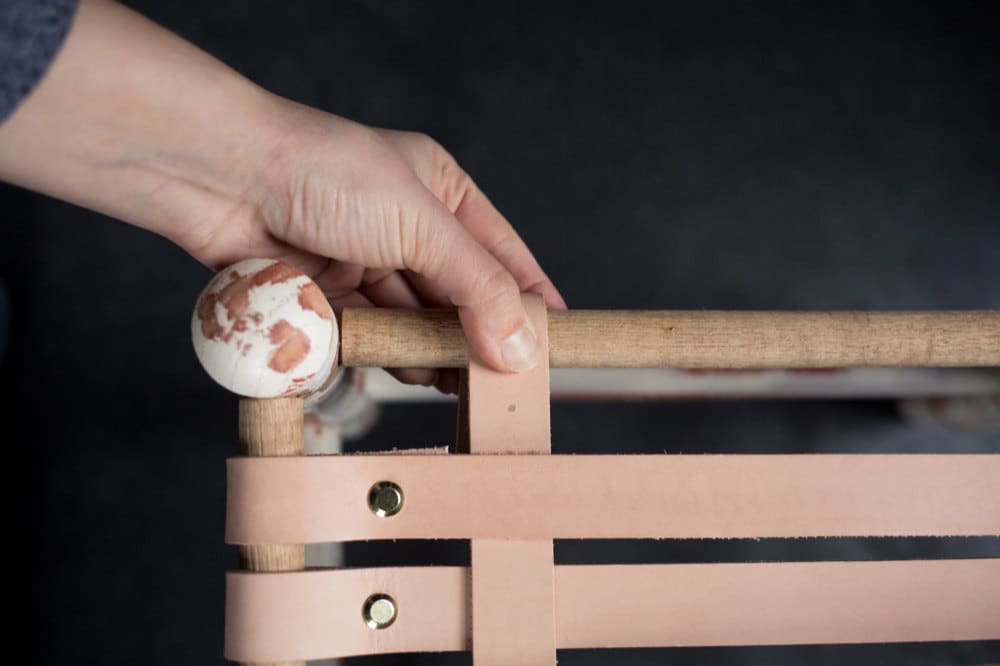
Step 7: Attach straps to an adjacent frame edge
Working with the shorter set of straps and one longer edge of the frame, attach one end of each strap to the stool using the process outlined above, and repeat until all straps have been secured.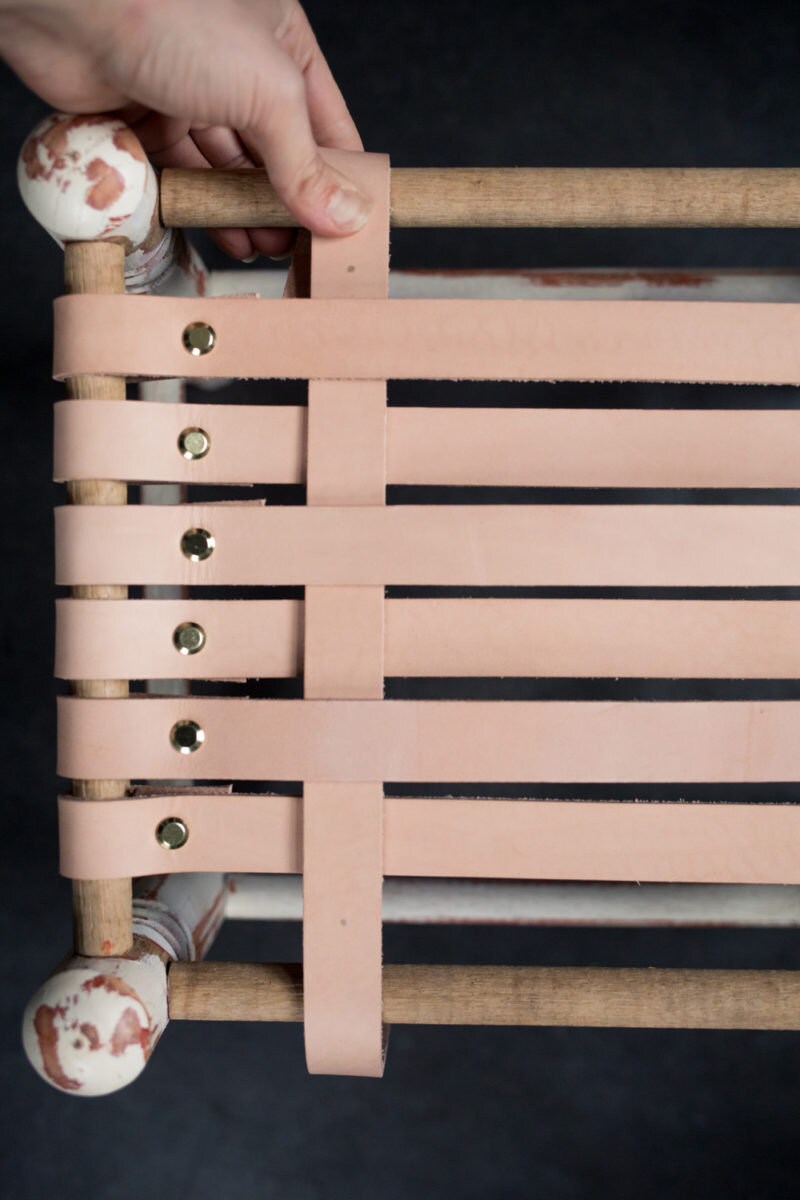
Step 8: Weave and secure the loose strap ends
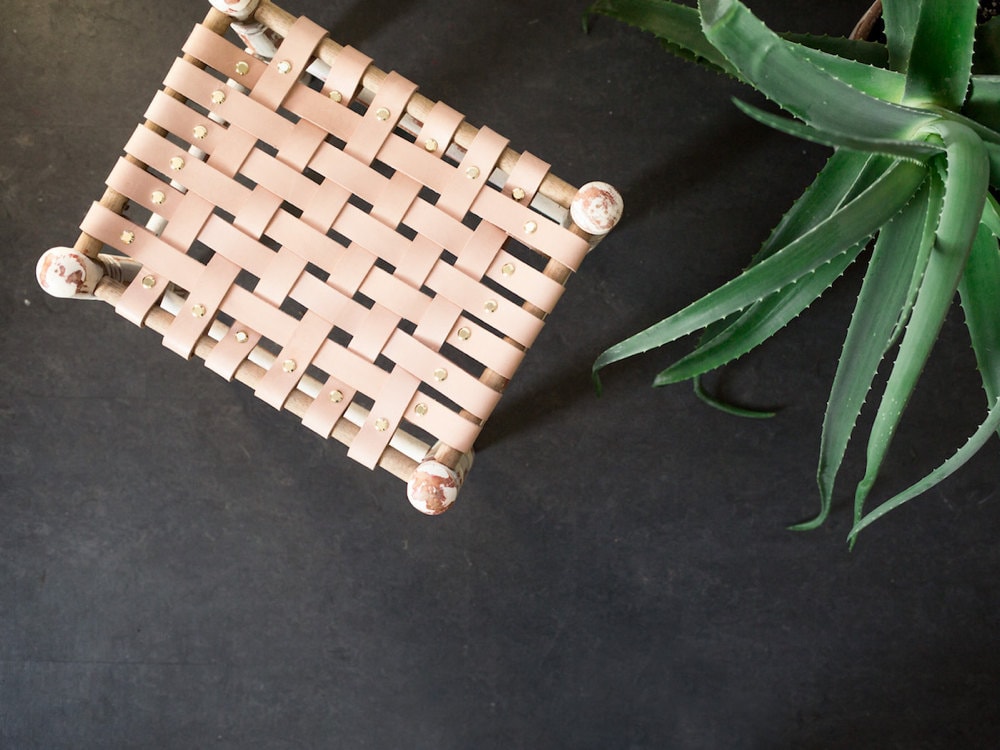
Thread each loose strap over and under the rows of secured straps to reach the opposite edge of the frame. Alternate the order as you go, so that each new strap you weave begins either over or under, rather than repeating the same motion twice. Secure the ends of the woven straps using the same process you used for the others. Now sit down, take your shoes off, and relax.