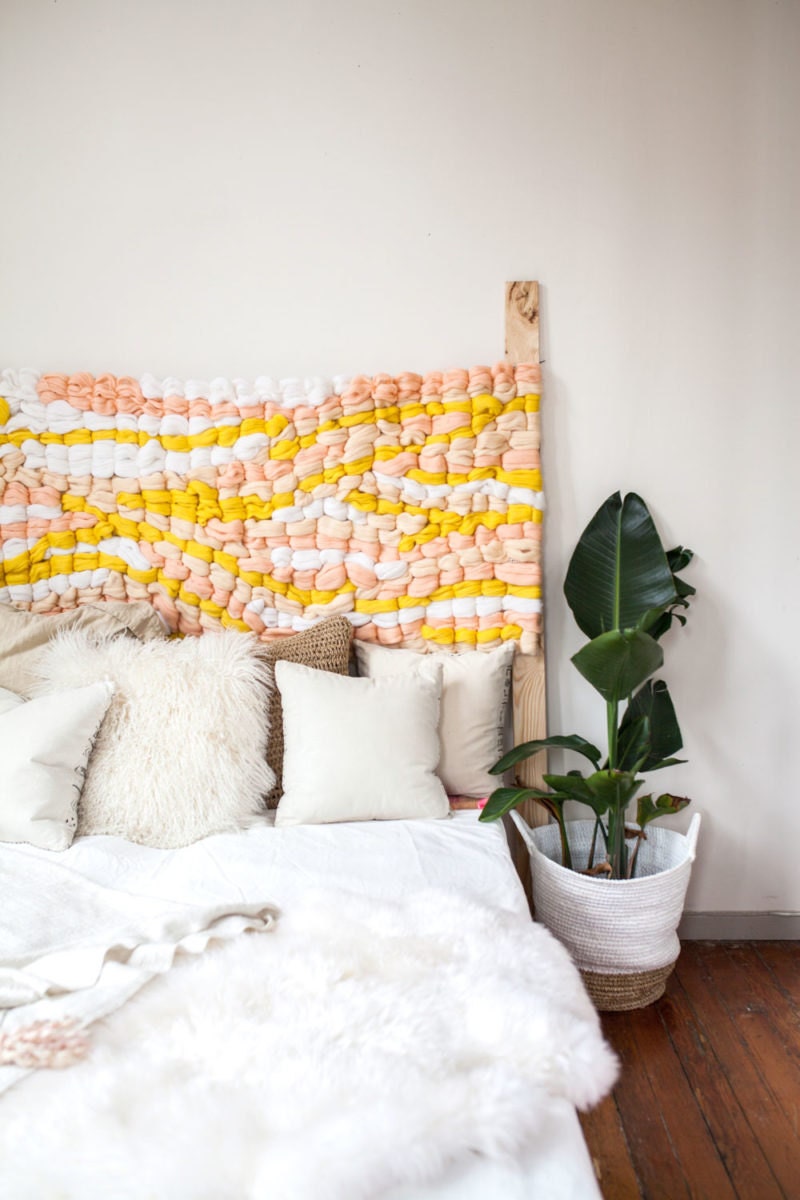
This DIY headboard project only looks like it requires an advanced degree in weaving. (Surprise: It's actually easy enough for beginners to make.)
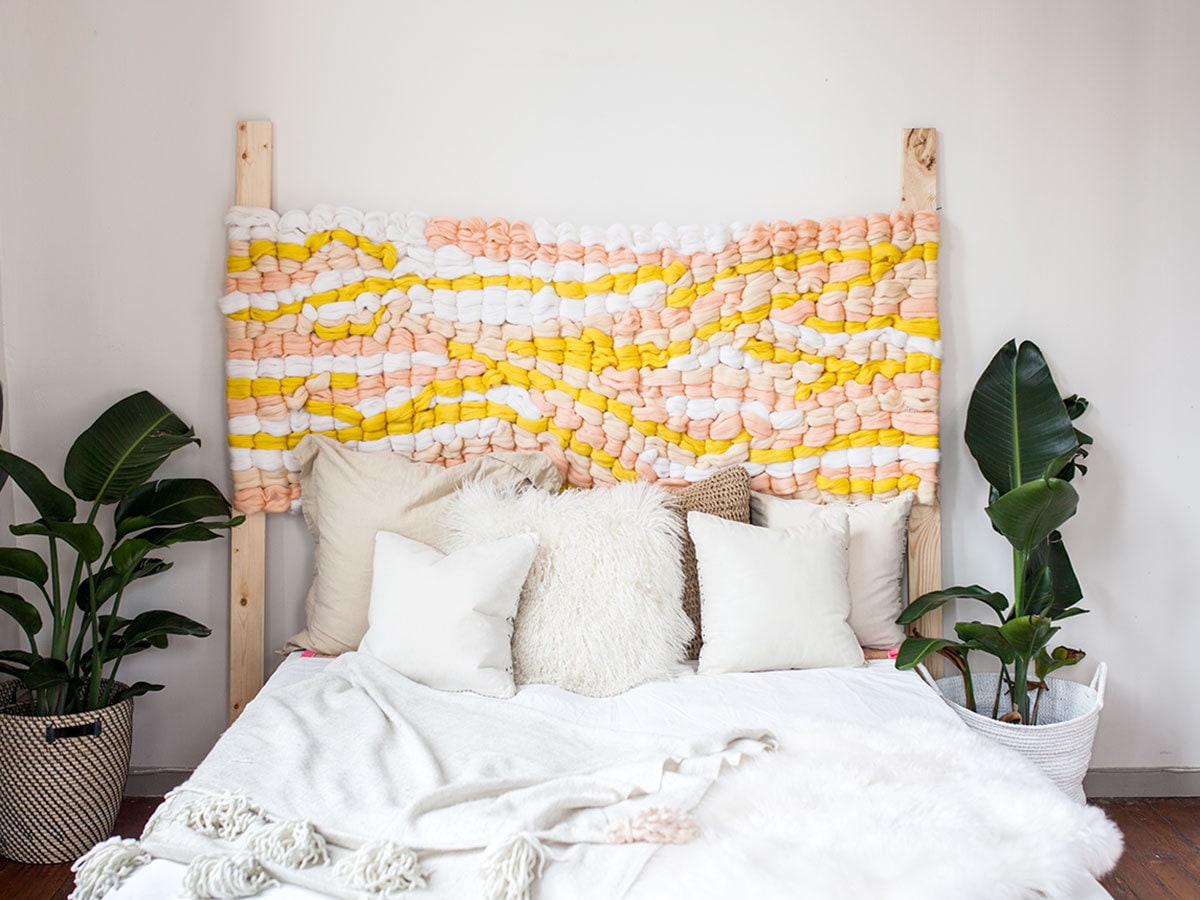
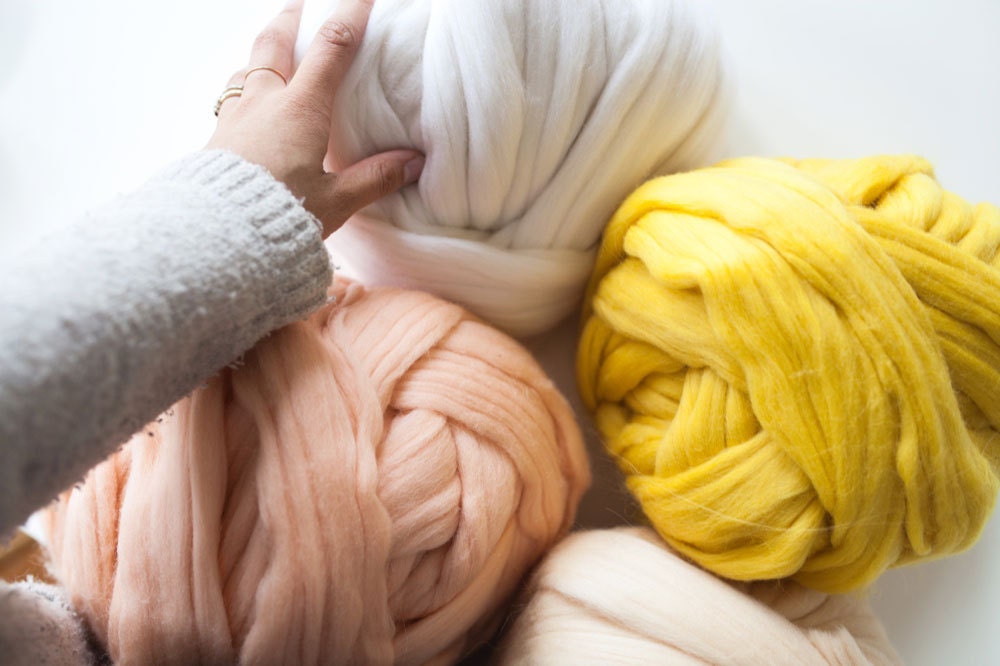
If you've fallen hard for the cozy, craftsy look of fluffy woven wool roving projects—but the thought of keeping warps and wefts straight in your head has you diving for the covers—then we've got the perfect project for you. This DIY headboard swaps a loom for a strategically sliced length of latch-hook canvas, which means any aspiring fiber artist can pull off this soft and squishy statement piece—even with no previous weaving experience. For a freeform, make-it-up-as-you-go design like this one, extra-bulky yarn or airy wool roving is your best friend: It's not only forgiving, it's fast. With a little luck, you can create your own one-of-a-kind headboard in just a few hours. Now that's the stuff crafting dreams are made of. At a glance Time: 2 hours Difficulty: Beginner
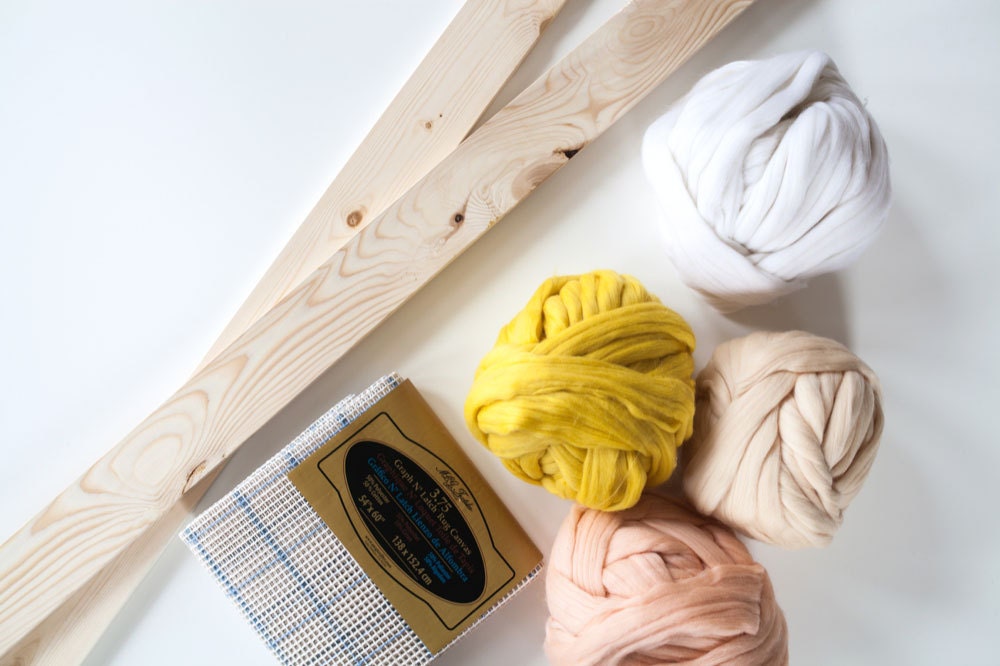
You will need:
- Gridded latch-hooking rug canvas in desired headboard size
- Scissors
- Tapestry needle and string (optional)
- 4 lbs super-chunky merino wool yarn (we used 1 lb each of yellow, peach, ivory, and white)
- Hot glue gun
- Two 2-inch strips of fabric
- Two 2-inch x 4-inch boards, cut to desired headboard height
- Hammer and nails
- 4 sets flush-mount brackets or French cleats with accompanying hardware
Step 1: Cut rug canvas to size
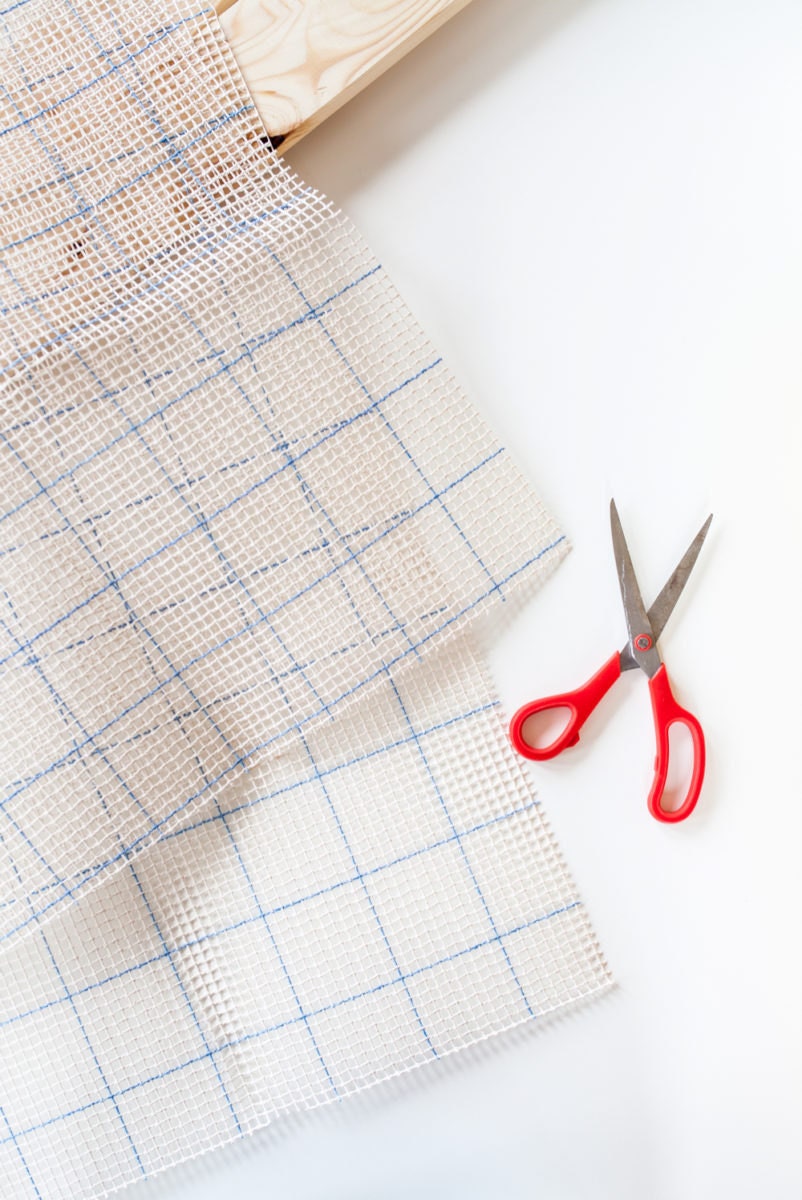
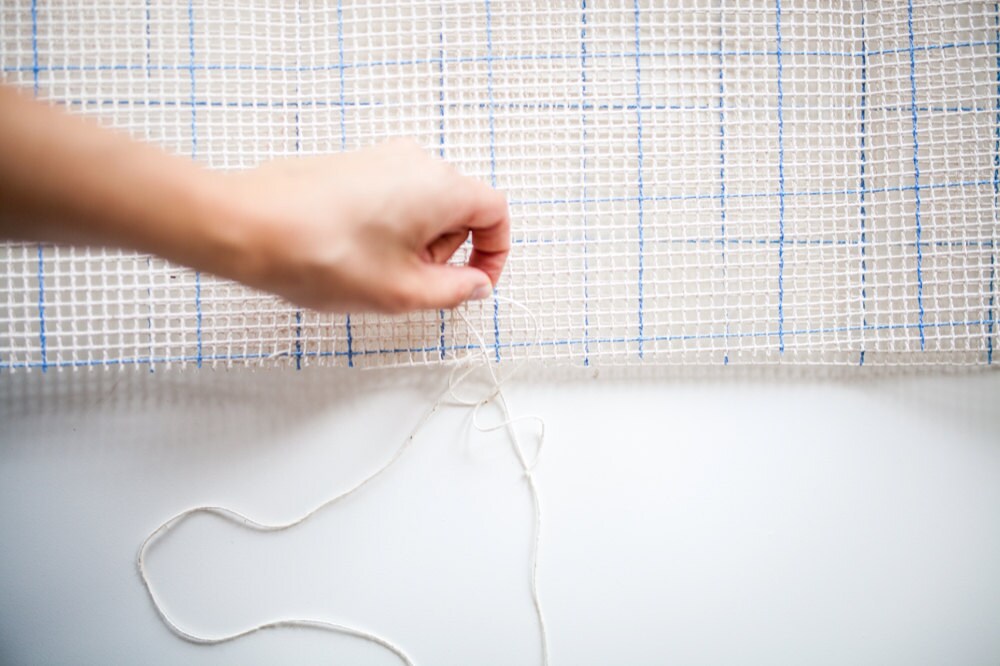
Measure the width of your bed to determine how large to make your headboard, and cut your rug canvas to size. For our project—which was designed for a queen bed—we pieced two smaller pieces of canvas together to create a larger swath. If you're doing the same, just line up the edges of your smaller canvas pieces, and use a tapestry needle and string or twine to bind them together. Now unfold the full canvas piece and you're ready for the next step.
Step 2: Select your yarn and prepare the canvas
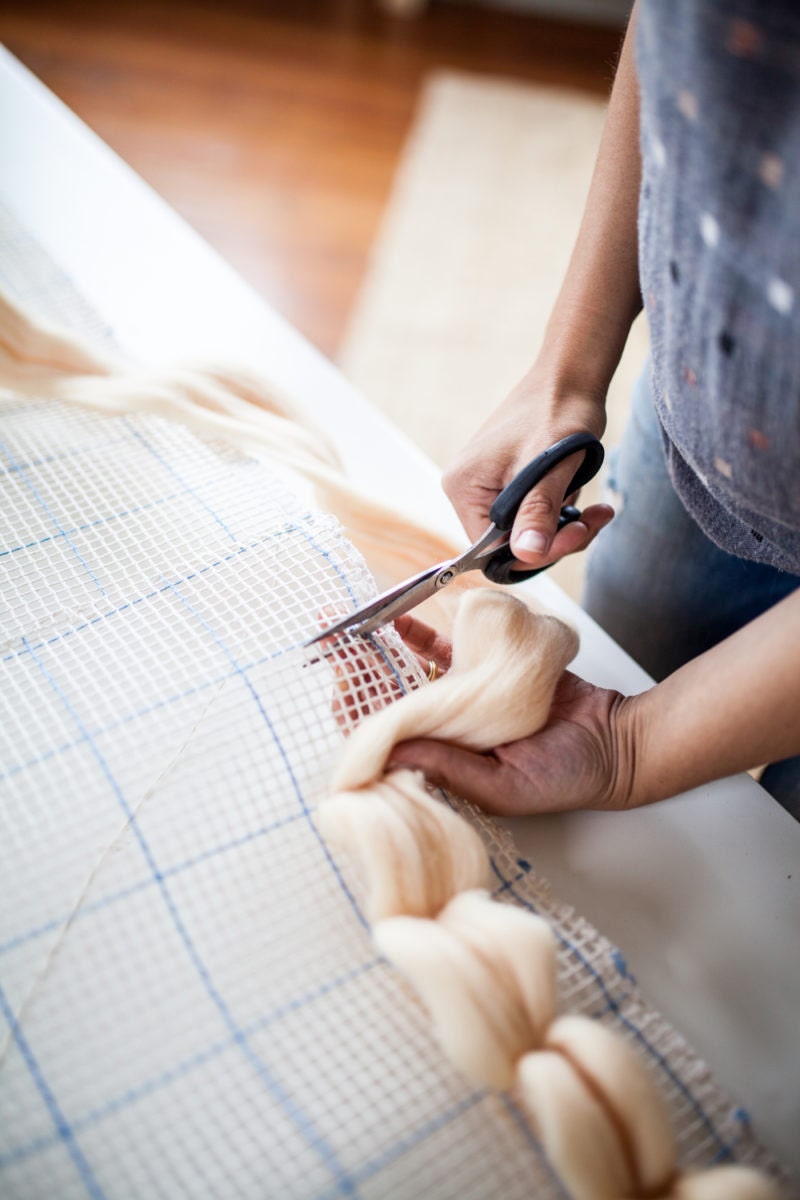
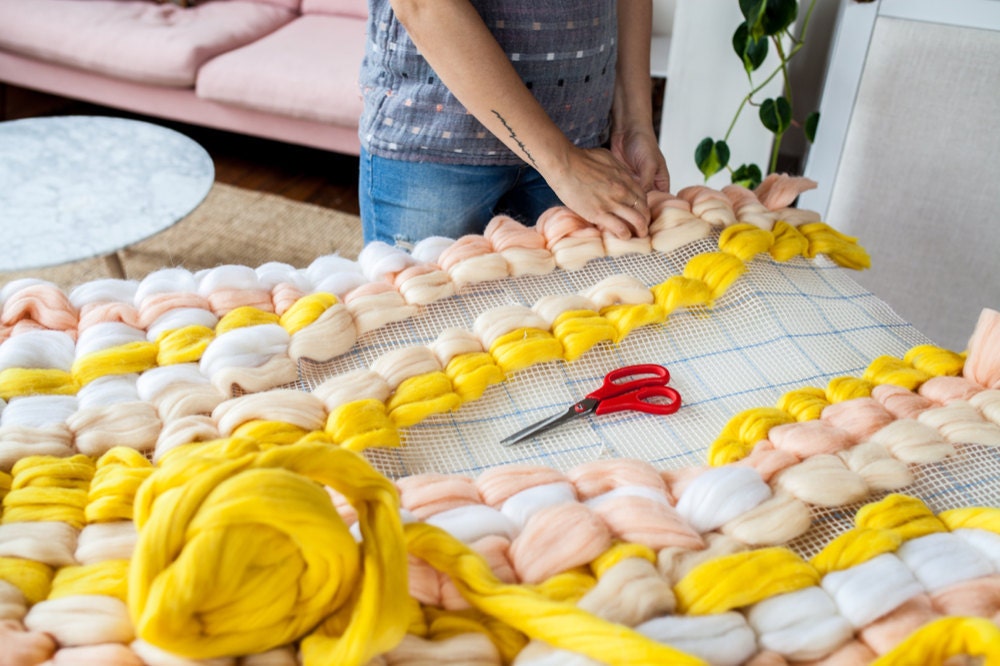
Choose one ball of yarn to start with, and use your fingers to gently spread the fibers apart until the wool reaches its full volume. Then measure the width; this measurement will determine the length of the cuts you will make in your canvas. Use scissors to cut parallel vertical slits at regular intervals across the canvas. Each slit should be slightly narrower than the full width of the wool you've chosen to weave with.
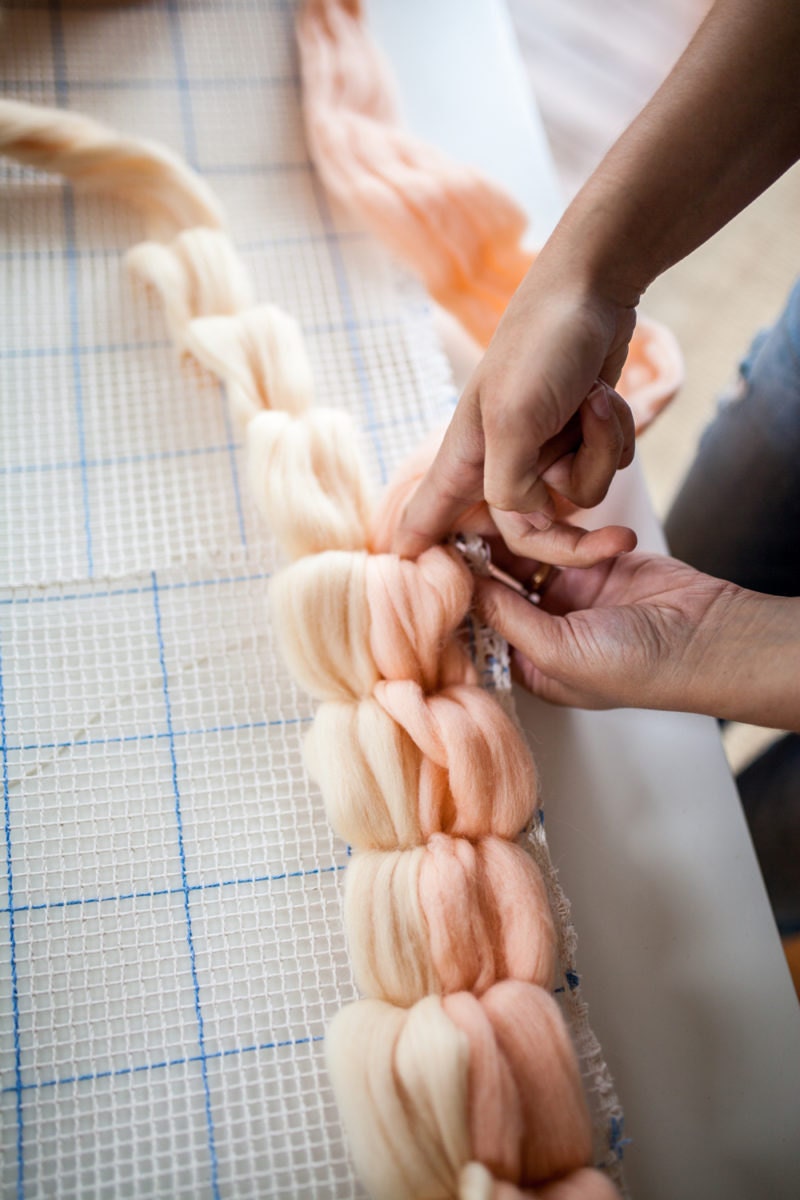
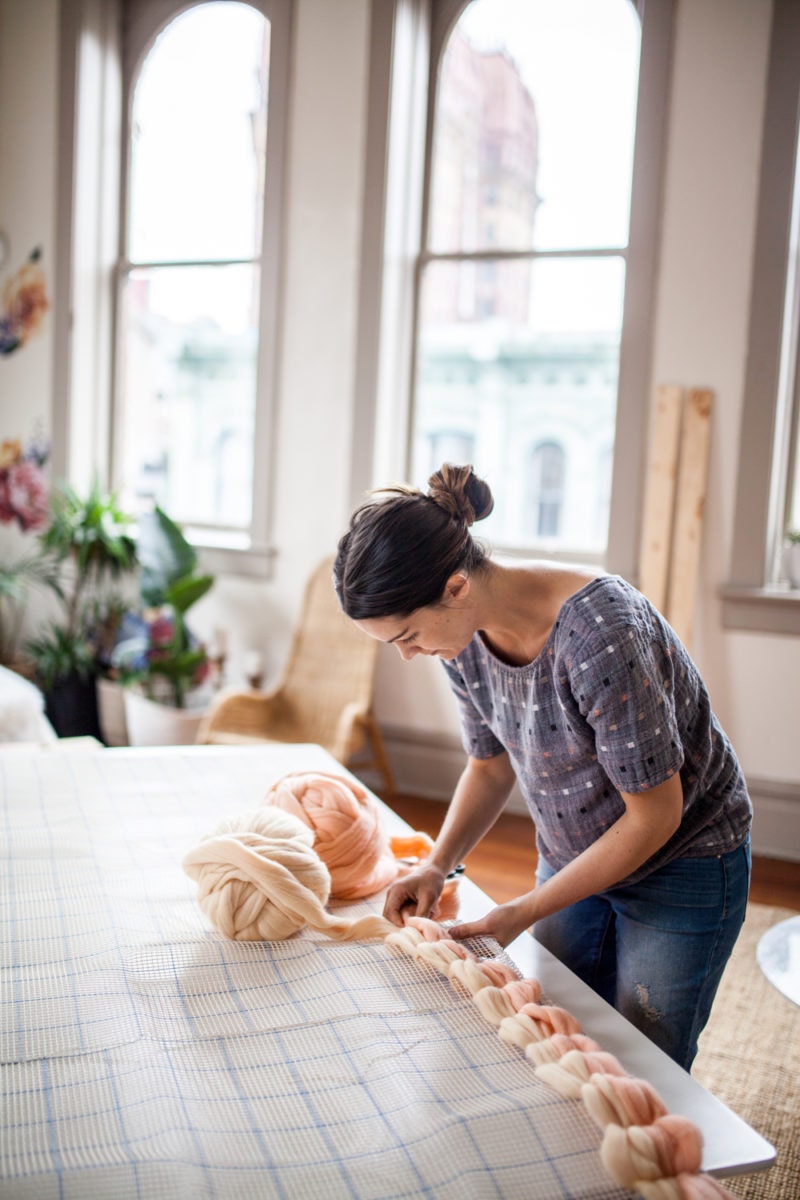
Step 3: Begin weaving!
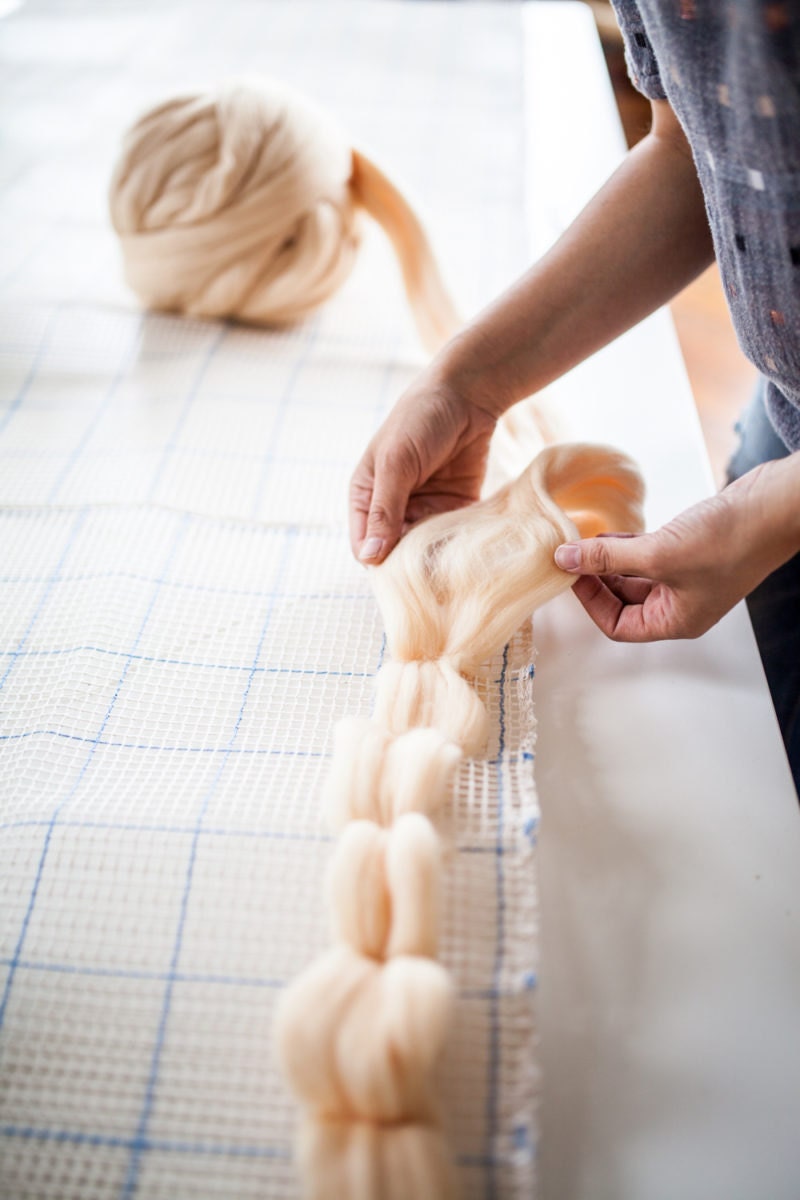
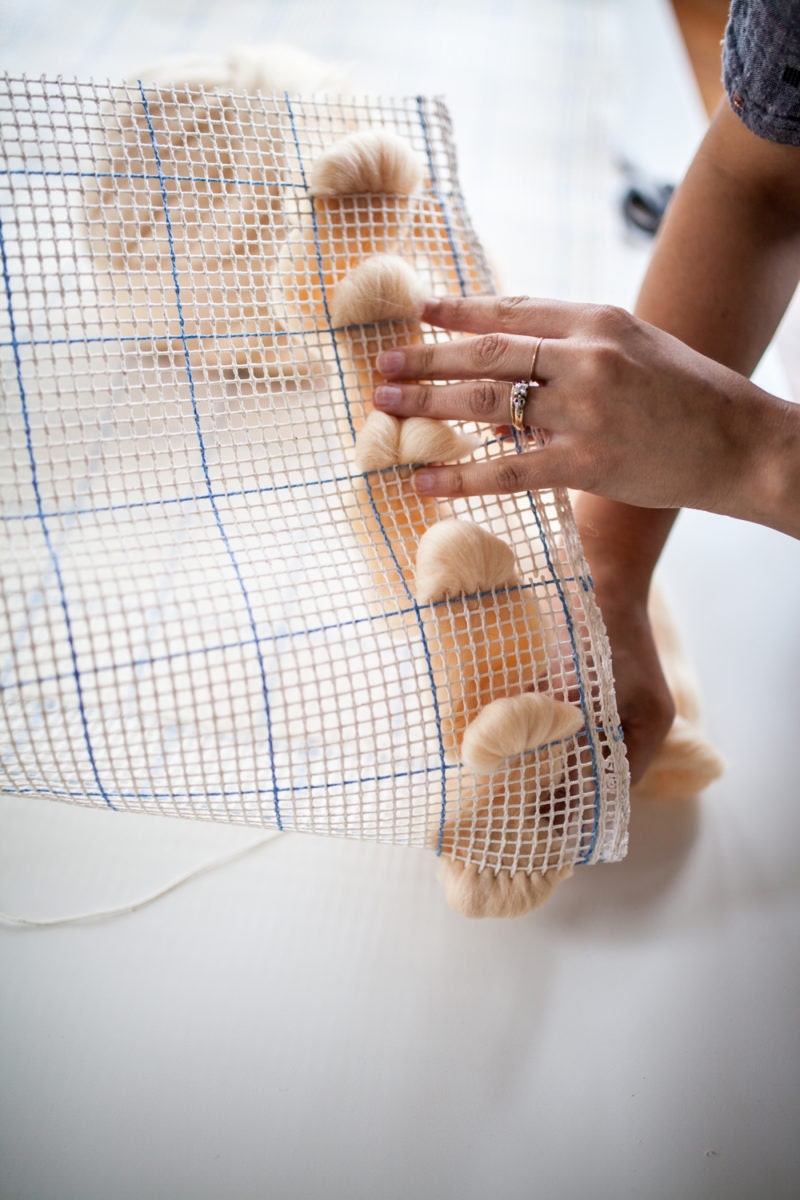
Unroll a length of yarn across the canvas, leaving six inches of excess loose at the starting end. Beginning with the nearest slit, use your fingers to press the yarn through the slit so that about half an inch of wool comes through to the back side. Fluff with your fingers to fix in place. Move on to the next slit, bubbling the yarn across the canvas and tucking it into the slits until you reach the opposite side. Tip: Flip the canvas over every once in a while to make sure the wool is sticking through securely and evenly.
Step 4: Continue adding rows
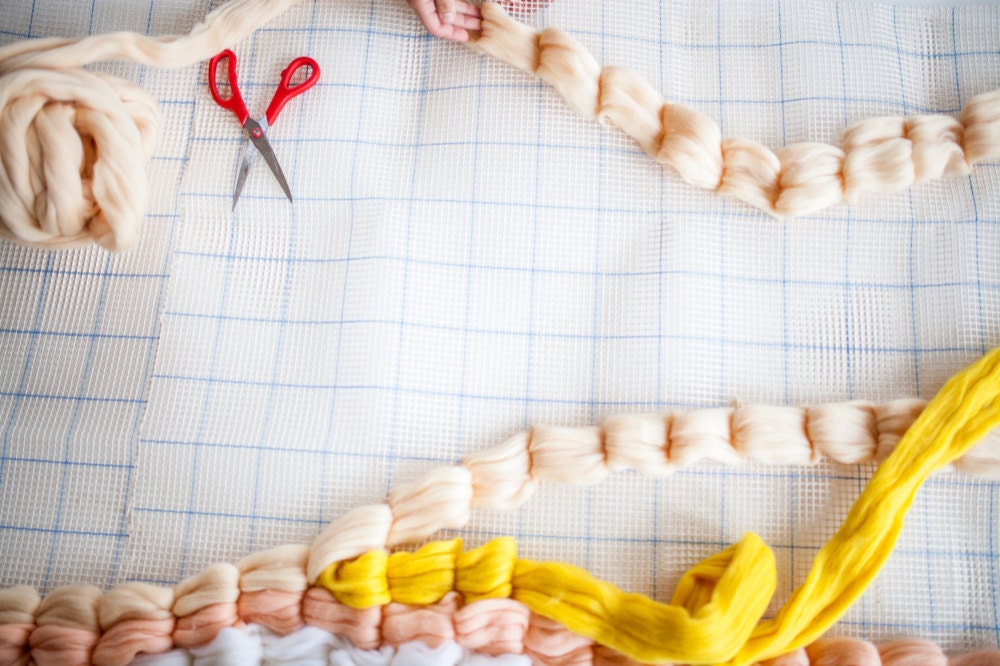
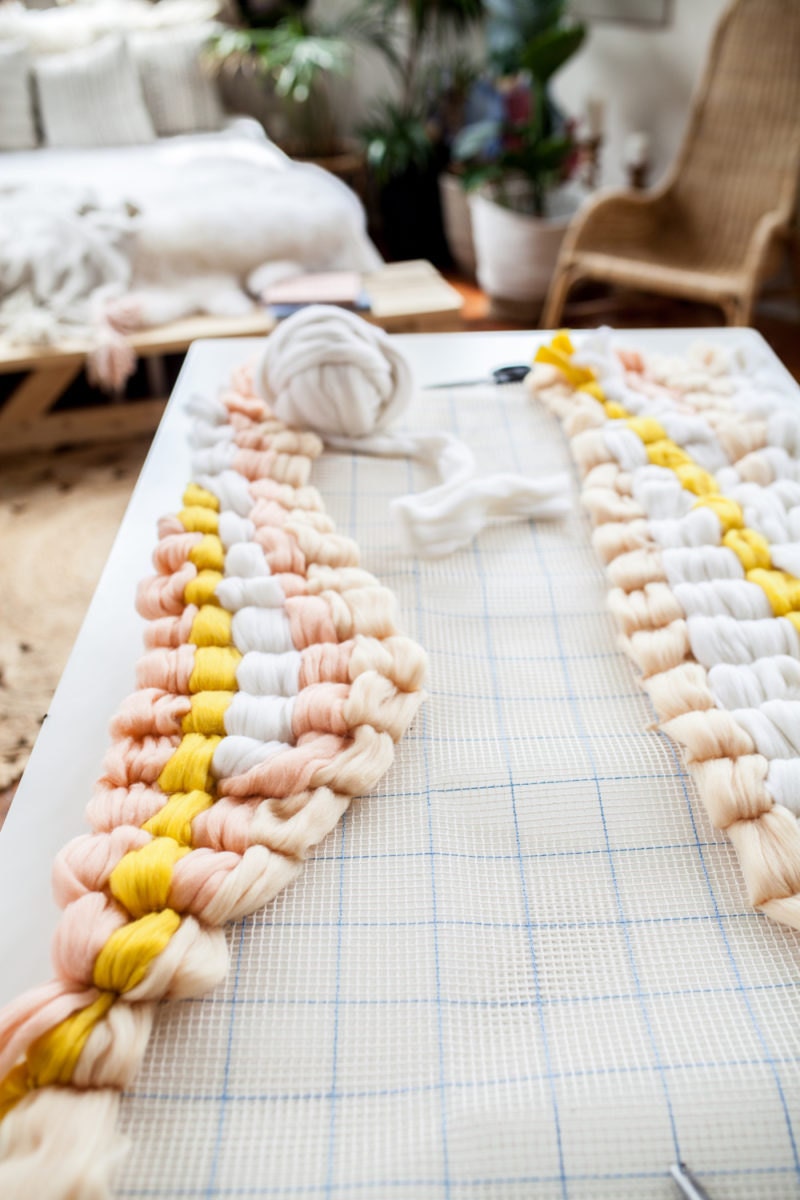
Continue adding wool and weaving new rows in whatever design speaks to you. Keep it monochromatic, alternate your colors, or go totally freeform. We opted for wavy rows of white, ivory, peach, and yellow. Keep adding rows, changing up the colors and patterns as you please and filling in any empty spaces with additional shorter rows until the whole canvas is covered.
Step 5: Secure the ends
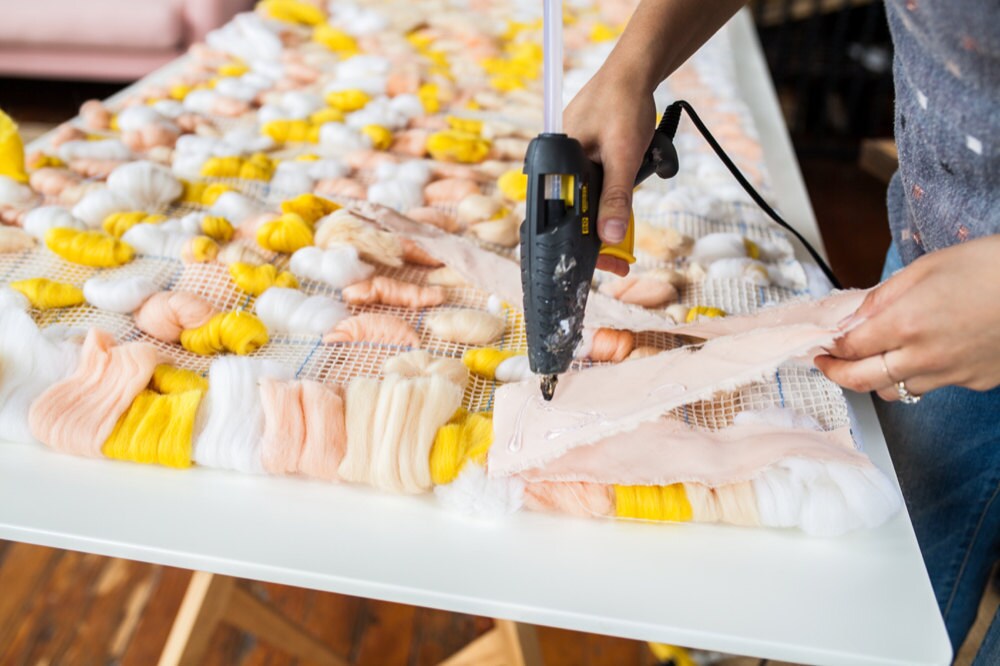
Once you've filled in the whole canvas, fold the ends of the wool around to the canvas's back, and use a hot glue gun to secure them. For extra peace of mind (and cleaner edges), glue a 2-inch-wide strip of fabric on top of each row of wool ends.
Step 6: Mount weaving onto boards and install
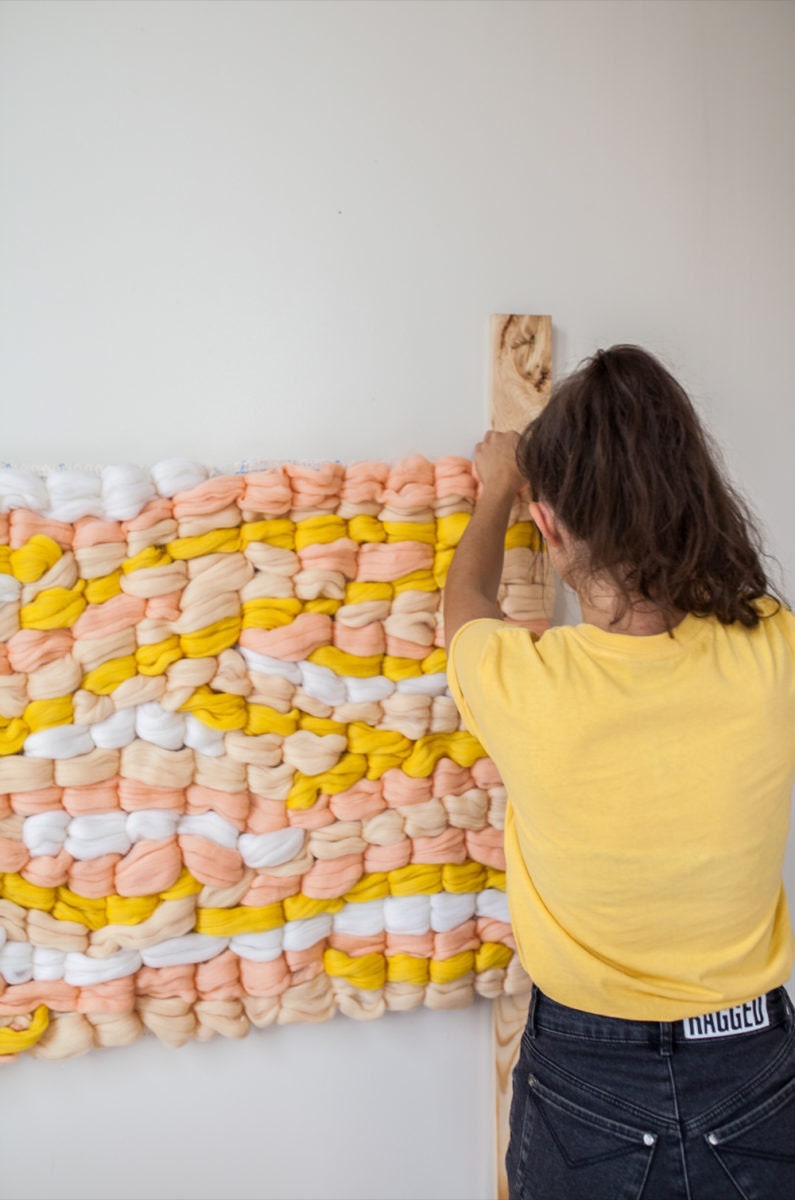
Nail the finished canvas onto the boards at your desired height. Position the finished headboard at the top of your bed, and use four flush-mount brackets or French cleats to secure the boards to the wall.


