Sunny windows have met their match in this DIY plant hanger, which is both easy on the eyes and easy to craft at home.
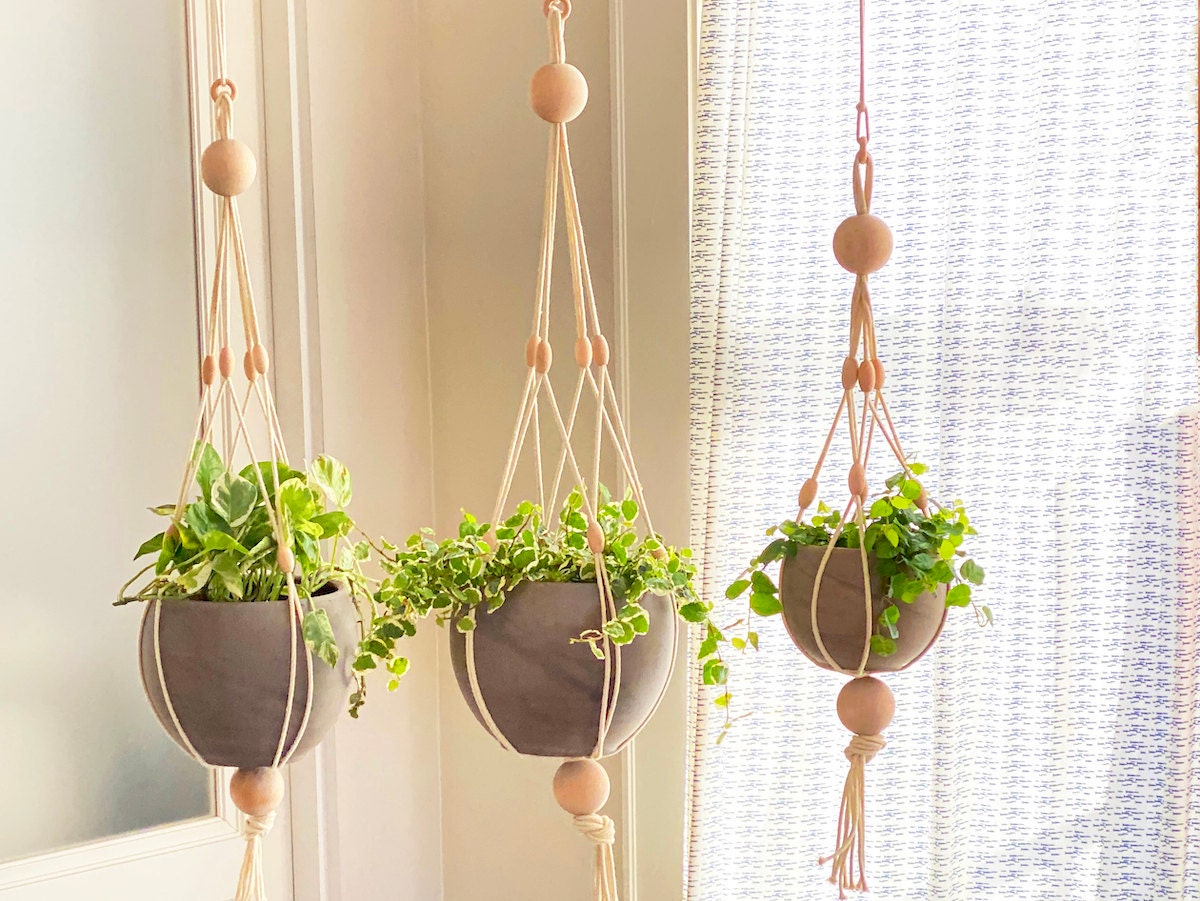
What's sweeter than a sunny window that lets in streams of gorgeous afternoon light? A DIY macrame hanging planter to soak up all that sunshine—and lift your spirits, too. In this beginner-friendly project, we'll show you how to create your own macramé-inspired plant hanger that’s a simple twist on the ‘70s classic—and makes a great gift for plant lovers, too. All you need to get started is some rope, a handful of wooden beads, and a little time (no previous crafting experience required). Whether you opt to keep things neutral or add a custom pop of color by painting the beads or wrapping the top ring with some eye-catching nylon cord, the final vibe is yours to define. Ready to begin?
How to make a macramé plant hanger with rope
At a glance
Time: 1 hour or less
Difficulty: Beginner
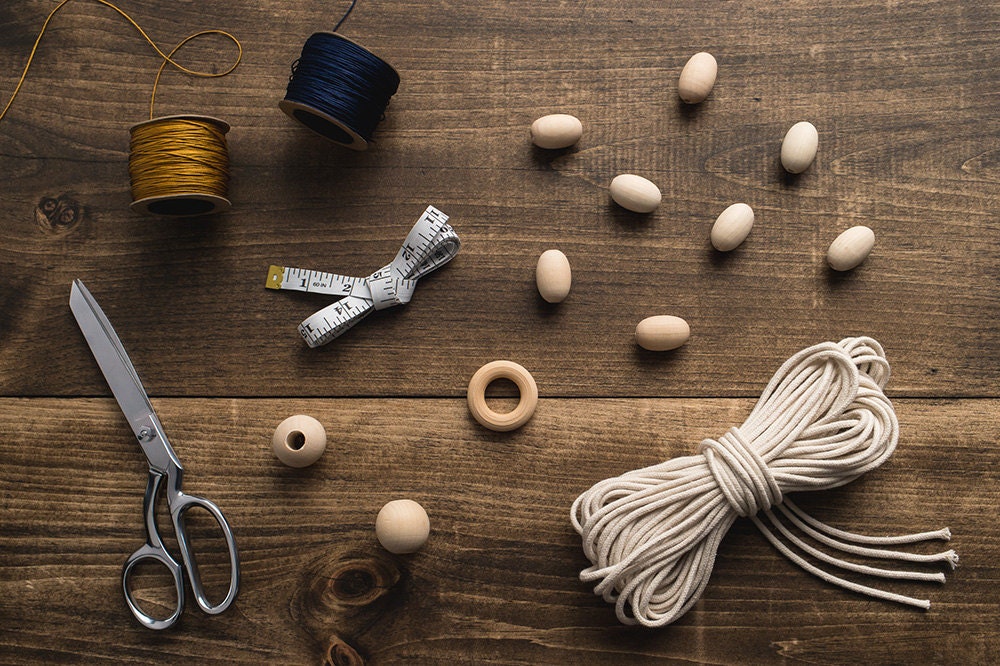
Supplies for a DIY macramé plant hanger
- 40 ft. of 3mm cotton macramé rope
- Scissors
- Measuring tape
- 25 mm wooden ring
- 2 large round wooden beads (hole size 10 mm)
- 8 small oval wooden beads (hole size 5 mm)
- Acrylic paint and paintbrush (optional)
- 0.8 mm nylon knotting cord (optional)
Step 1: Cut the macramé rope and loop it through the wooden ring
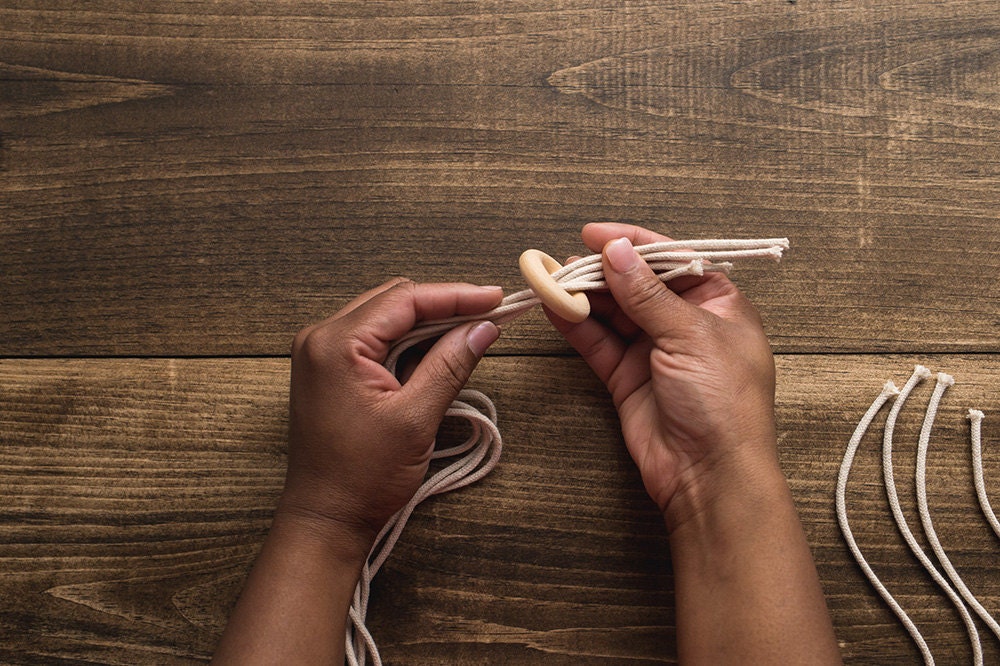
Cut four lengths of cotton macramé rope, each 120 inches long. Holding the rope strands together, loop them through the wooden ring, folding the lengths in half and bringing all eight ends to meet.
Step 2: Add the top bead
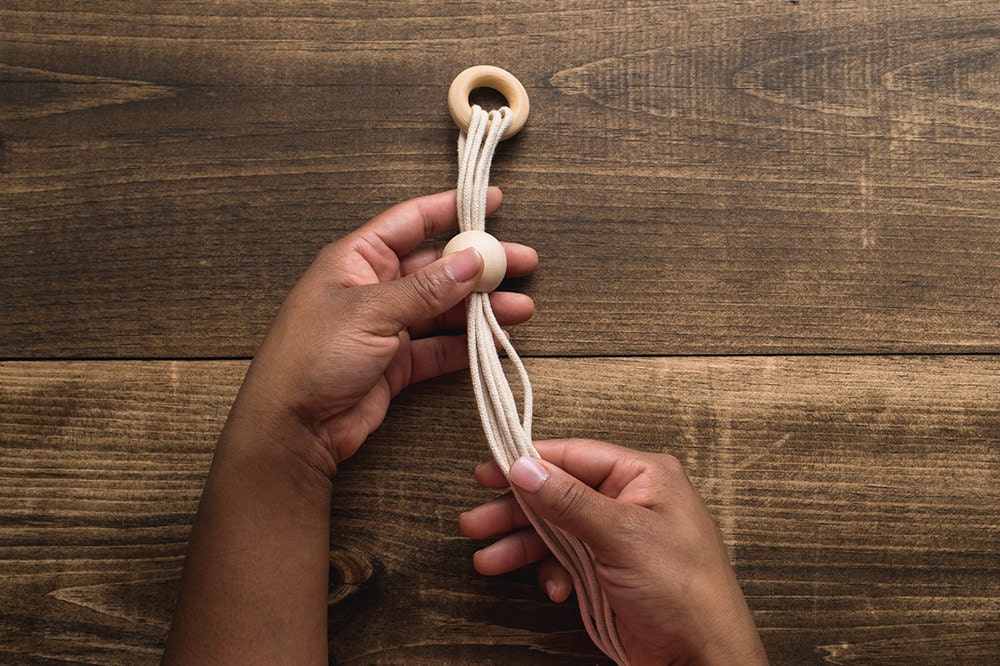
Guide all eight strands of rope through the hole in one of the large round wooden beads. Slide the bead up to meet the wooden ring. Optional: If you'd like to paint your wooden beads, do so and allow them to dry completely before you get started.
Step 3: Divide rope strands and add oval beads
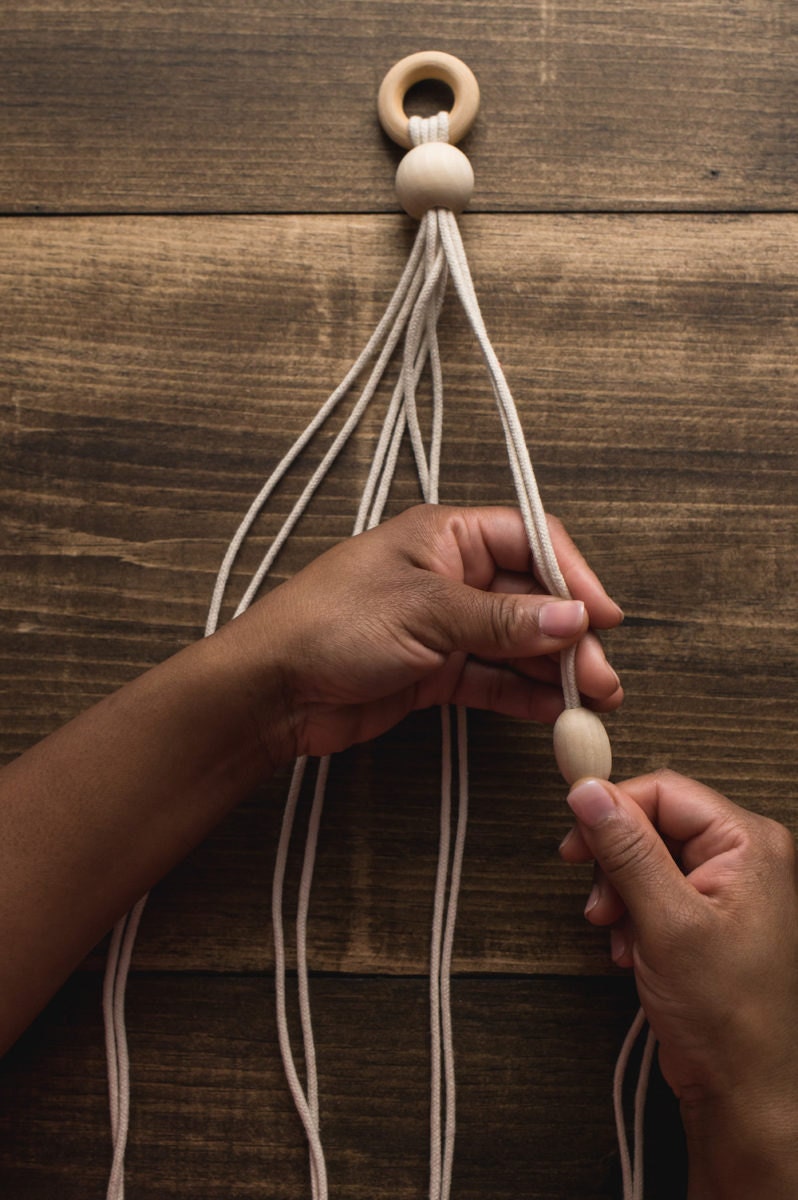
Next, divide the macramé rope strands into four pairs of two. Guide each pair of rope strands through an oval bead. Tip: If you’re having a hard time sliding your rope through the bead, twist the ends of the rope strands as you push them through, using the same motion you’d use to twist a bottle cap.

Slide the beads up the strands, stopping about 9 inches below the wooden ring.
Step 4: Re-pair adjacent rope strands and add more beads
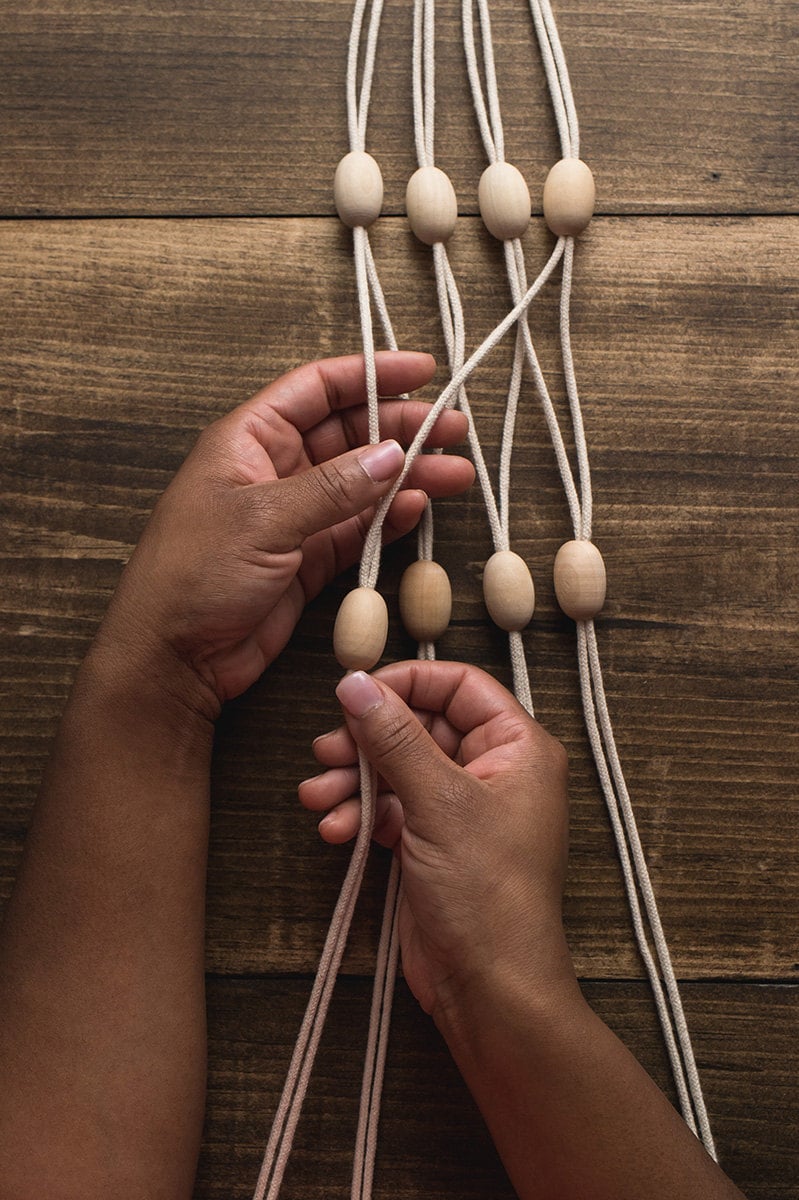
Divide each of your rope pairs, then re-pair each strand with a strand of rope from the adjacent pair. Add the four remaining oval beads to each of your new rope pairs. These beads should be about 8 inches below the first set of oval beads.
Step 5: Add the bottom bead
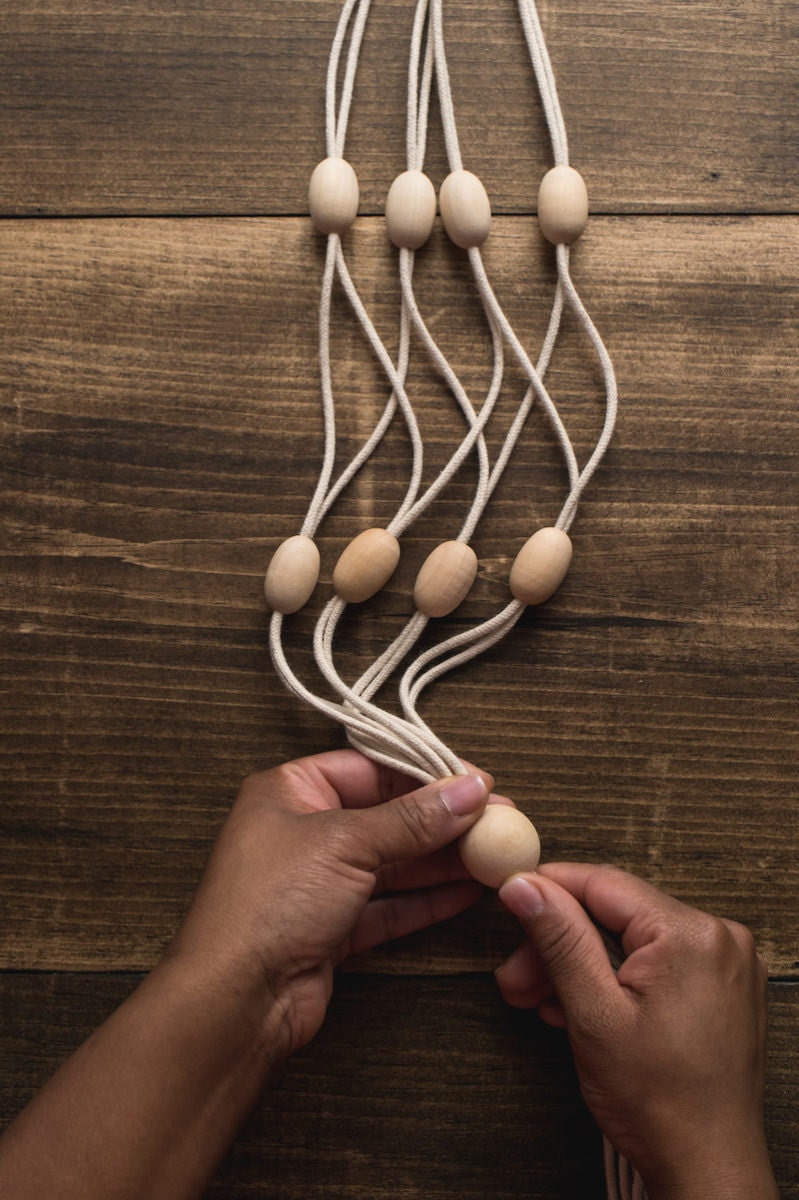
Guide all eight strands of rope through the second large round wooden bead. Slide this bead up, stopping about 7 inches below the second set of oval beads.
Step 6: Finish with a knot
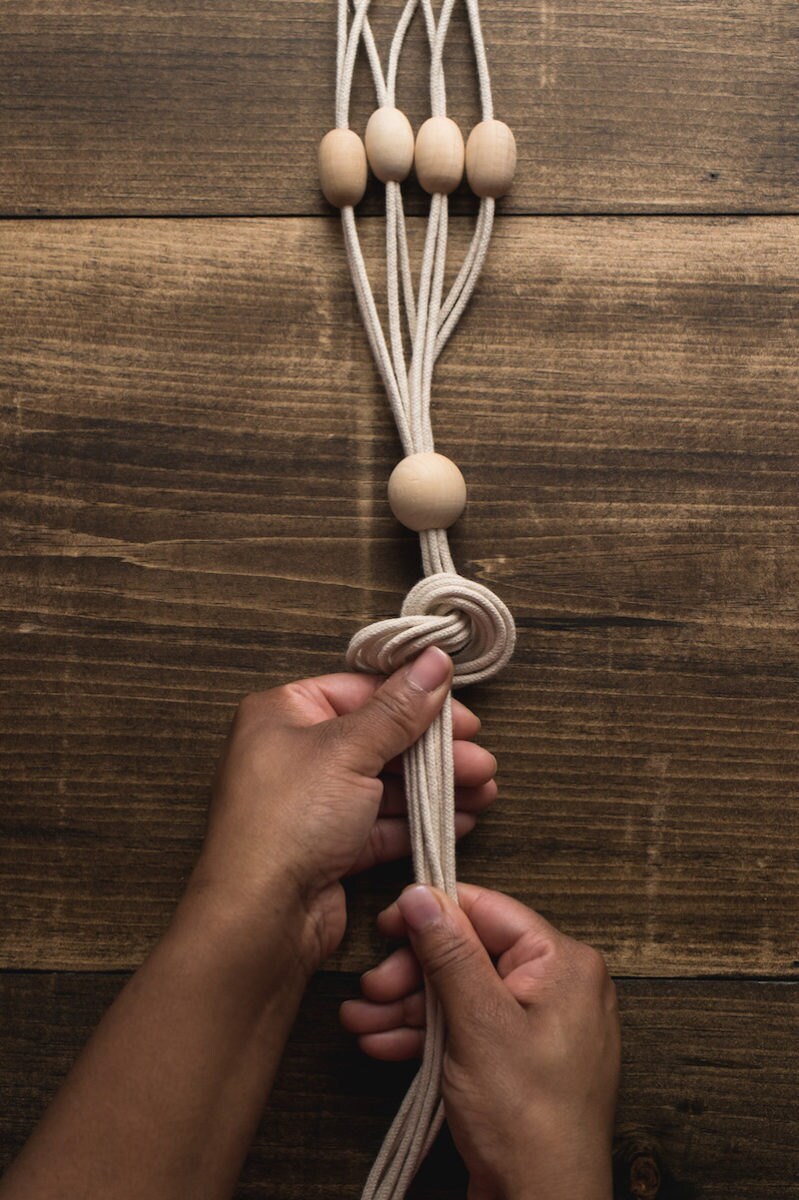
To finish your plant hanger, grab all eight strands of rope and tie them in a knot just below your last round wooden bead. Trim the ends of the rope as desired. Optional: For some extra finishing flair, wrap the top wooden ring in nylon knotting cord in the color of your choice.
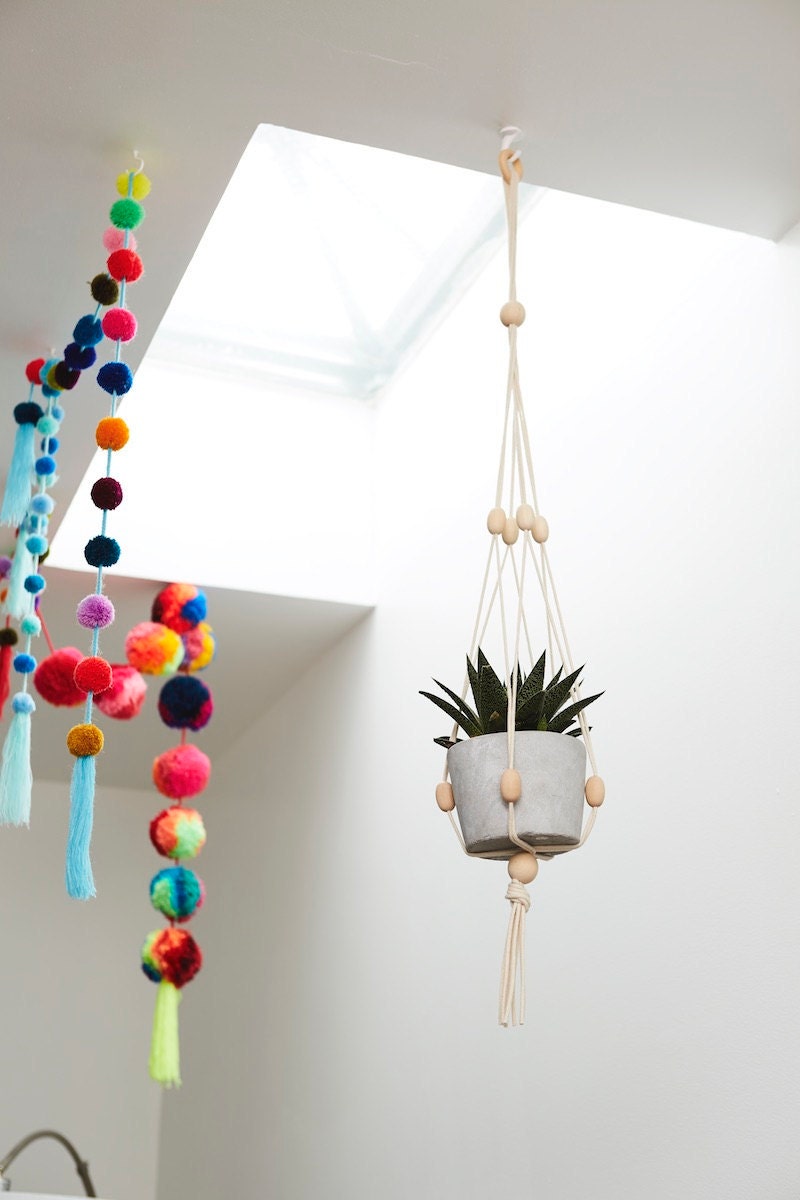
Place your favorite potted plant inside your plant hanger, resting the base of the planter against the bottom round wooden bead. Hang from a cup hook close to a sunny window and enjoy.
Project and photographs by Julie O’Boyle, Aleksa Brown, and Clare McGibbon.