Keep your accessories organized and within arm's reach with a boho-meets-beachy driftwood organizer.
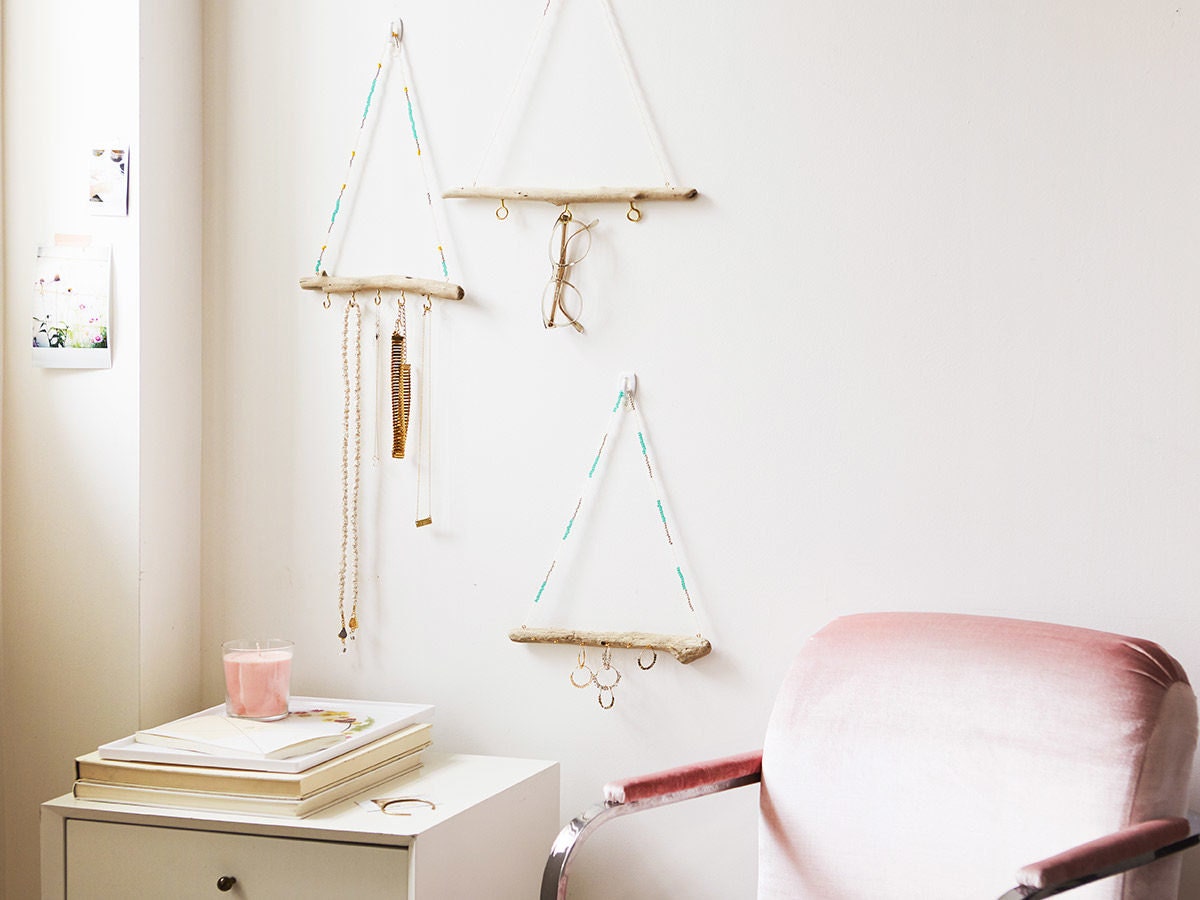
If, like us, you've been going through a serious jewelry phase, you might also be facing a bit of a storage conundrum: where to stash all your newly purchased gold hoops and colorful birthstone stacking rings? With a hanging driftwood jewelry organizer, you can keep all your accessories organized and within arm's reach—and add some visual interest to your walls, to boot. You only need a smooth piece of driftwood, a pile of colorful seed beads, and some basic hardware to create a one-of-a-kind device that's perfect for storing—and displaying—your most beloved statement pieces. Ready to get started?
At a glance:
Time: 1–4 hours
Difficulty: Beginner
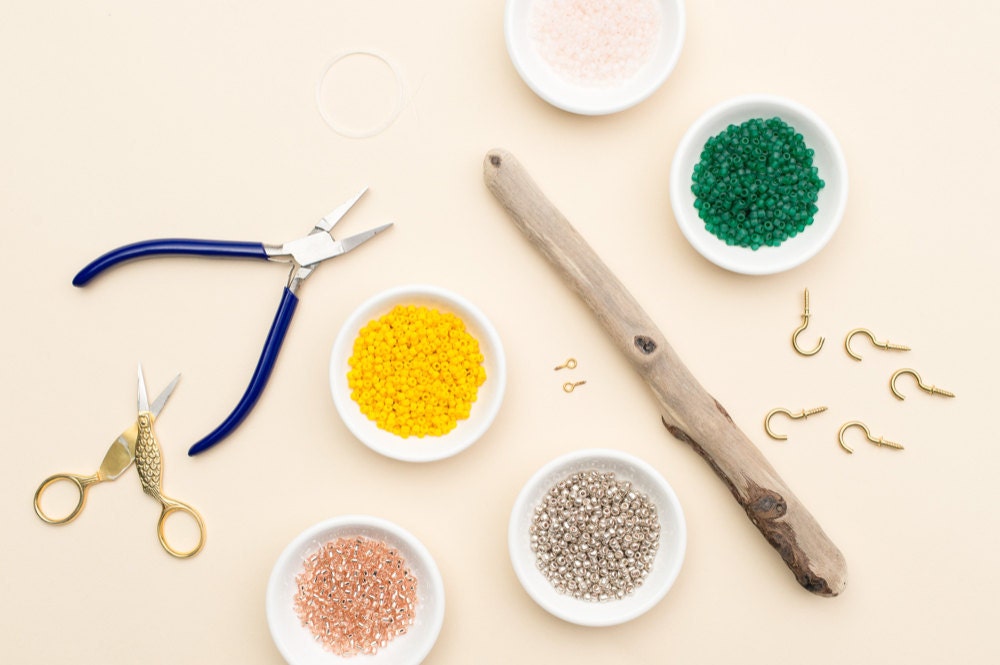
You will need:
- Driftwood piece
- Small eye hooks
- Flat nose pliers
- Fishing line
- Scissors
- Glass seed beads (we used 3mm beads in a variety of colors)
- Cup hooks in assorted sizes
- Large eye hooks
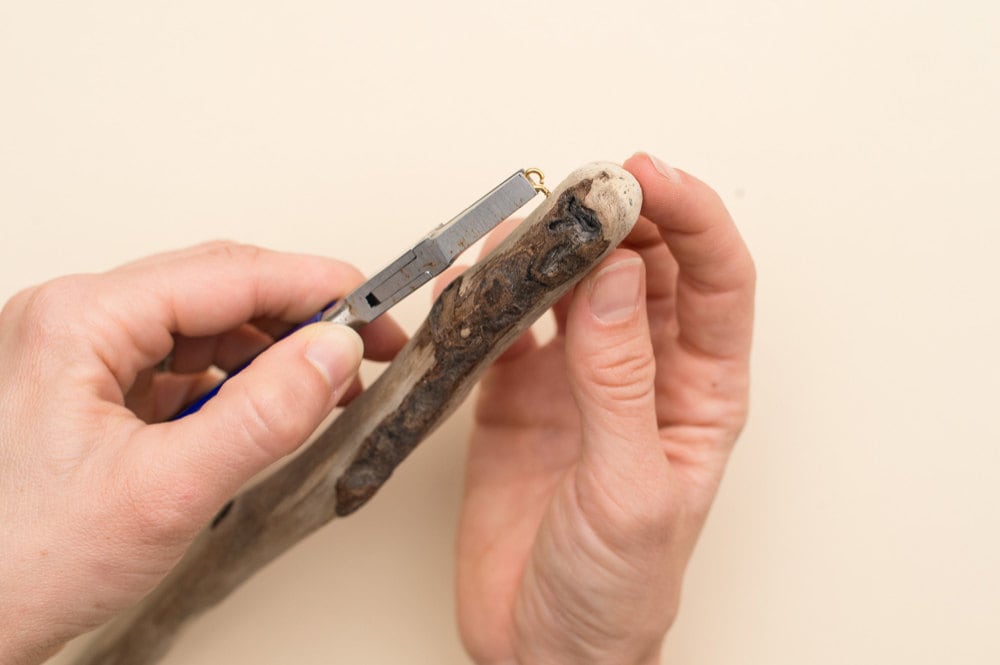
Step 1: Choose which side of the driftwood you want to use as the top edge of the jewelry organizer and use pliers to screw a small eye hook near each end of that surface. (When deciding which side should be the top, keep in mind that you'll want the face of the wood that will rest against the wall to be reasonably flat.) Keep twisting until the hooks are tightly secured in the wood.
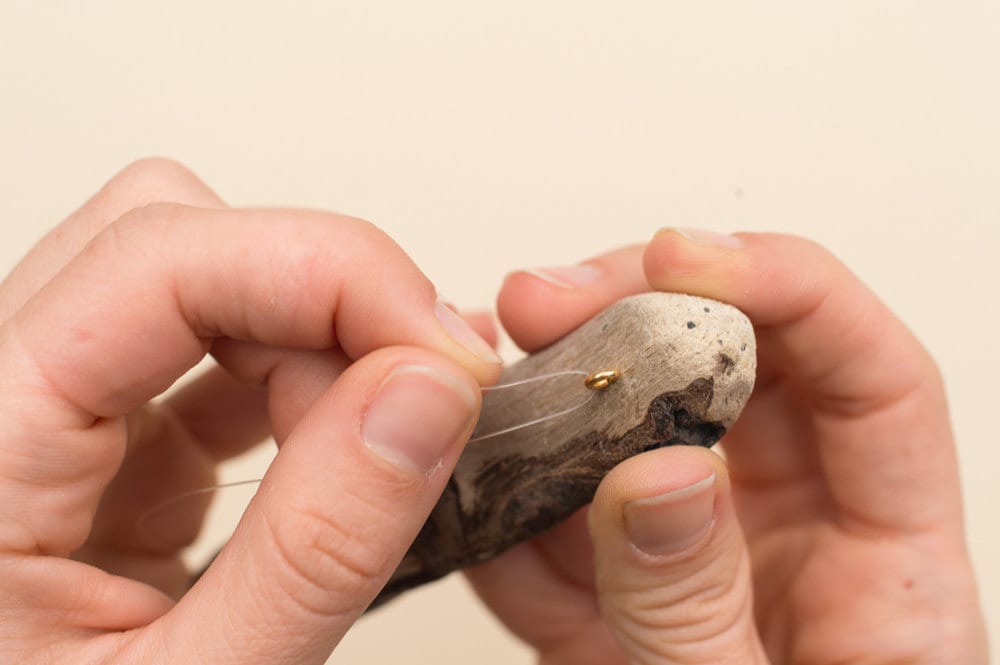
Step 2: Cut a length of fishing line that's approximately twice as long as the driftwood. Tie one end of the line to one of the eye hooks using a double half-hitch knot.
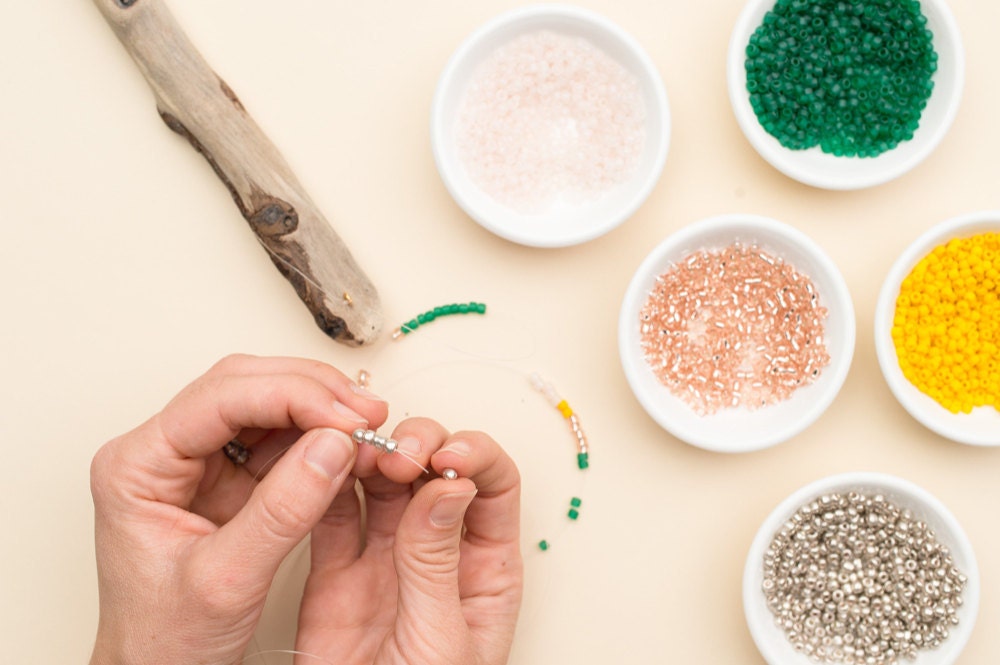
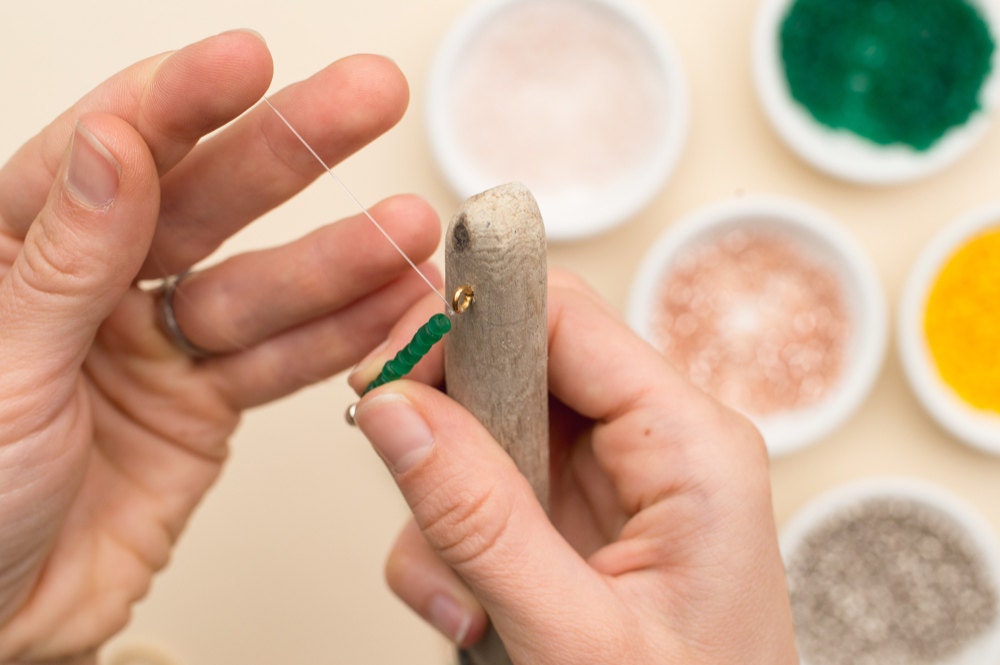
Step 3: Start stringing seed beads onto the unattached end of the fishing line, changing up the colors as you see fit. Try an alternating stripe pattern or mix it up with a rainbow free-for-all or a subtle ombré effect. Continue beading until you have 3 to 4 inches of fishing line remaining.
Step 4: Tie the loose end of the fishing line to the second eye hook, using another double half-hitch knot to secure it.
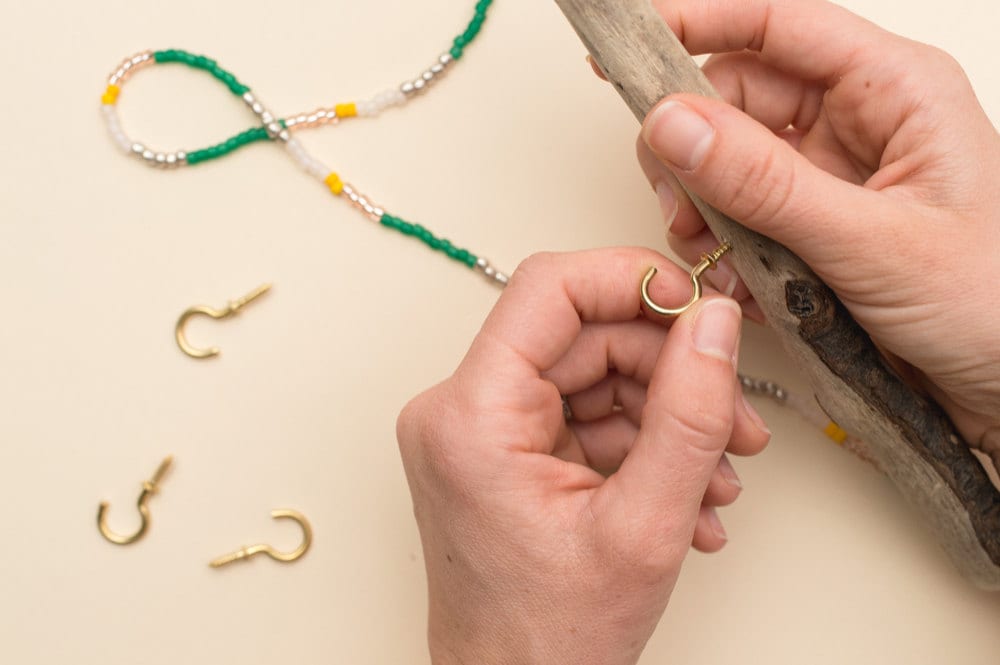
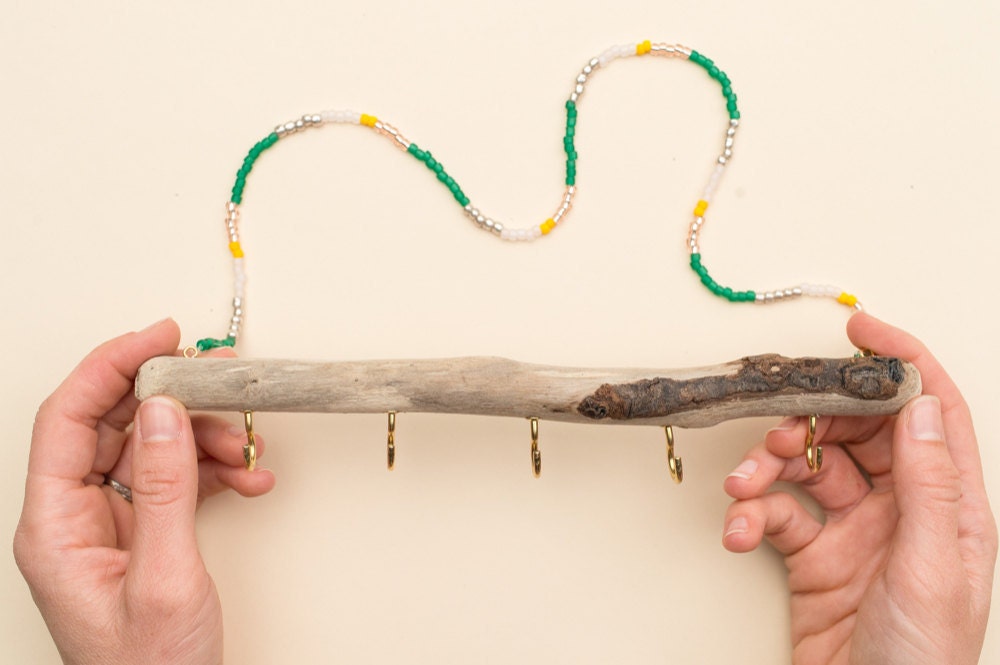
Step 5: Find the bottom center of your piece of driftwood and screw in a cup or eye hook there. Add more hooks to each side, working your way from the center out, to create your desired configuration. Use the pliers to tighten each hook as you go.
Tip: Cup hooks are perfect for hanging necklaces, rings, and bracelets, while large eye hooks are ideal for sunglasses. Try adding tiny eye hooks to keep your earrings organized, too!
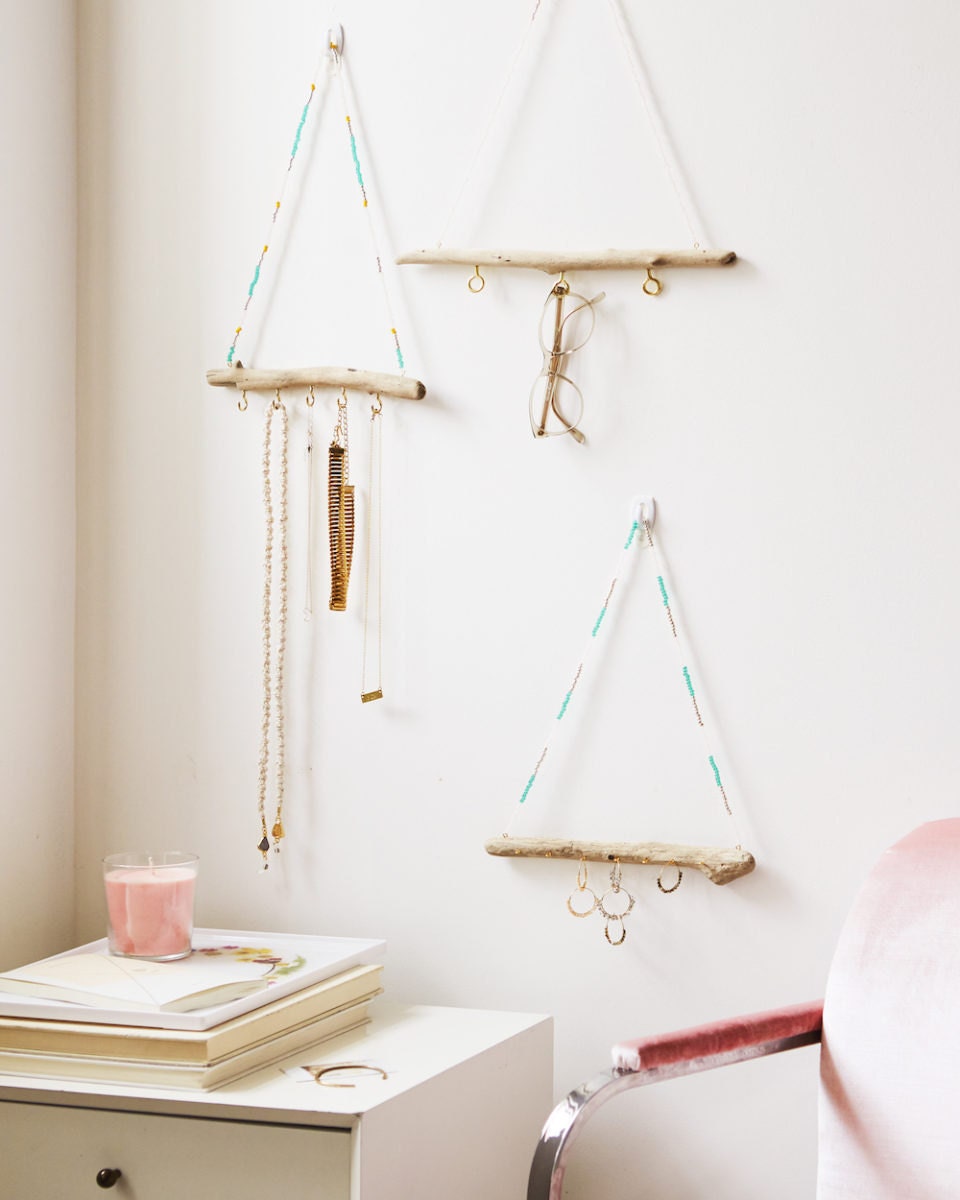
All done! Now hang your organizer on the wall, add some jewelry, and bask in the boho glow.
Project by Julie O’Boyle, Aleksa Brown, and Clare McGibbon; photographs courtesy of Ryan Liebe.