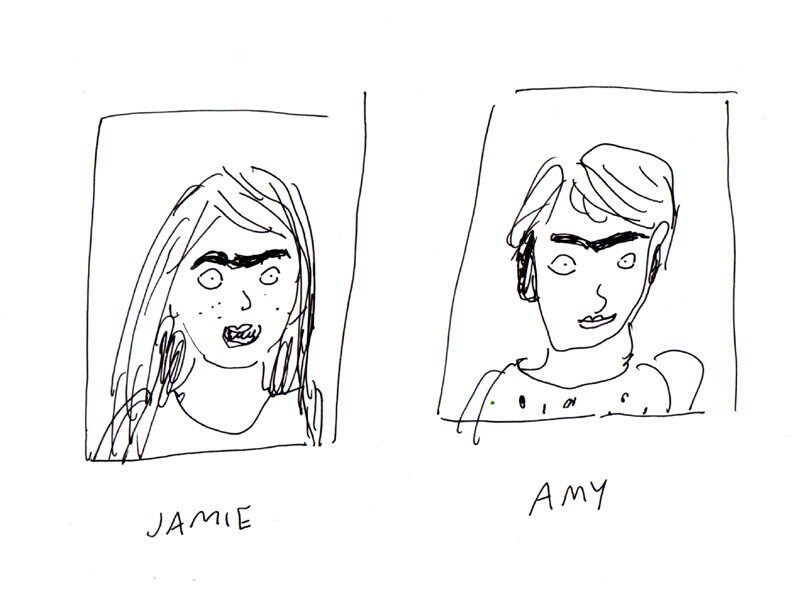
Jamie and Amy from Pikaland share their top solutions to photographing and presenting your 2D work online. Turn your images into objets d'art!
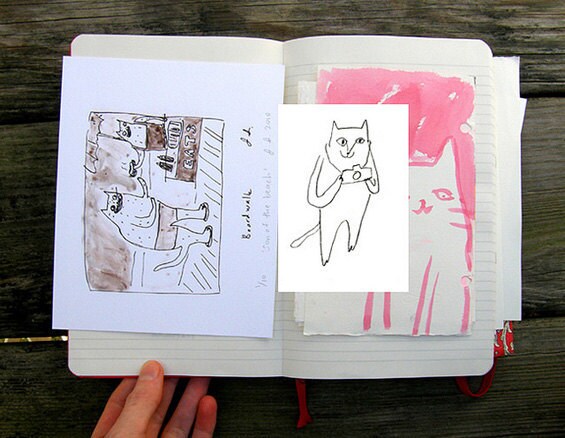
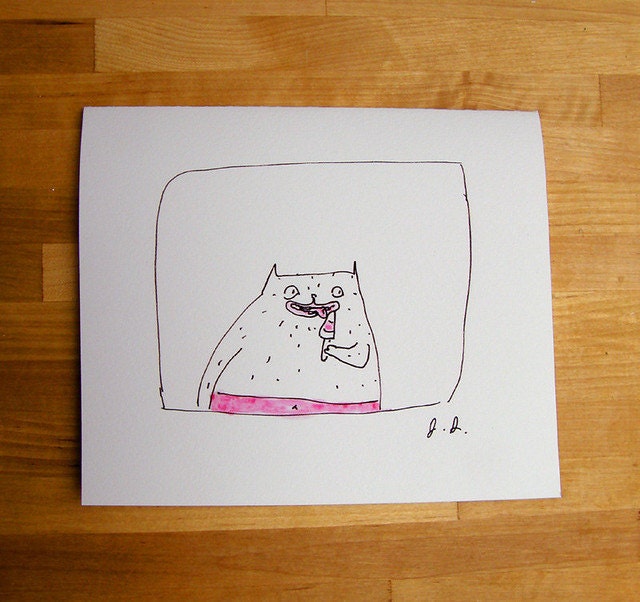
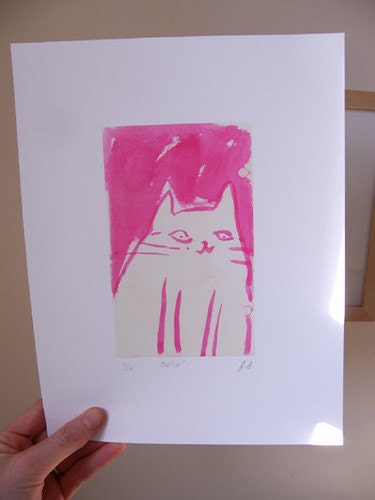
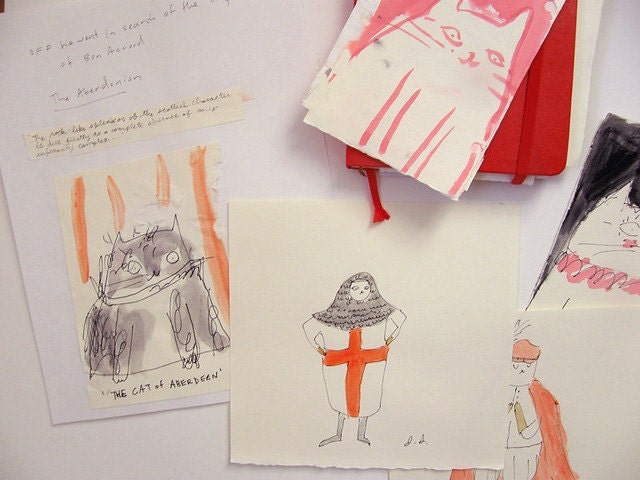
 Taking great photos of your work is key! How you present your artwork is just as important as the work itself, and more often than not it's what makes the difference between someone understanding/buying your work. Flatness is one of the biggest obstacles to overcome when photographing 2D work and presenting it online. Context is everything; it is important to remember the item isn't just an image on a screen! For flat 2D objects, such as drawings and prints, show a scanned version of the work, but also a shot with space around the work. You want to give your viewer an idea of the size of the piece, as well as its presence!
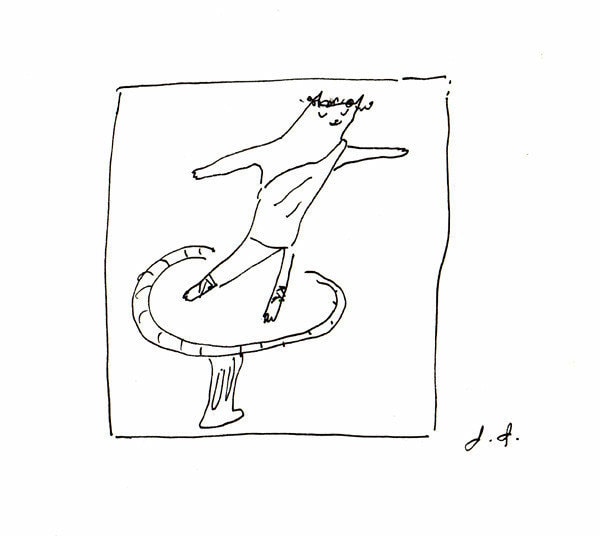
Before I begin, I must state that lighting is THE most important thing when photographing your artwork! Natural lighting is almost always the best way to show off your work and photographing near a window is one of the best ways to achieve this. When looking at the images below, note where the light source is coming from, you can tell by the shadows and contrasts in light and dark. In almost all of the photographs you can see the light coming from the right or left, and more likely than not it's coming from a window! Keep this in mind when choosing where to photograph your art.Below you will find a number of great examples and ideas on how to photograph your work to its best advantage:
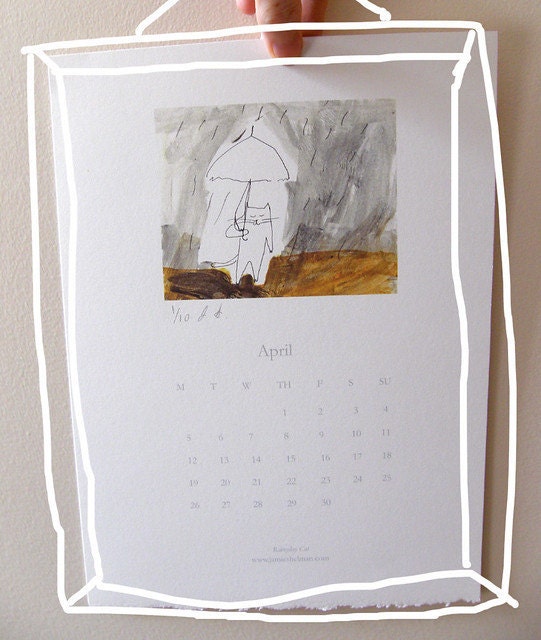
Frames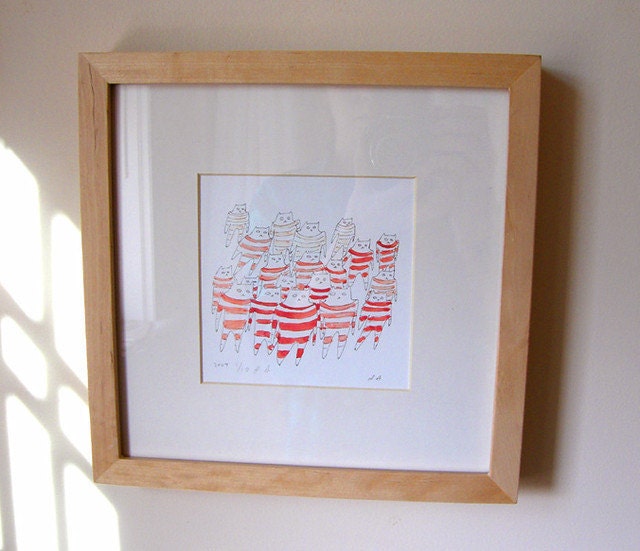 Frames give your work visual weight and make it more of an object. It not only gives your viewer an opportunity to see how your work would look framed but also what frame works best with your work. The power to visualize where you see your artwork and in what context is huge. I would recommend investing in a great frame that works well with many of your pieces and rotate different images in it to photograph your works. Also keep in mind where you photograph your framed work, where would you ultimately visualize your work hanging? Would it lean against your desk or hang on the wall of your studio or do you have a great room in mind in which you would hang it? If so, show it! Where you imagine your work to be displayed will help your viewer imagine where it could be exhibited in their own space.
Things to keep in mind:
- Use natural lighting!
- Have fun photographing your work, it will show in your photographs!
- Only use objects, surfaces, or backgrounds that will enhance your work (you'll know when it's working when you like the photograph you've created as much as the work itself!).
- If someone's attracted to the image of your work they'll be attracted to the work itself.
- Once you've found a way that best showcases your work, be sure to photograph all your work in the same way; consistency is key in the presentation of your art.
Explore new and different ways in which you can best show off your art. Experiment, play, approach the staging of your work of art with as much enthusiasm as you bring to making the work itself — it will show!
If you'd like more tips, advice and critical feedback on how to photograph your work and build a better online presence checkout our online art courses @Pikaland with new fall courses including How to Survive and Thrive as an Artist Online , Visual Journaling and Making Your Mark. The core of our courses revolve around creative thinking that leads to the creation of new works of art (or new ways to creatively present existing works!) with weekly assignments, one-on-one critiques, peer input and a supportive community of artists in which to share and grow!


