This gift-worthy, beginner-friendly garden craft is guaranteed to please any green thumb (or plain old plant-lover) you know.
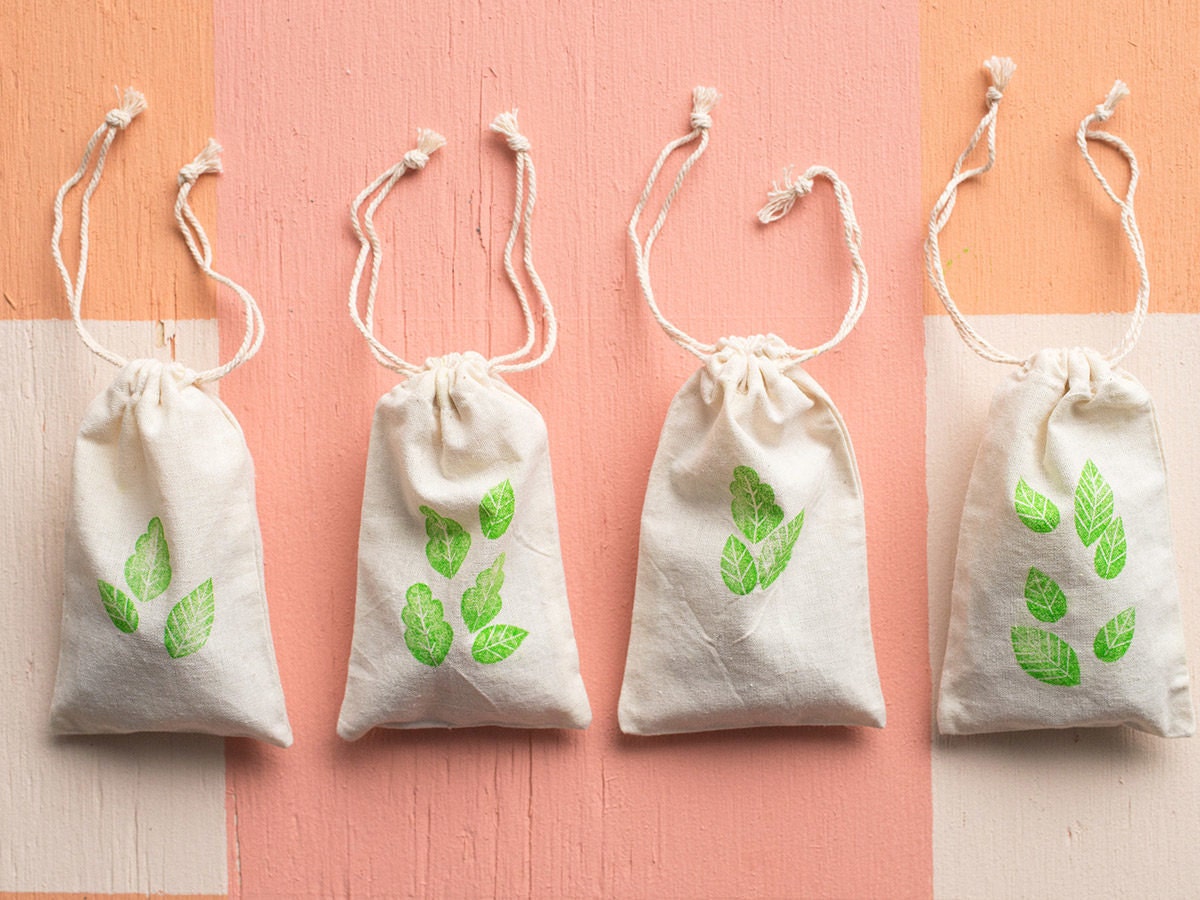
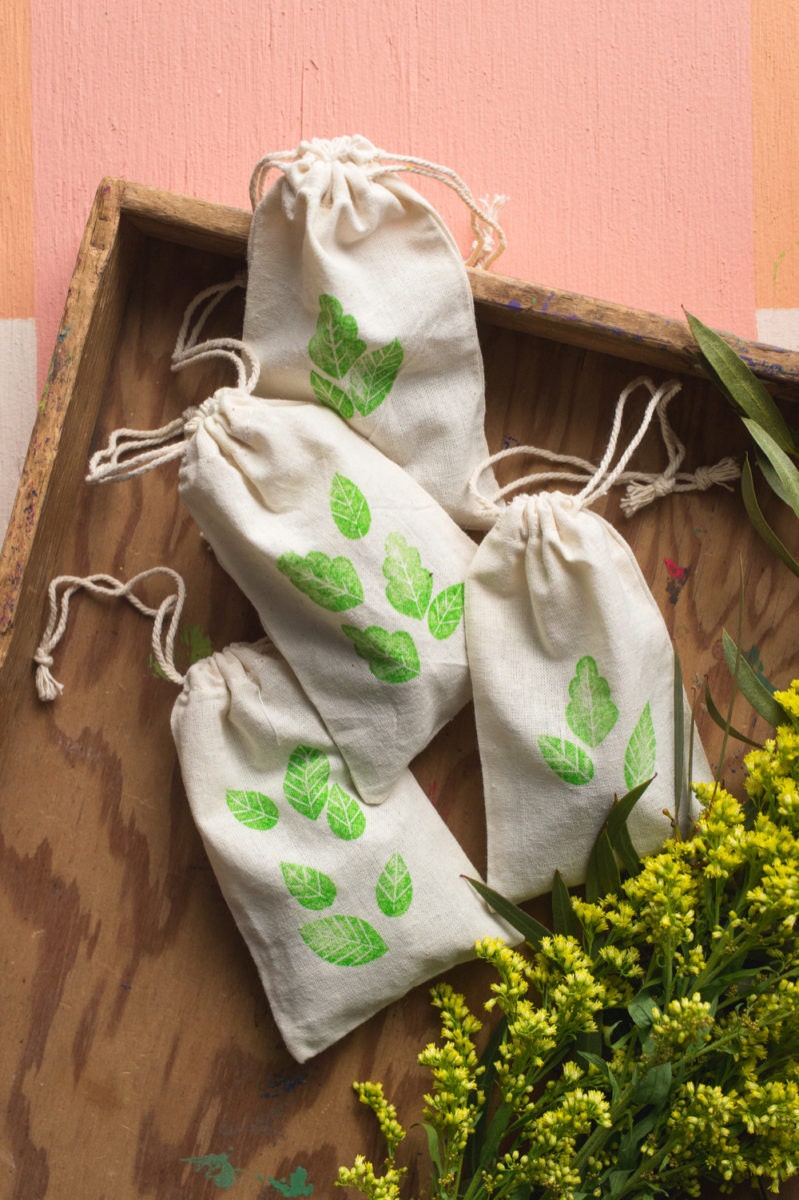
Anyone who has a thing for flowers, plants, or herbs—or the butterflies, birds, and bees that gravitate toward them—will appreciate this fun and easy garden-enhancing project. Wildflower seed bombs are not only a breeze to create, they also make a great affordable handmade gift when packaged in hand-stamped muslin pouches.
Using a few simple ingredients and your own two hands, we’ll show you how to whip up a single batch of wildflower seed bombs, and you can multiply the recipe to make even more. Once the orbs have dried, just scatter them in the garden and wait for the seeds to break through the soil—or gift them to your favorite gardener. Pro tip: Purchasing seeds native to your region will help ensure the health of your environment and make the seeds more apt to sprout and bloom. Ready to get your hands dirty?
DIY wildflower seed bombs at a glance
Time: 1–4 hours
Difficulty: Beginner
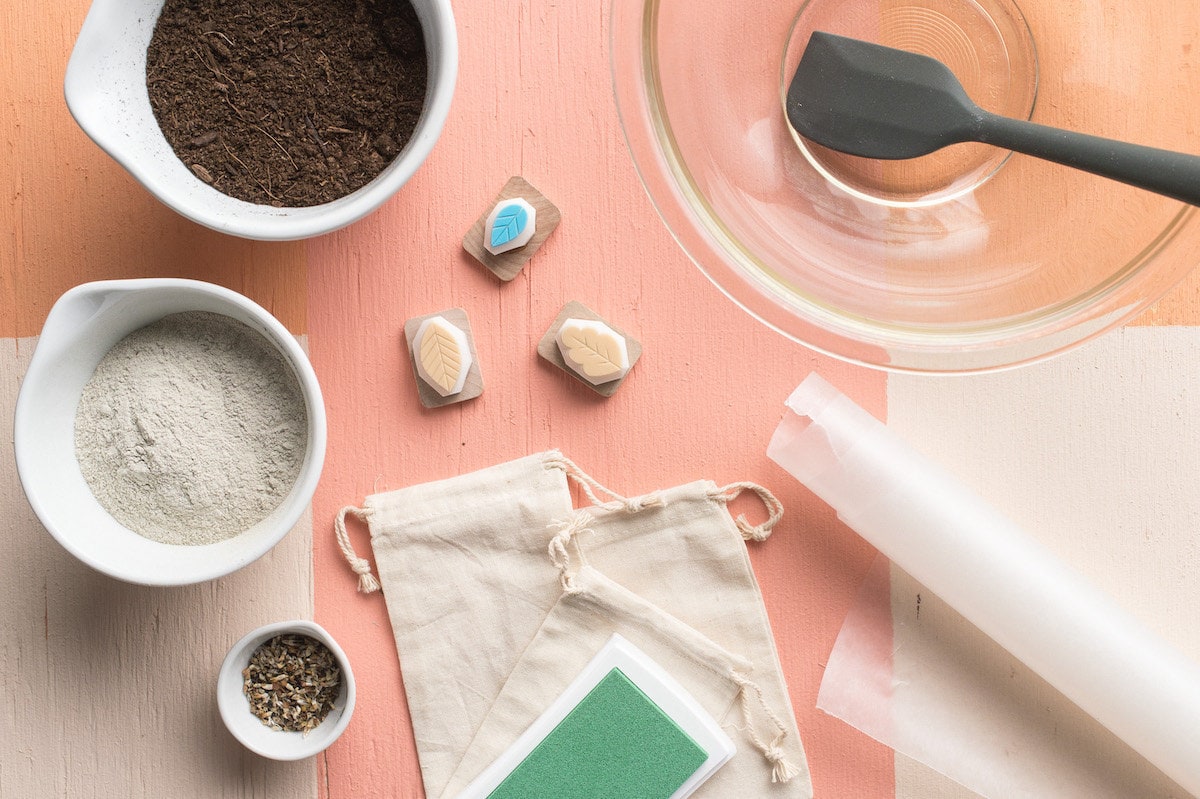
DIY wildflower seed bomb supplies
- 2 tablespoons native wildflower seeds (about 8 standard packs of seeds)
- 1 cup bentonite clay
- 1 cup sifted compost or potting mix
- mixing bowl (not made of metal)
- rubber spatula or wooden spoon
- wax paper
- muslin pouches
- rubber stamps
- stamp pad
Step 1: Measure and mix clay and soil
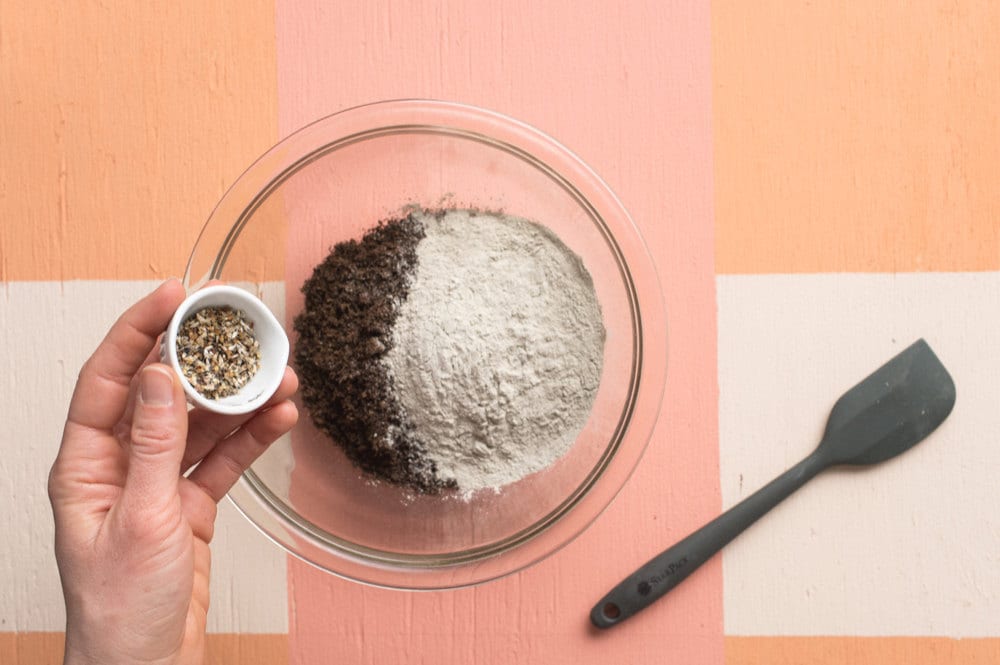
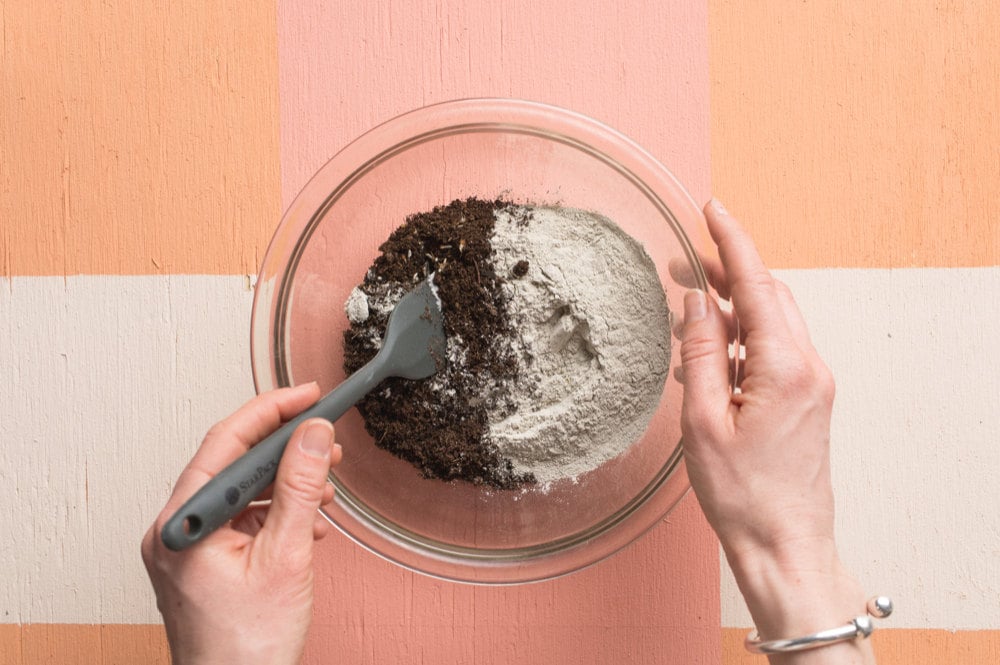
Measure one cup each bentonite clay and potting soil and add to mixing bowl; pour in wildflower seeds. Use a rubber spatula or wooden spoon to mix well.
Step 2: Add water
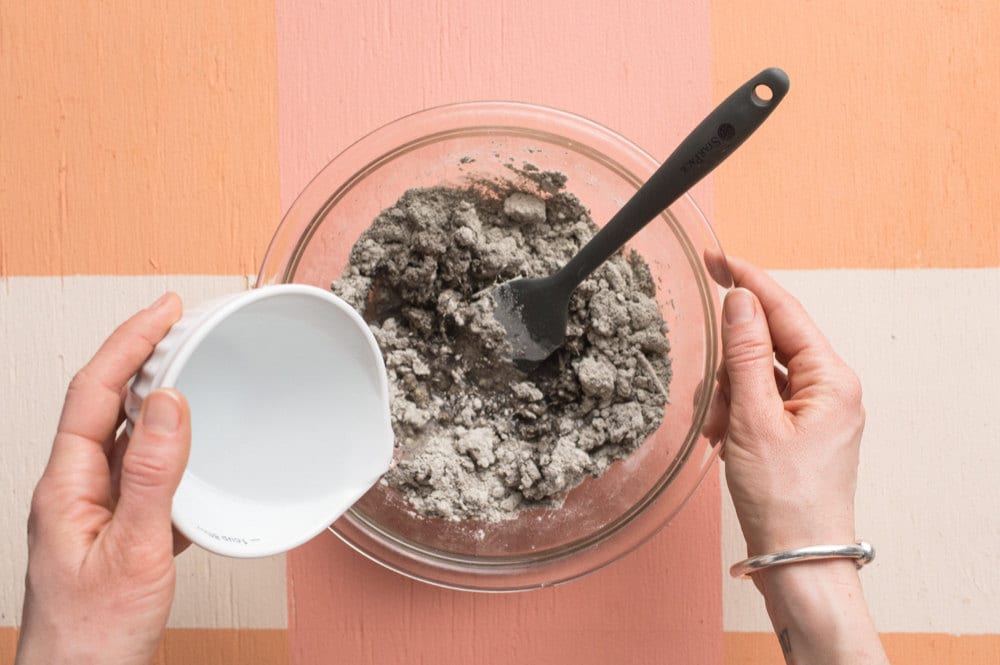
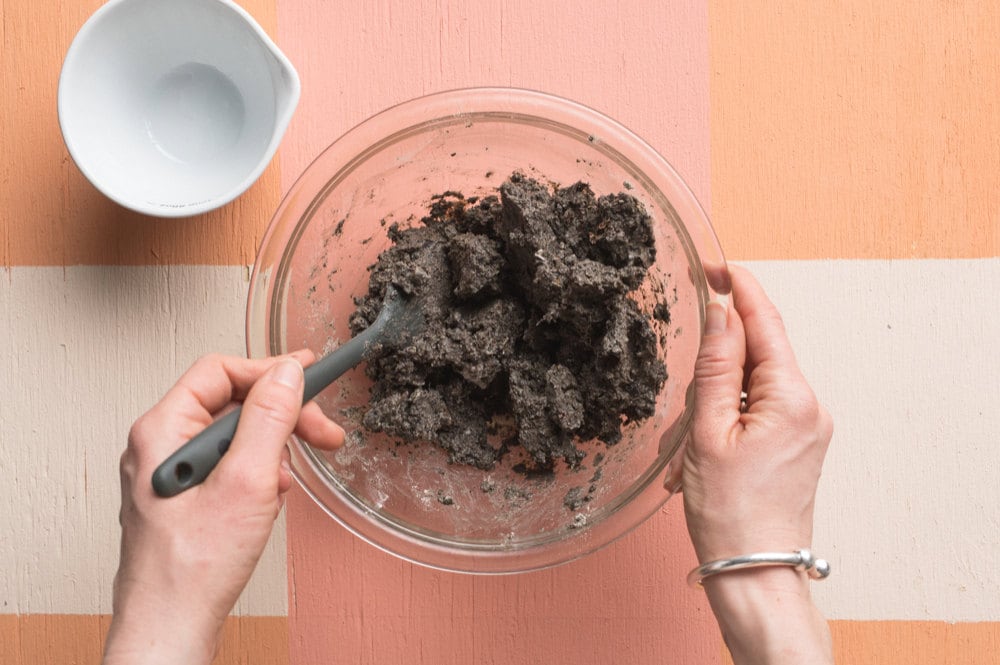
Add 1/2 cup water and mix well. You want your mixture to resemble soft clay, so keep adding small amounts of water as needed, mixing well after each addition until the desired consistency is achieved. If your wildflower seed bomb mix gets too wet, just add a bit more potting soil.
Step 3: Get rolling
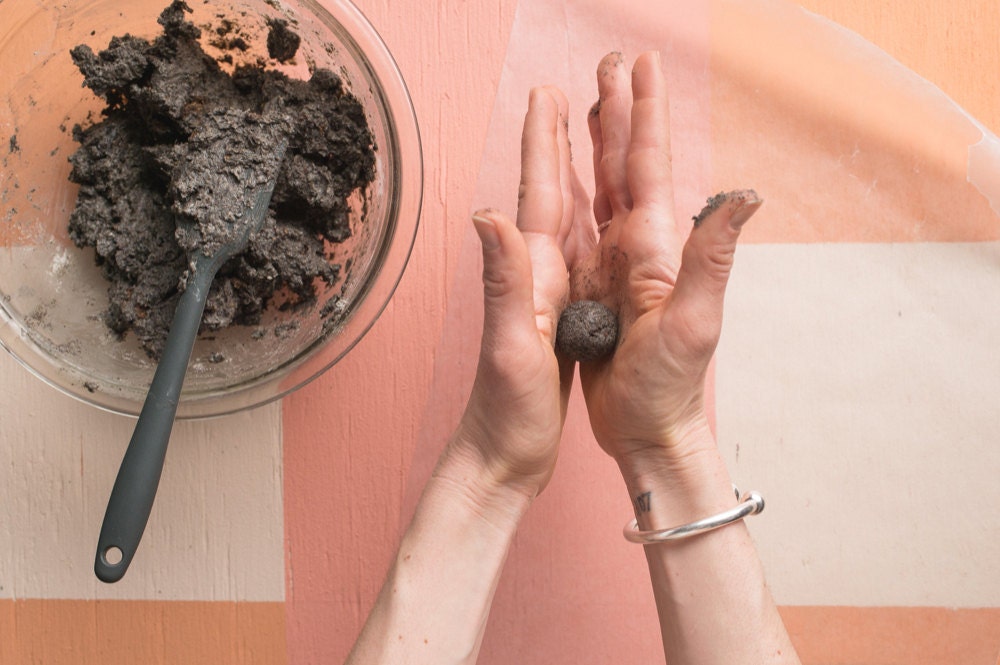
Lay a sheet of wax paper on a flat surface in a dry, well-ventilated area, away from direct sunlight. Working with a small amount of soil mixture at a time, roll the mixture between your palms until it forms a smooth ball. Place the ball on the wax paper to dry. Repeat until the mixture is gone. (This project makes approximately 30 seed bombs.)
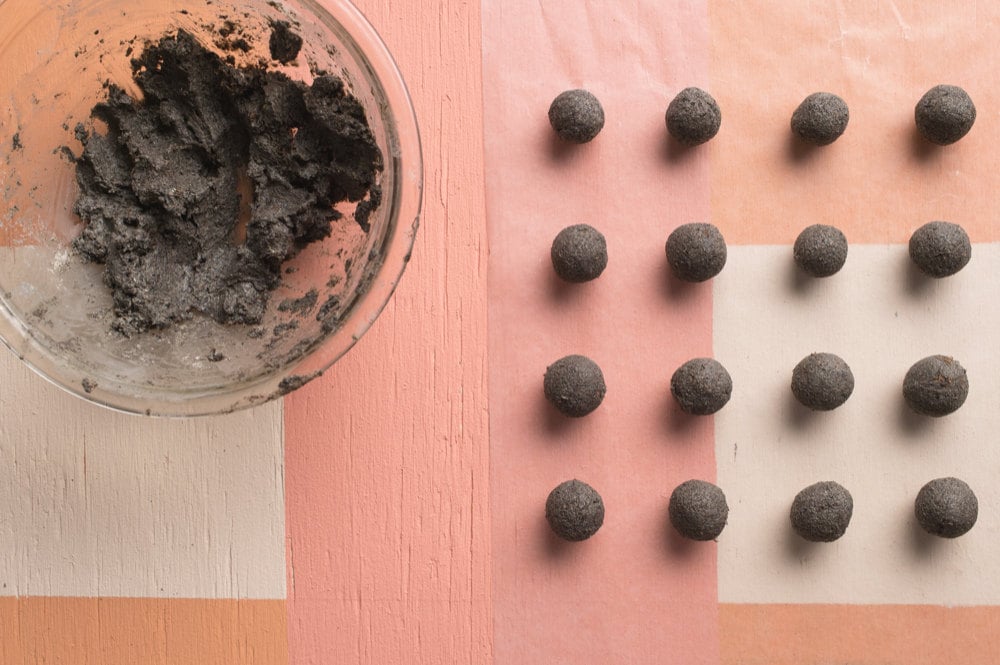
Step 4: Allow to dry
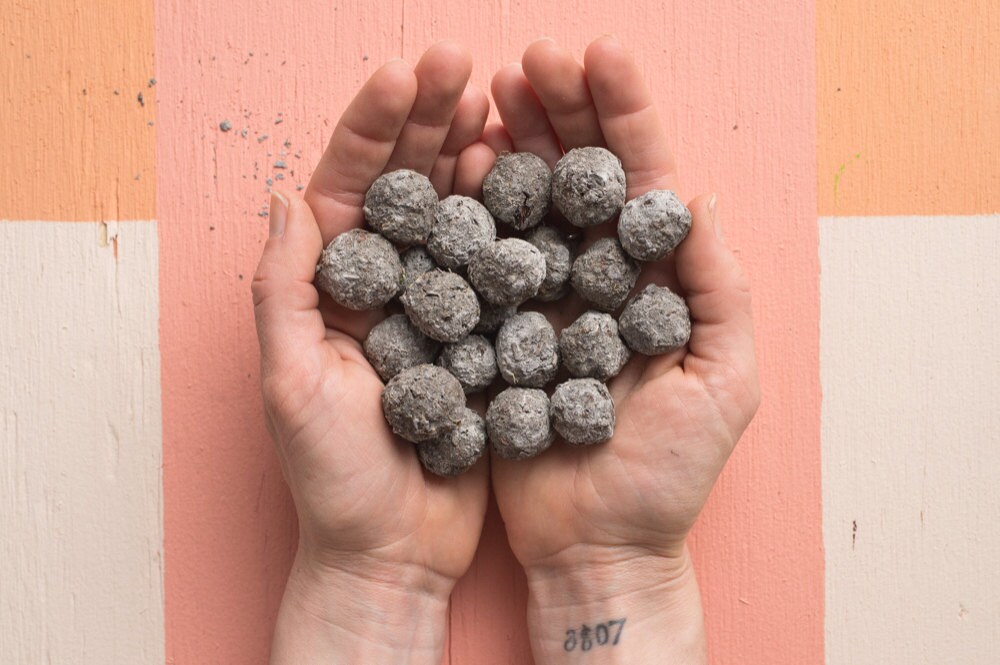
Once you’ve rolled all the wildflower seed bombs, allow to dry completely, about 48–72 hours. Be sure to keep seed bombs out of the sunlight or they might start to sprout early!
Step 5: Decorate pouches
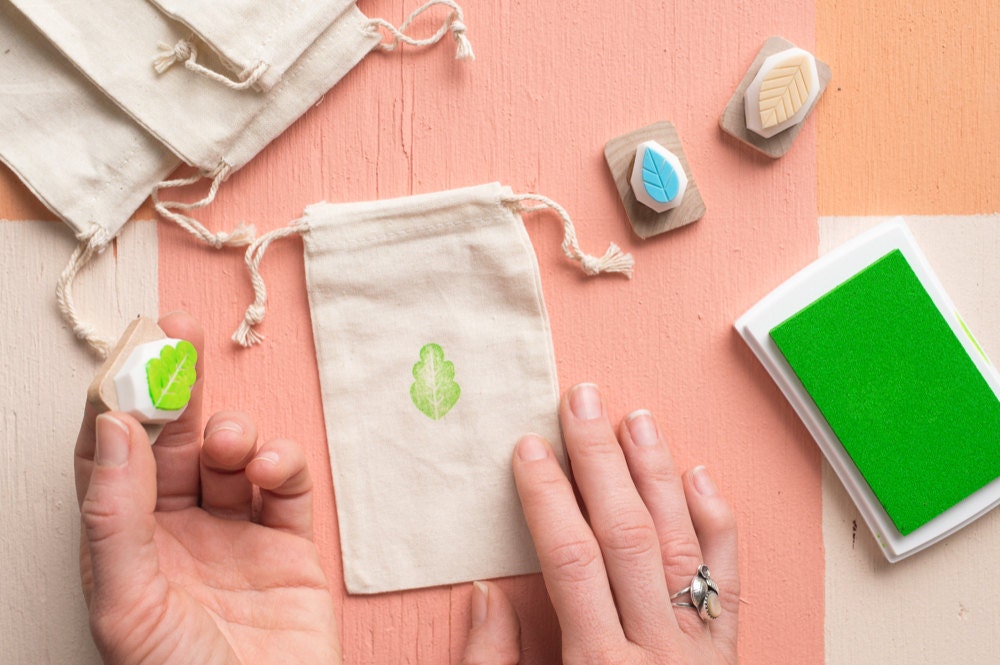
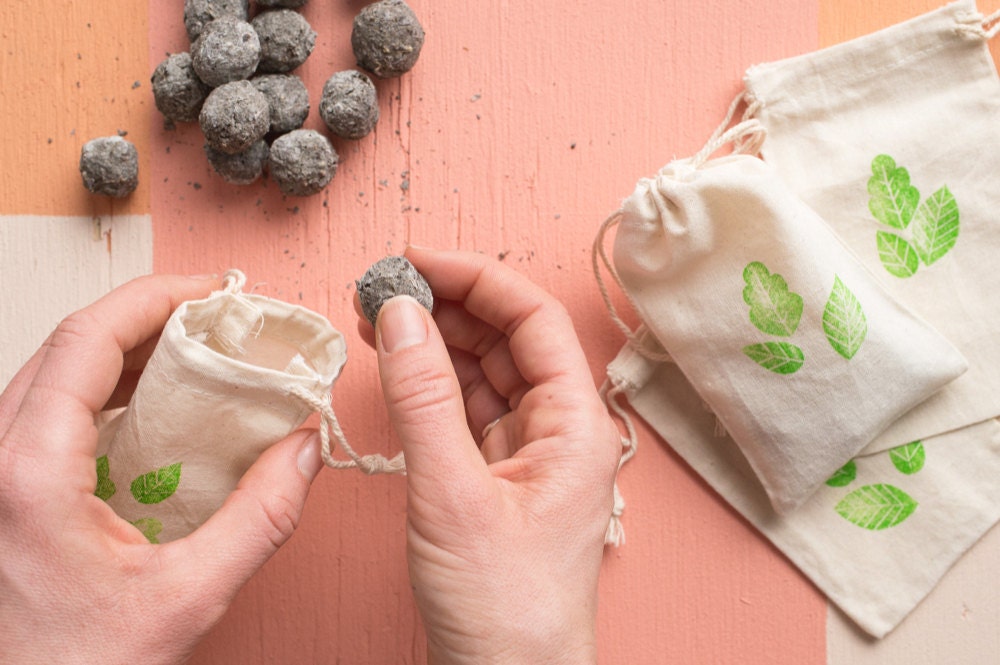
Use the time while your seed bombs are drying to decorate favor pouches, using rubber stamps and an ink pad. Once the seed bombs have dried, tuck four or five of them into each pouch to give away as gardener gifts or favors. Done!
DIY projects by Julie O’Boyle, Aleksa Brown, and Clare McGibbon; photos by Erik Valind.